Mario’s Yam Soup

Yams were $0.79/pound yesterday in my grocery store, which must mean that they are coming into season. And now it’s September (how can this be!?). As soon as the air is a little cooler at night and you start to see the leaves turning color or falling – here and there they are doing that already in Virginia! – it’s time to think about the fall recipes.

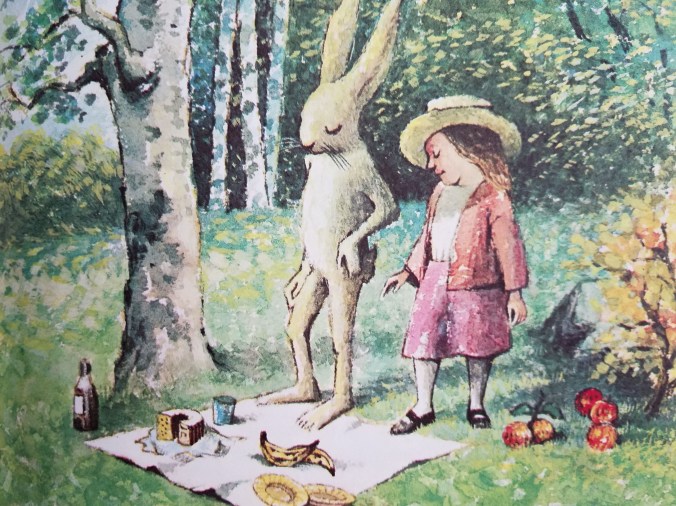
Yam soup is one of my favorites. I first had it a few years ago when Mario, the “Villa Lunch” chef at the hotel where I worked, included it in his buffet. This is Mario in his glory. It was a nice hotel.

villa_crawford_mario.jpg

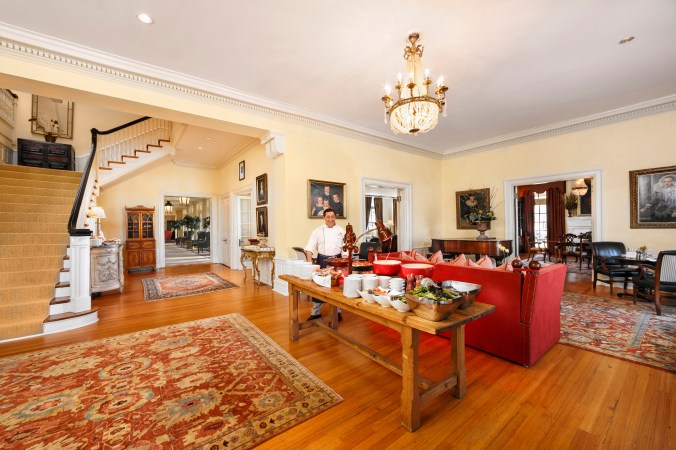
Unlike most cooks, Mario was out on the floor daily. He made all the food for Villa Lunch starting at 7am, then came upstairs with it at noon and personally sliced the meat and spooned the sides onto the plates of very happy guests. He is talented, personable, kind and funny – absolutely perfect for this job. He often made up a plate for me as he was breaking down the buffet table around 2pm. It would include whatever I wanted from that day’s items, quite a nice perk! He knows how much the guests loved him from the stack of comment cards collected over the years that sing his praises. I hope he takes those out of his desk and reads them now and then.

Mario’s yam soup was a guest favorite – out-of-this-world flavor, but so simple. If you were preparing lunch for 40-50 people every day including a soup, a salad, a main dish (and associated sauce or accompaniment) and two hot sides, various cold salads and a cheese and charcuterie board, and you had a total of five hours to get everything ready, you would keep it simple too.

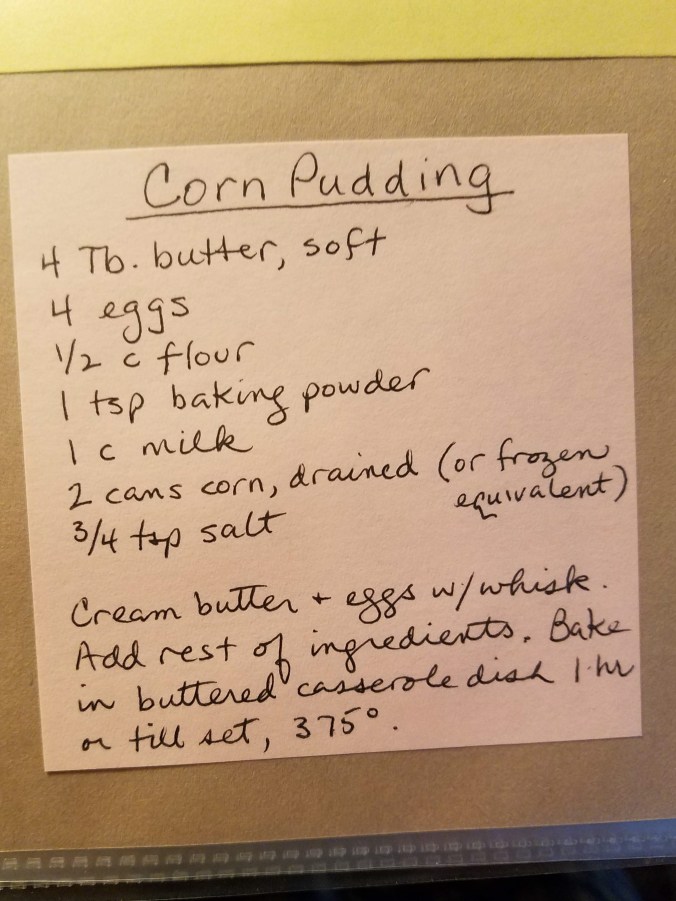
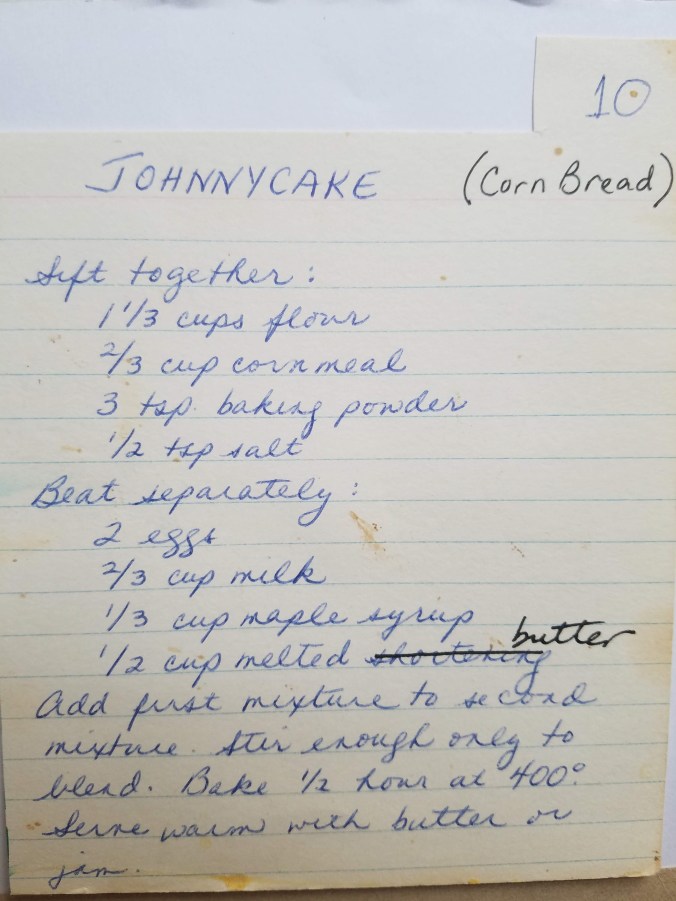
I posted this recipe on July 19 (in The Cookbook Comes Out). Here it is again. Now’s the time to make it.

Mario's yam soup

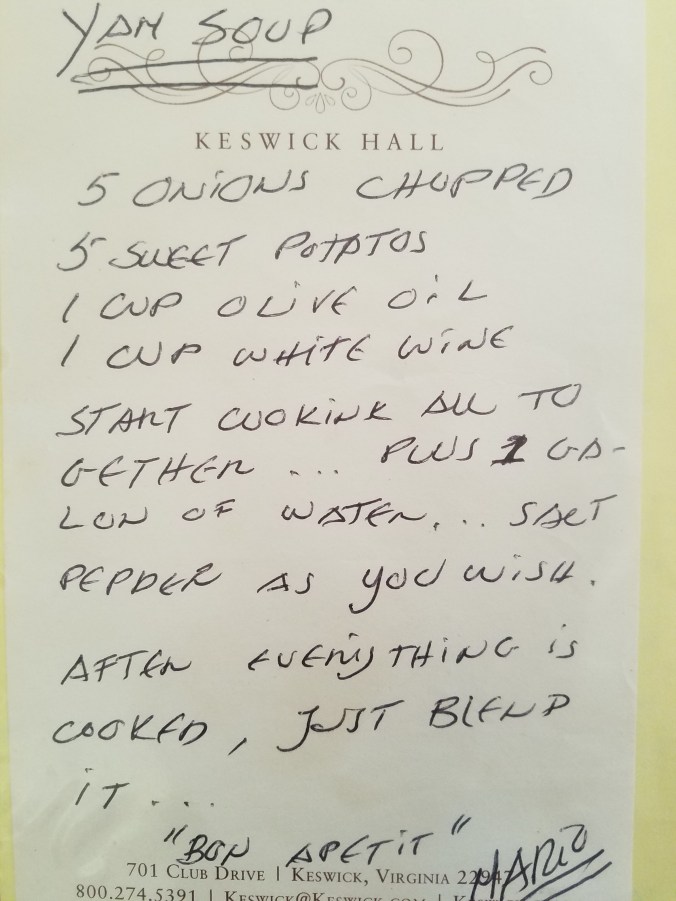
You might want to divide all the ingredients in half (and if you want to use three yams instead of two and a half, it won’t hurt anything). This recipe as it is makes a lot of soup. It freezes very well and I have always made it in this quantity, but you need a big pot. A really big pot. To get an idea if my regular Dutch oven would be big enough, I put the yams and onions in it, whole, and then tried to imagine having to add the oil, wine and a gallon of water. I don’t think so.

onions and yams in pot2.jpg

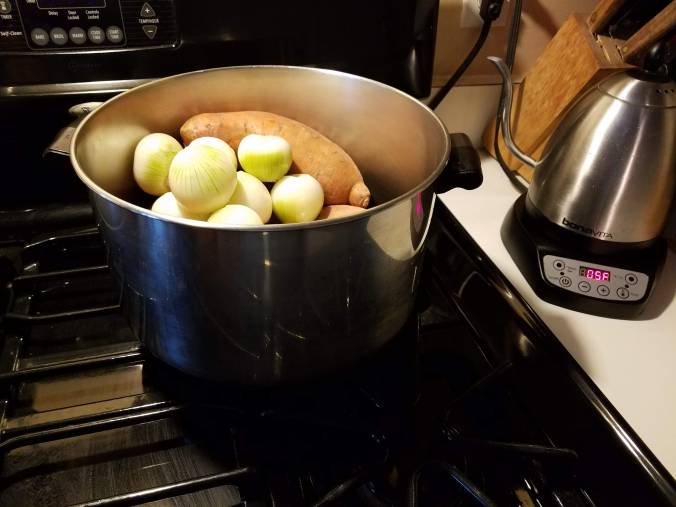
I had to bring out my big pot. It’s considerably bigger than my Dutch oven, bigger than I really need, but better to have more room in the pot than a quantity that is unwieldy at best and possibly might even spill over. My big pot is this big compared to my Dutch oven. It worked.

pots.jpg

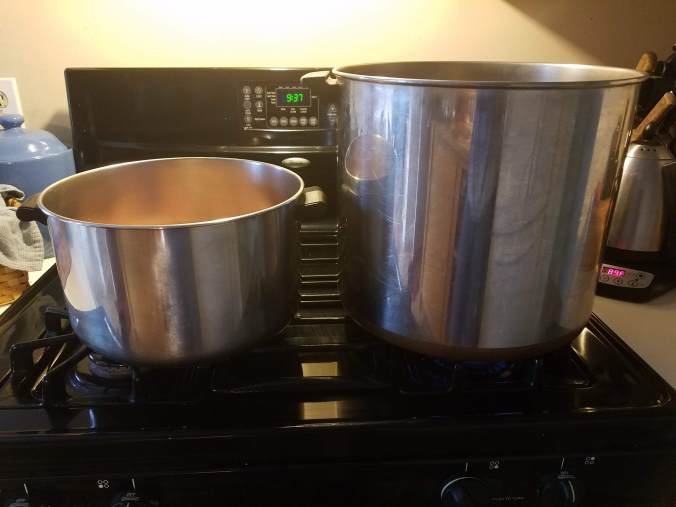
A pot midway in size between these two would have been perfect.

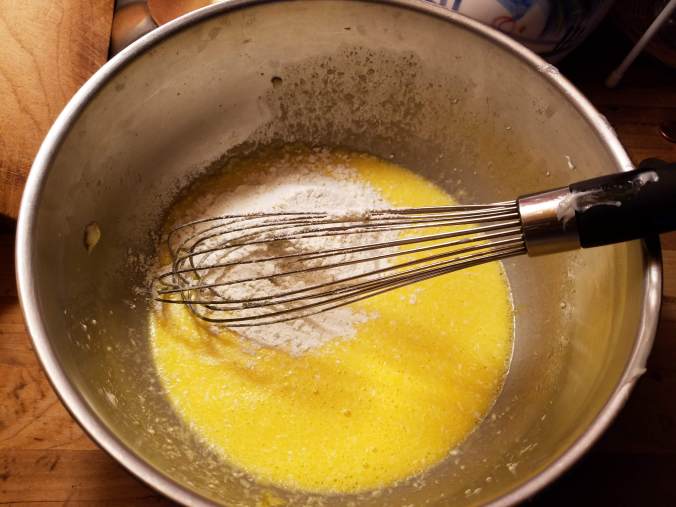
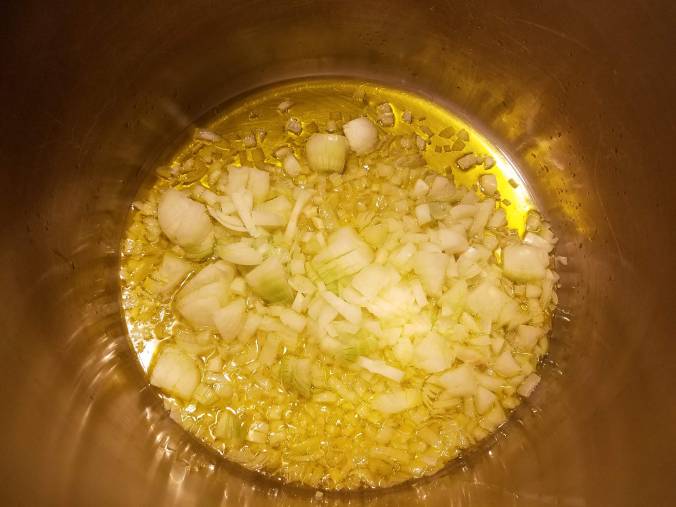
Having settled on the right pot, I started chopping. Those of you who are very sharp might have noticed that there are more than 5 onions in my pot in the photo above. Isn’t that the thing about recipes? They tell you 5 onions but not necessarily how big the onions are supposed to be.

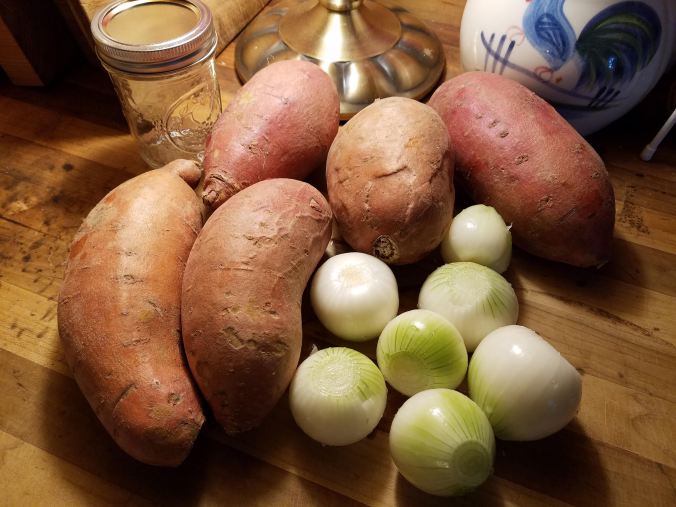
I have Mario’s onions in my mind, the huge ones I saw him cutting up when he was making this soup. My onions are not huge. They are from my garden so I love them, but they are on the small side, so I used seven instead of five. Mario might have used ten of this size, but I’m going with seven. That’s the thing about onions. It doesn’t matter that much how many – more gives a stronger onion flavor, fewer gives not as strong an onion flavor. Your call.

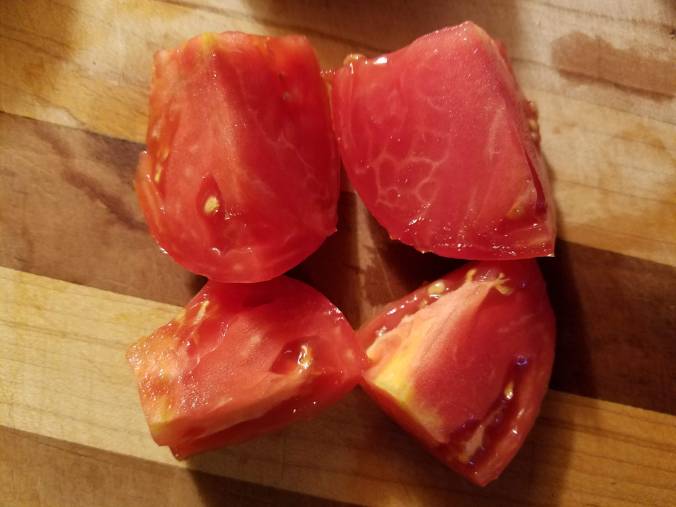
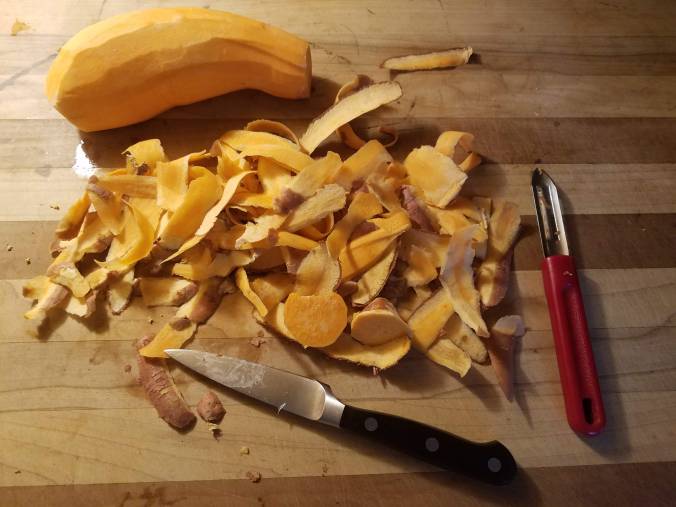
(The yams look redder in this photo than they are.)

onions and yams on counter.jpg

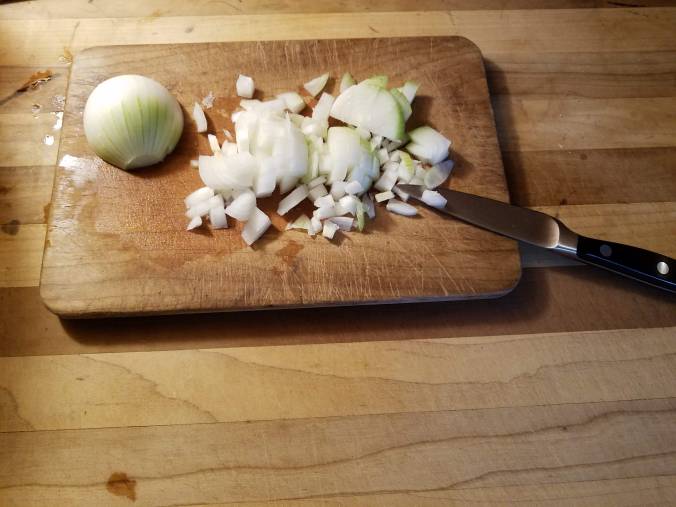
I put the cup of olive oil in the pot, turned the flame on low, and proceeded to chop up and add the onions to the oil. My onions were chopped like this. I chop them on a separate board – always have, this particular board for decades actually – because as much as I love onions, I don’t want their flavor/odor getting into the wood of my countertop and I don’t want the thing I cut up later (let’s say, watermelon) to pick up any of that flavor. It’s a small price to pay for the joy of chopping on a wooden surface.

chopped onion.jpg

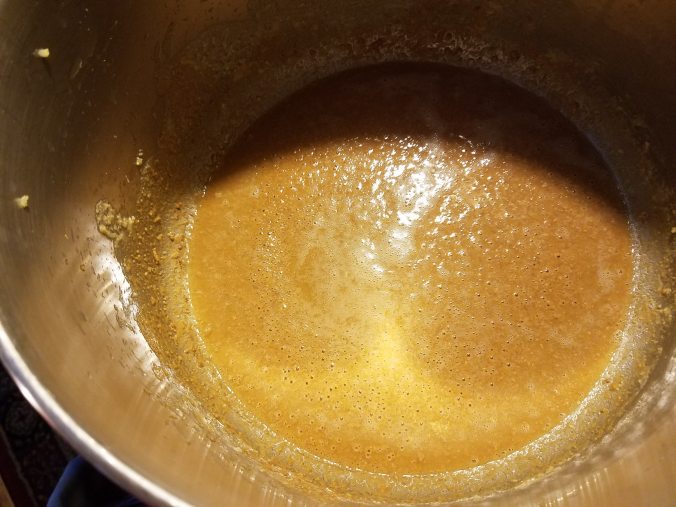
The onions in the oil are a thing of beauty.

onions inpot.jpg

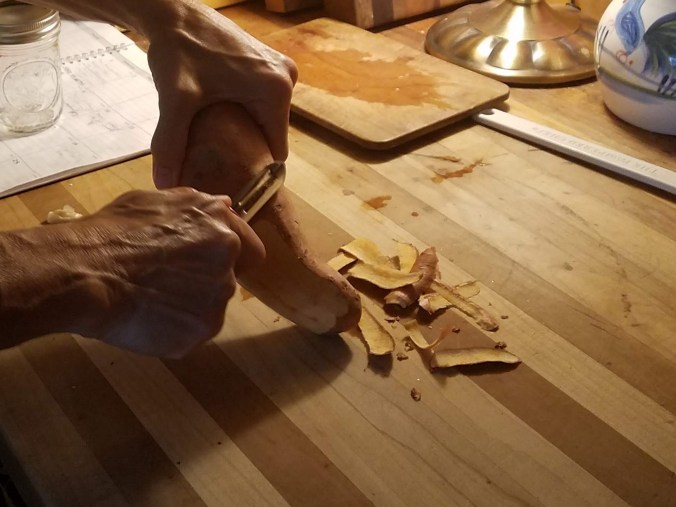
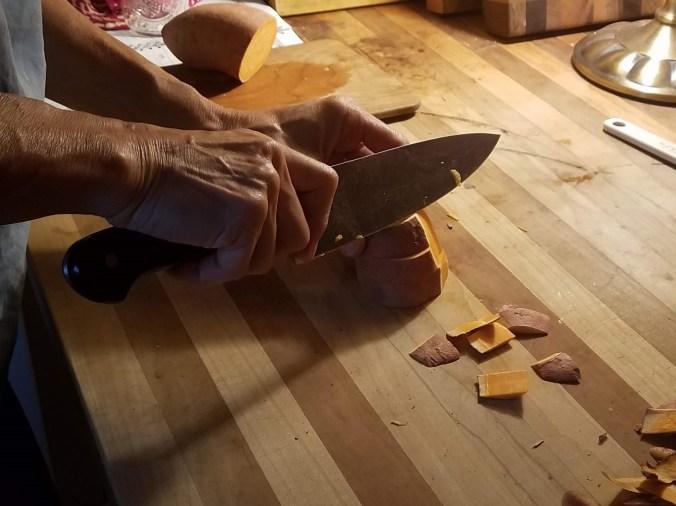
There are two ways to peel a yam. One way is with a peeler and the other is with a knife. The peeler works only if you have a good peeler. Even then, it is simply a matter of preference.

peeling yam2 (2).jpg

When it is peeled and the end is cut off, it looks like this.

peeled yam.jpg

I find it easier to slice it into thick wheels first, and then cut off the edges. For this I use my 10” chef’s knife. First make slices about ¾” thick.

slices.jpg

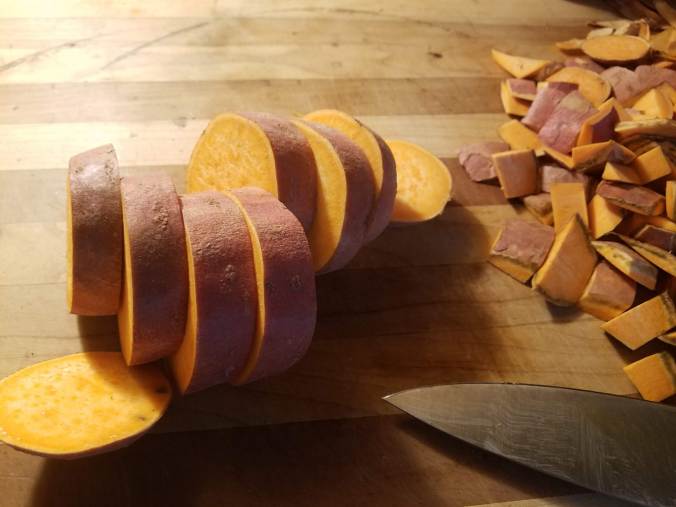
Then, either in a small stack…

cutting sides off a stack (2).jpg

…or one by one, cut the edges off.

cutting sides off (2).jpg

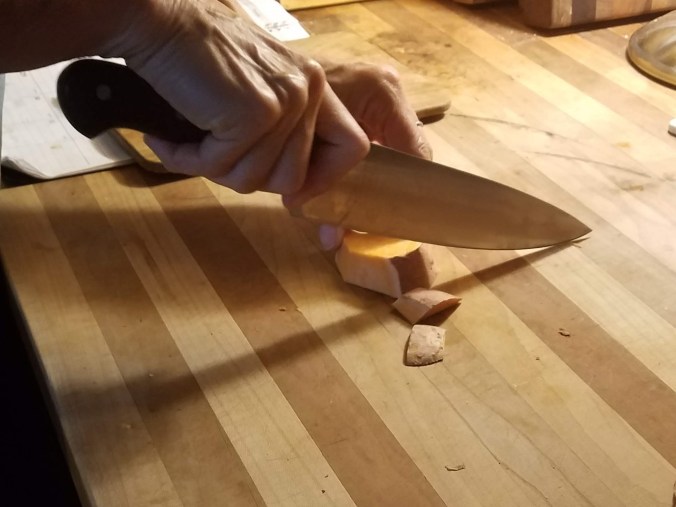
Then cut them into cubes…

cubed yams2.jpg

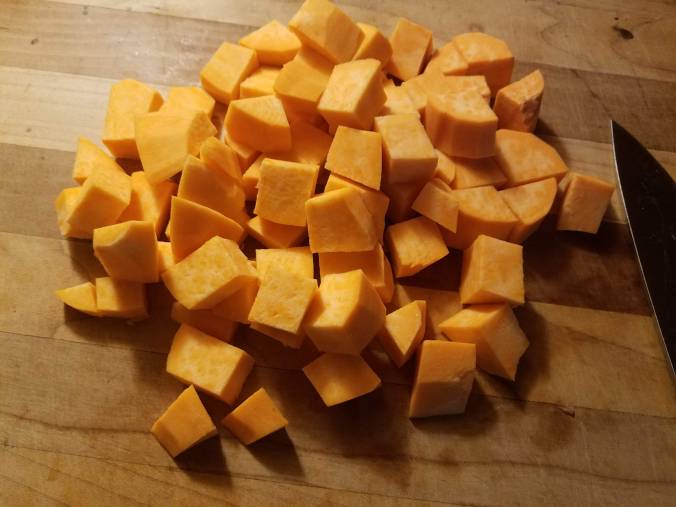
… and put them in with the onions.

onions and yams in pot.jpg

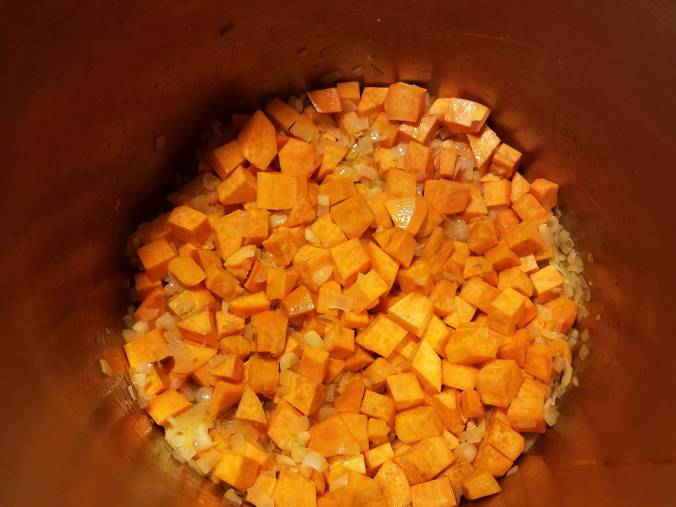
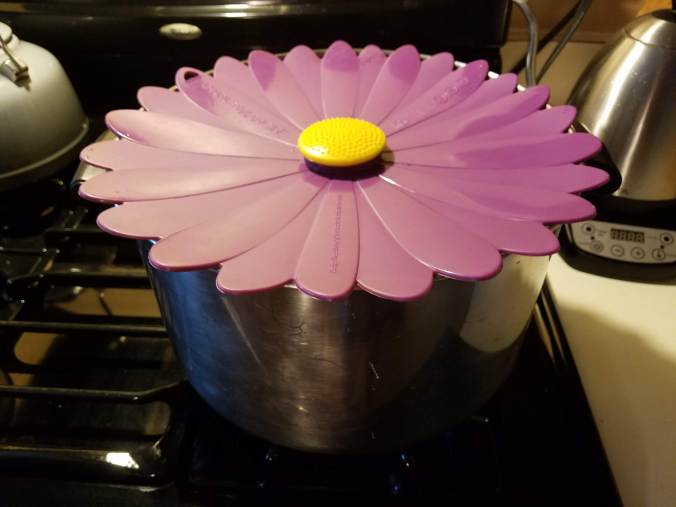
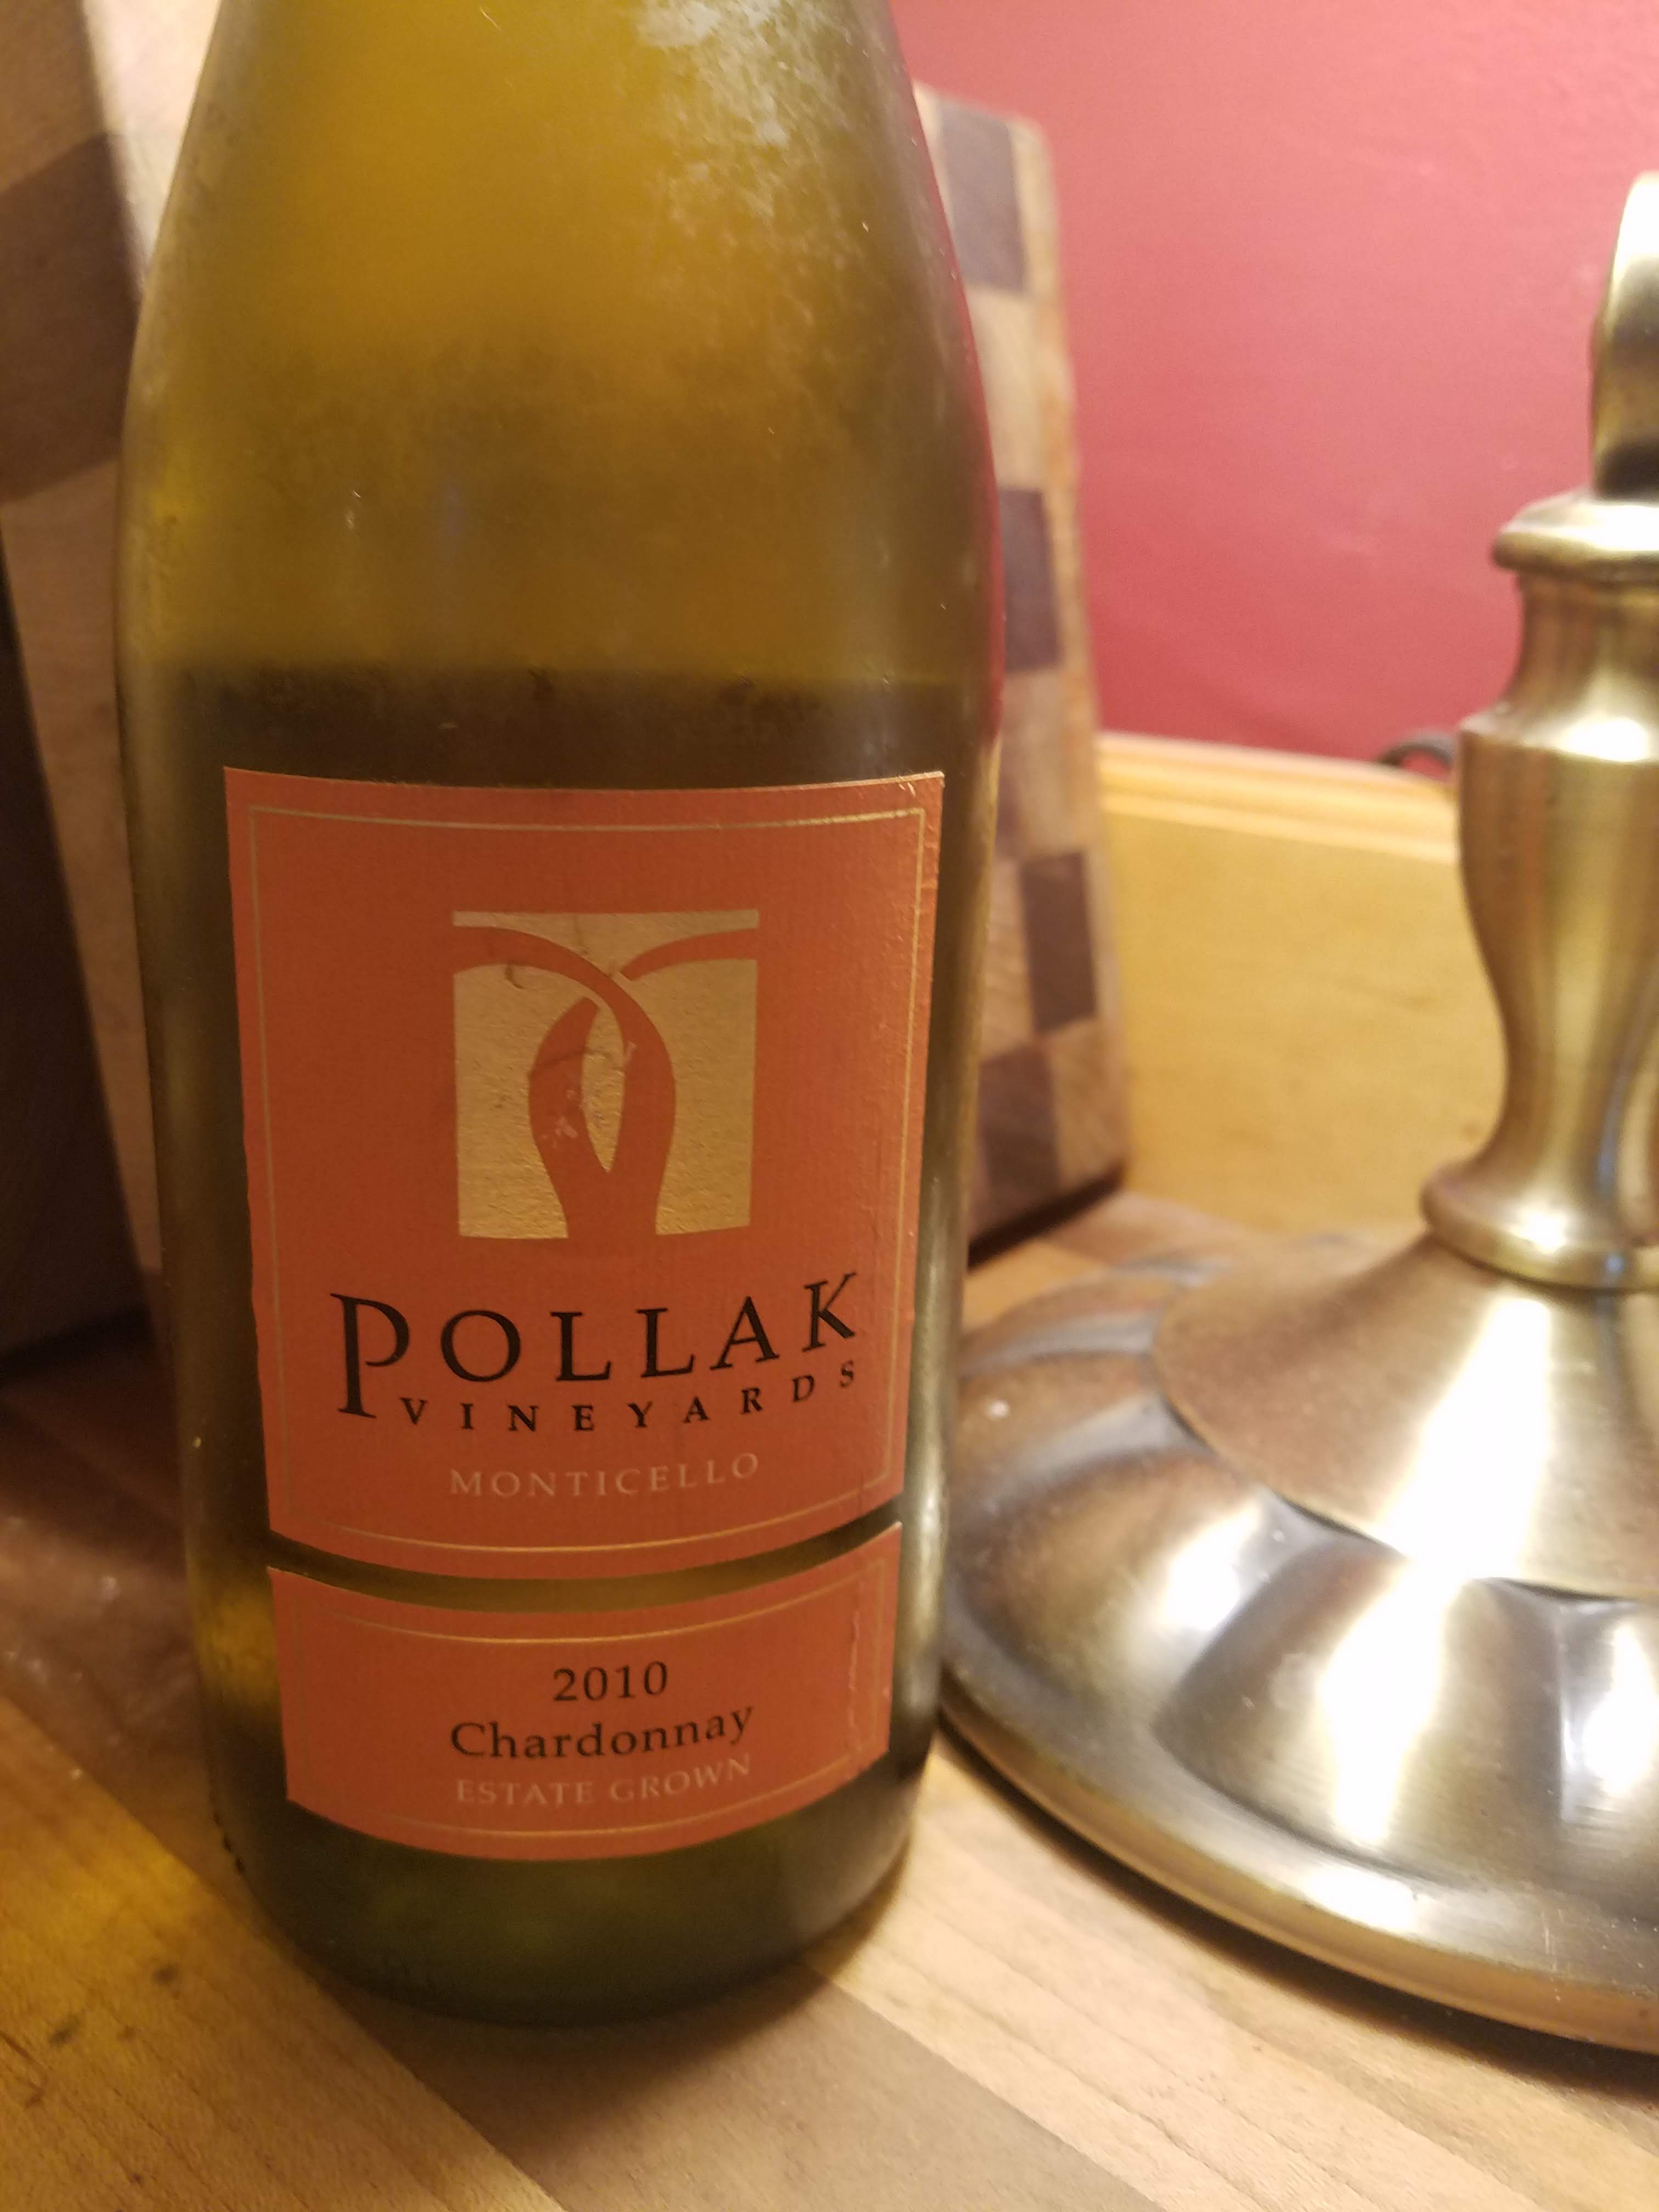
I turned it down to low and put a cover on to let this all soften. About 20 minutes went by before I remembered the wine. White wine, the recipe says. Talk about UN-EXACT! I guessed at a chardonnay. It also happened to be the first thing I pulled from my fridge. Chardonnay will work, I decided. Pollak is a local Virginia wine and a very nice vineyard to visit if you are in the area.

wine.jpg

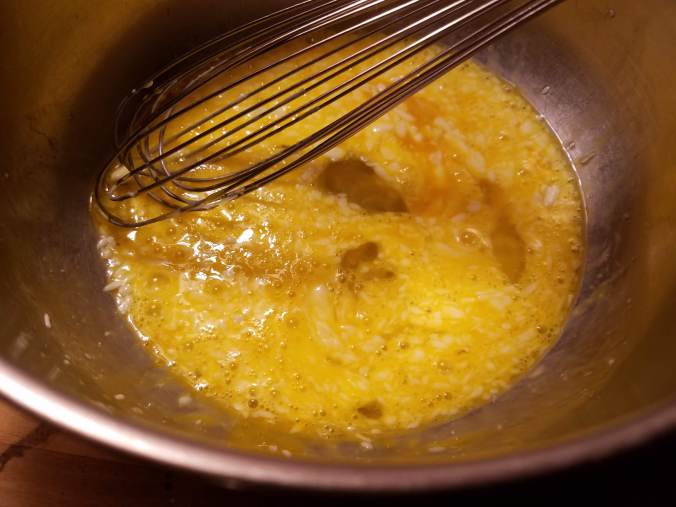
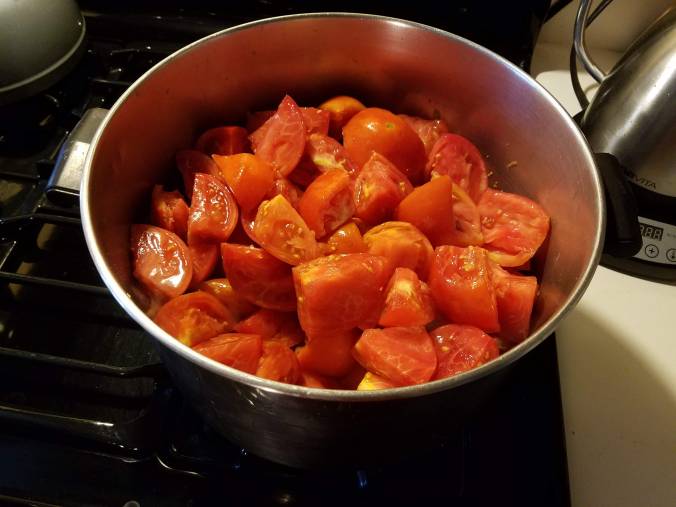
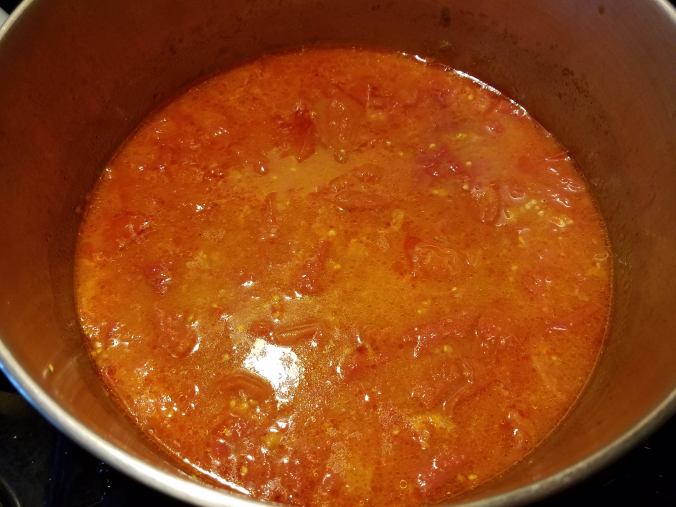
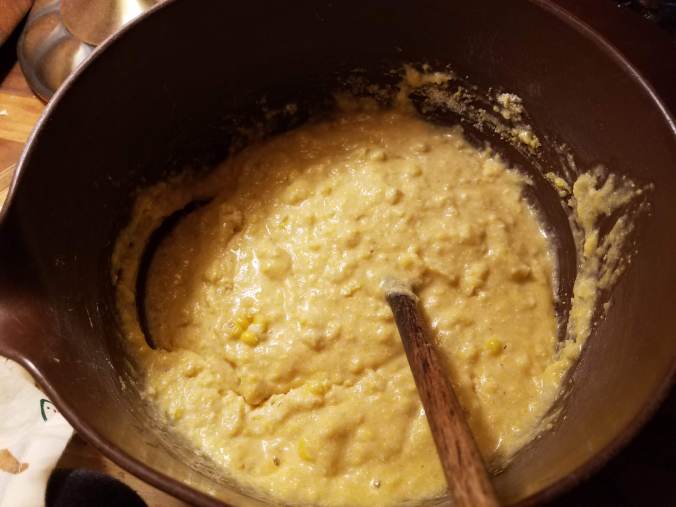
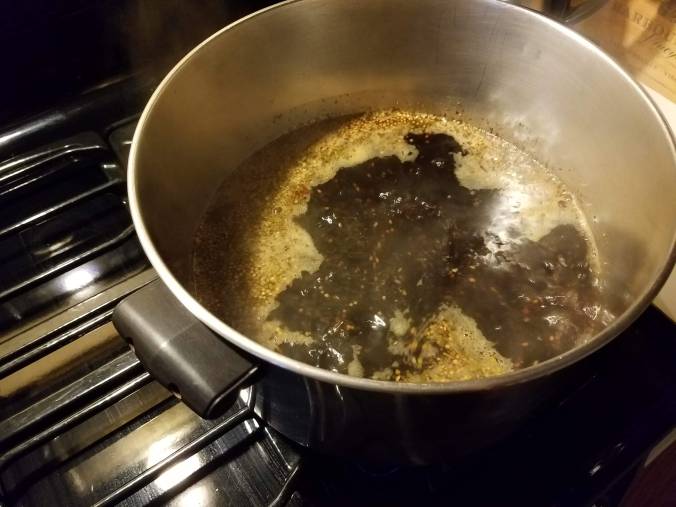
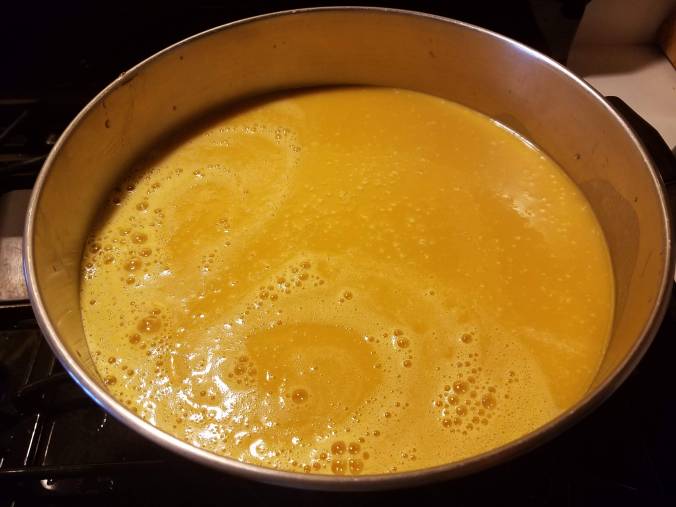
In went the wine and again I covered the pot, this time forgetting the water! Not the end of the world, she says ten minutes later. The veggies had already cooked down a bit, were not quite mushy but getting there. In went the gallon of water. It seems less formidable if you just fill and dump your quart-size measure four times. Then it looks like this.

cooking with water.jpg

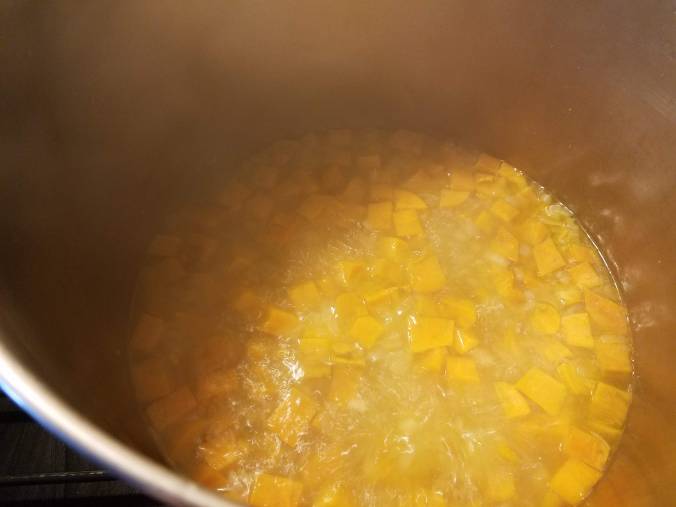
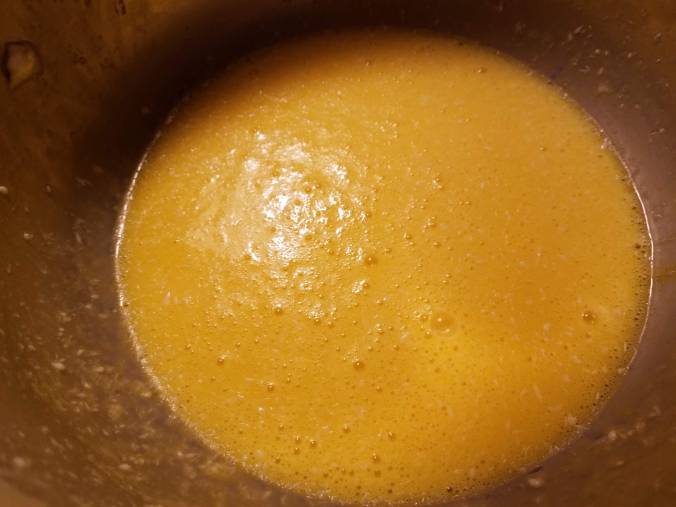
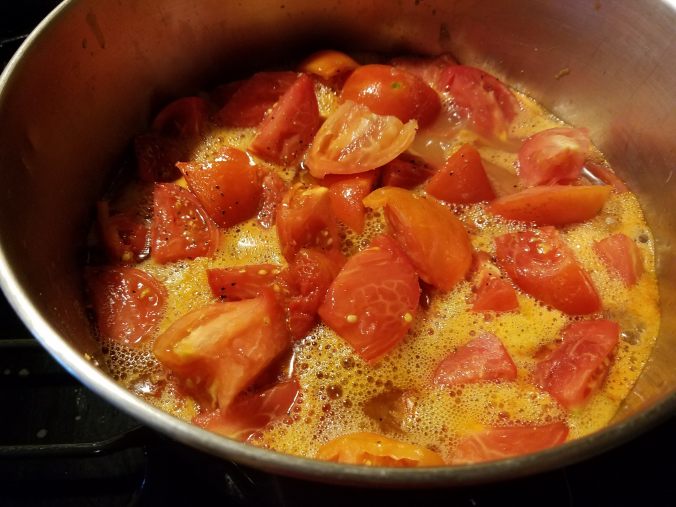
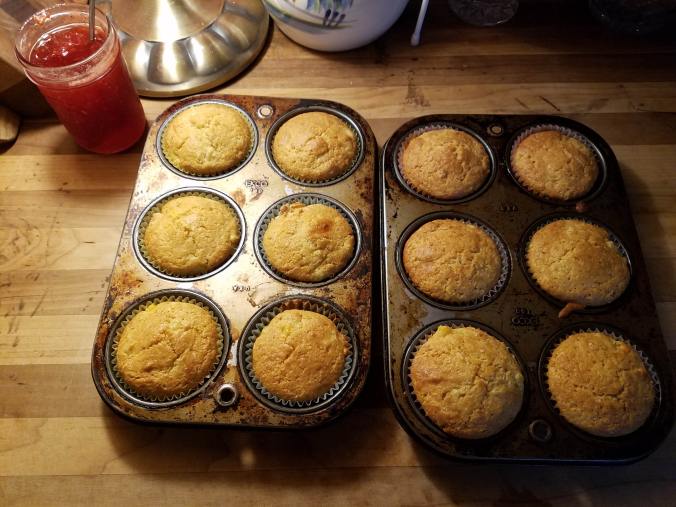
And in half an hour it looked like this.

cooked.jpg

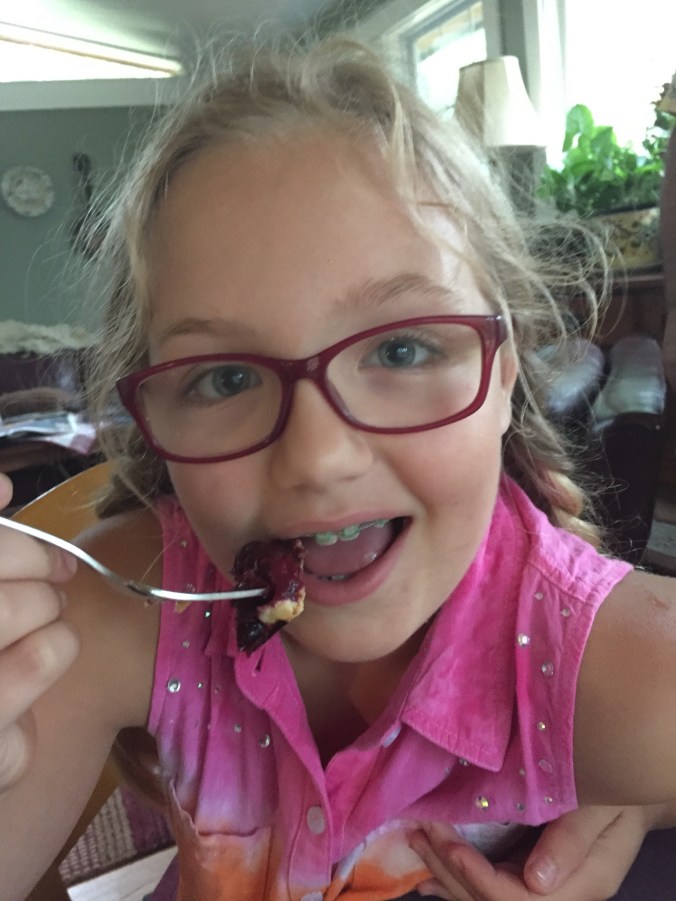
That’s when I turned it off and let it cool. You don’t have to let it cool before the next step, but I was going out to read to Evelyn (we are almost to the end of the Queen Victoria book!) so I left it.

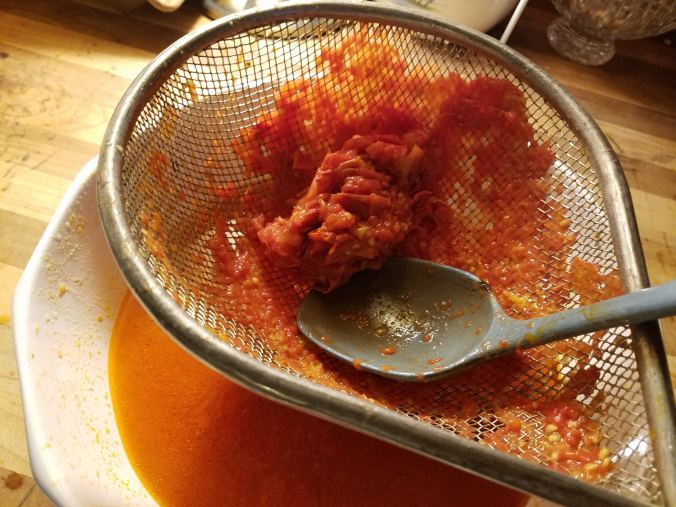
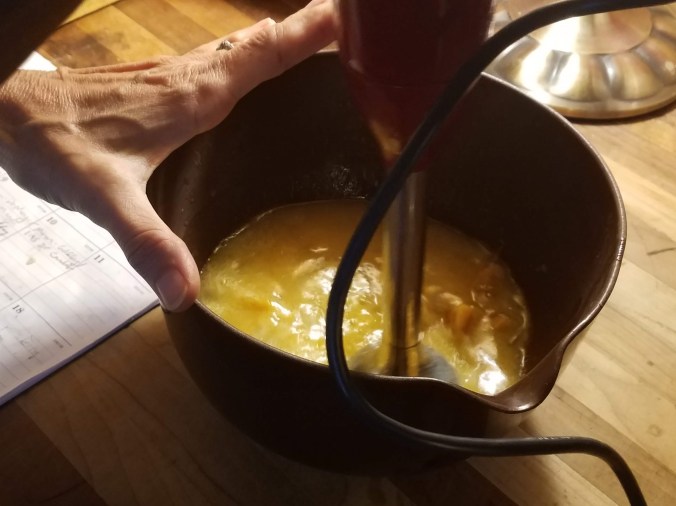
There would be two ways to “just blend it,” as the recipe says. God bless him, Mario means blend as in blender, electric blender, and there are two of those: the traditional stand-up blender and the immersible kind. Let’s try both, and see.

I put some in a bowl, thinking I had a big/tall enough bowl for the immersion blender. Wrong. It made a splashy mess and did not puree the veggies as I wanted. Reject this method.

immersion2 (2).jpg

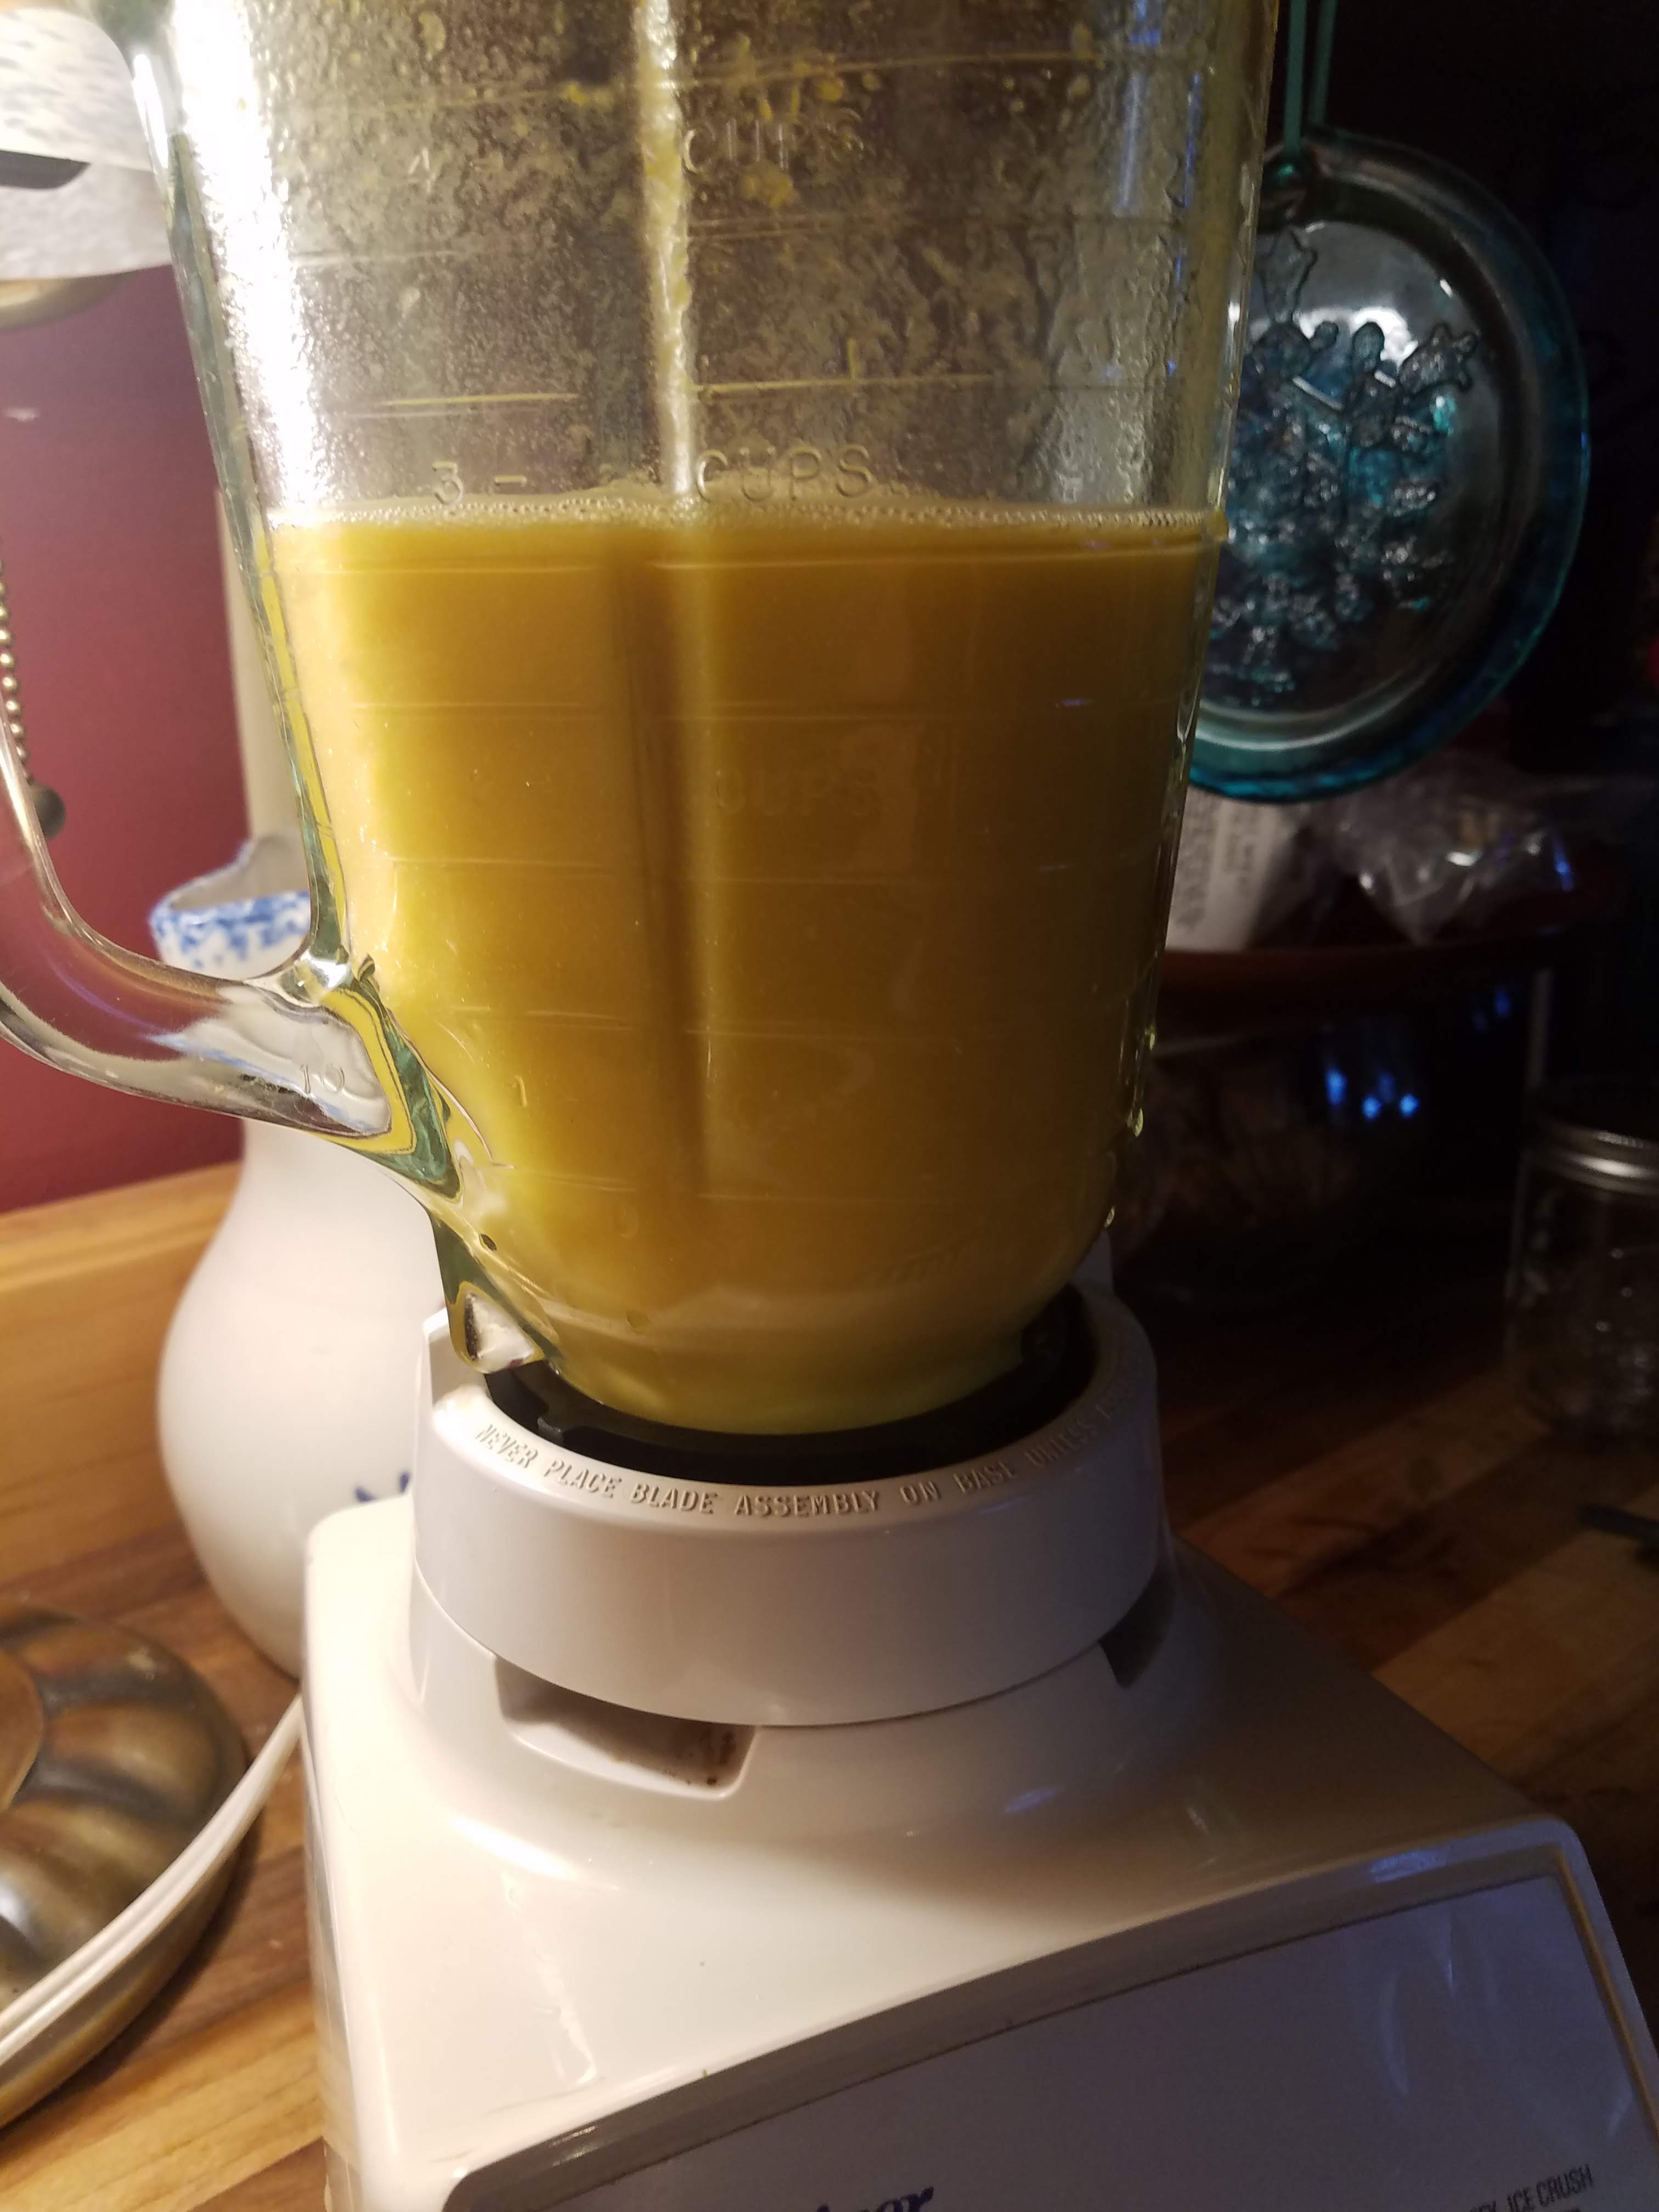
I got out the tried-and-true blender that has to be 25 years old, filled it about halfway,

blender1.jpg

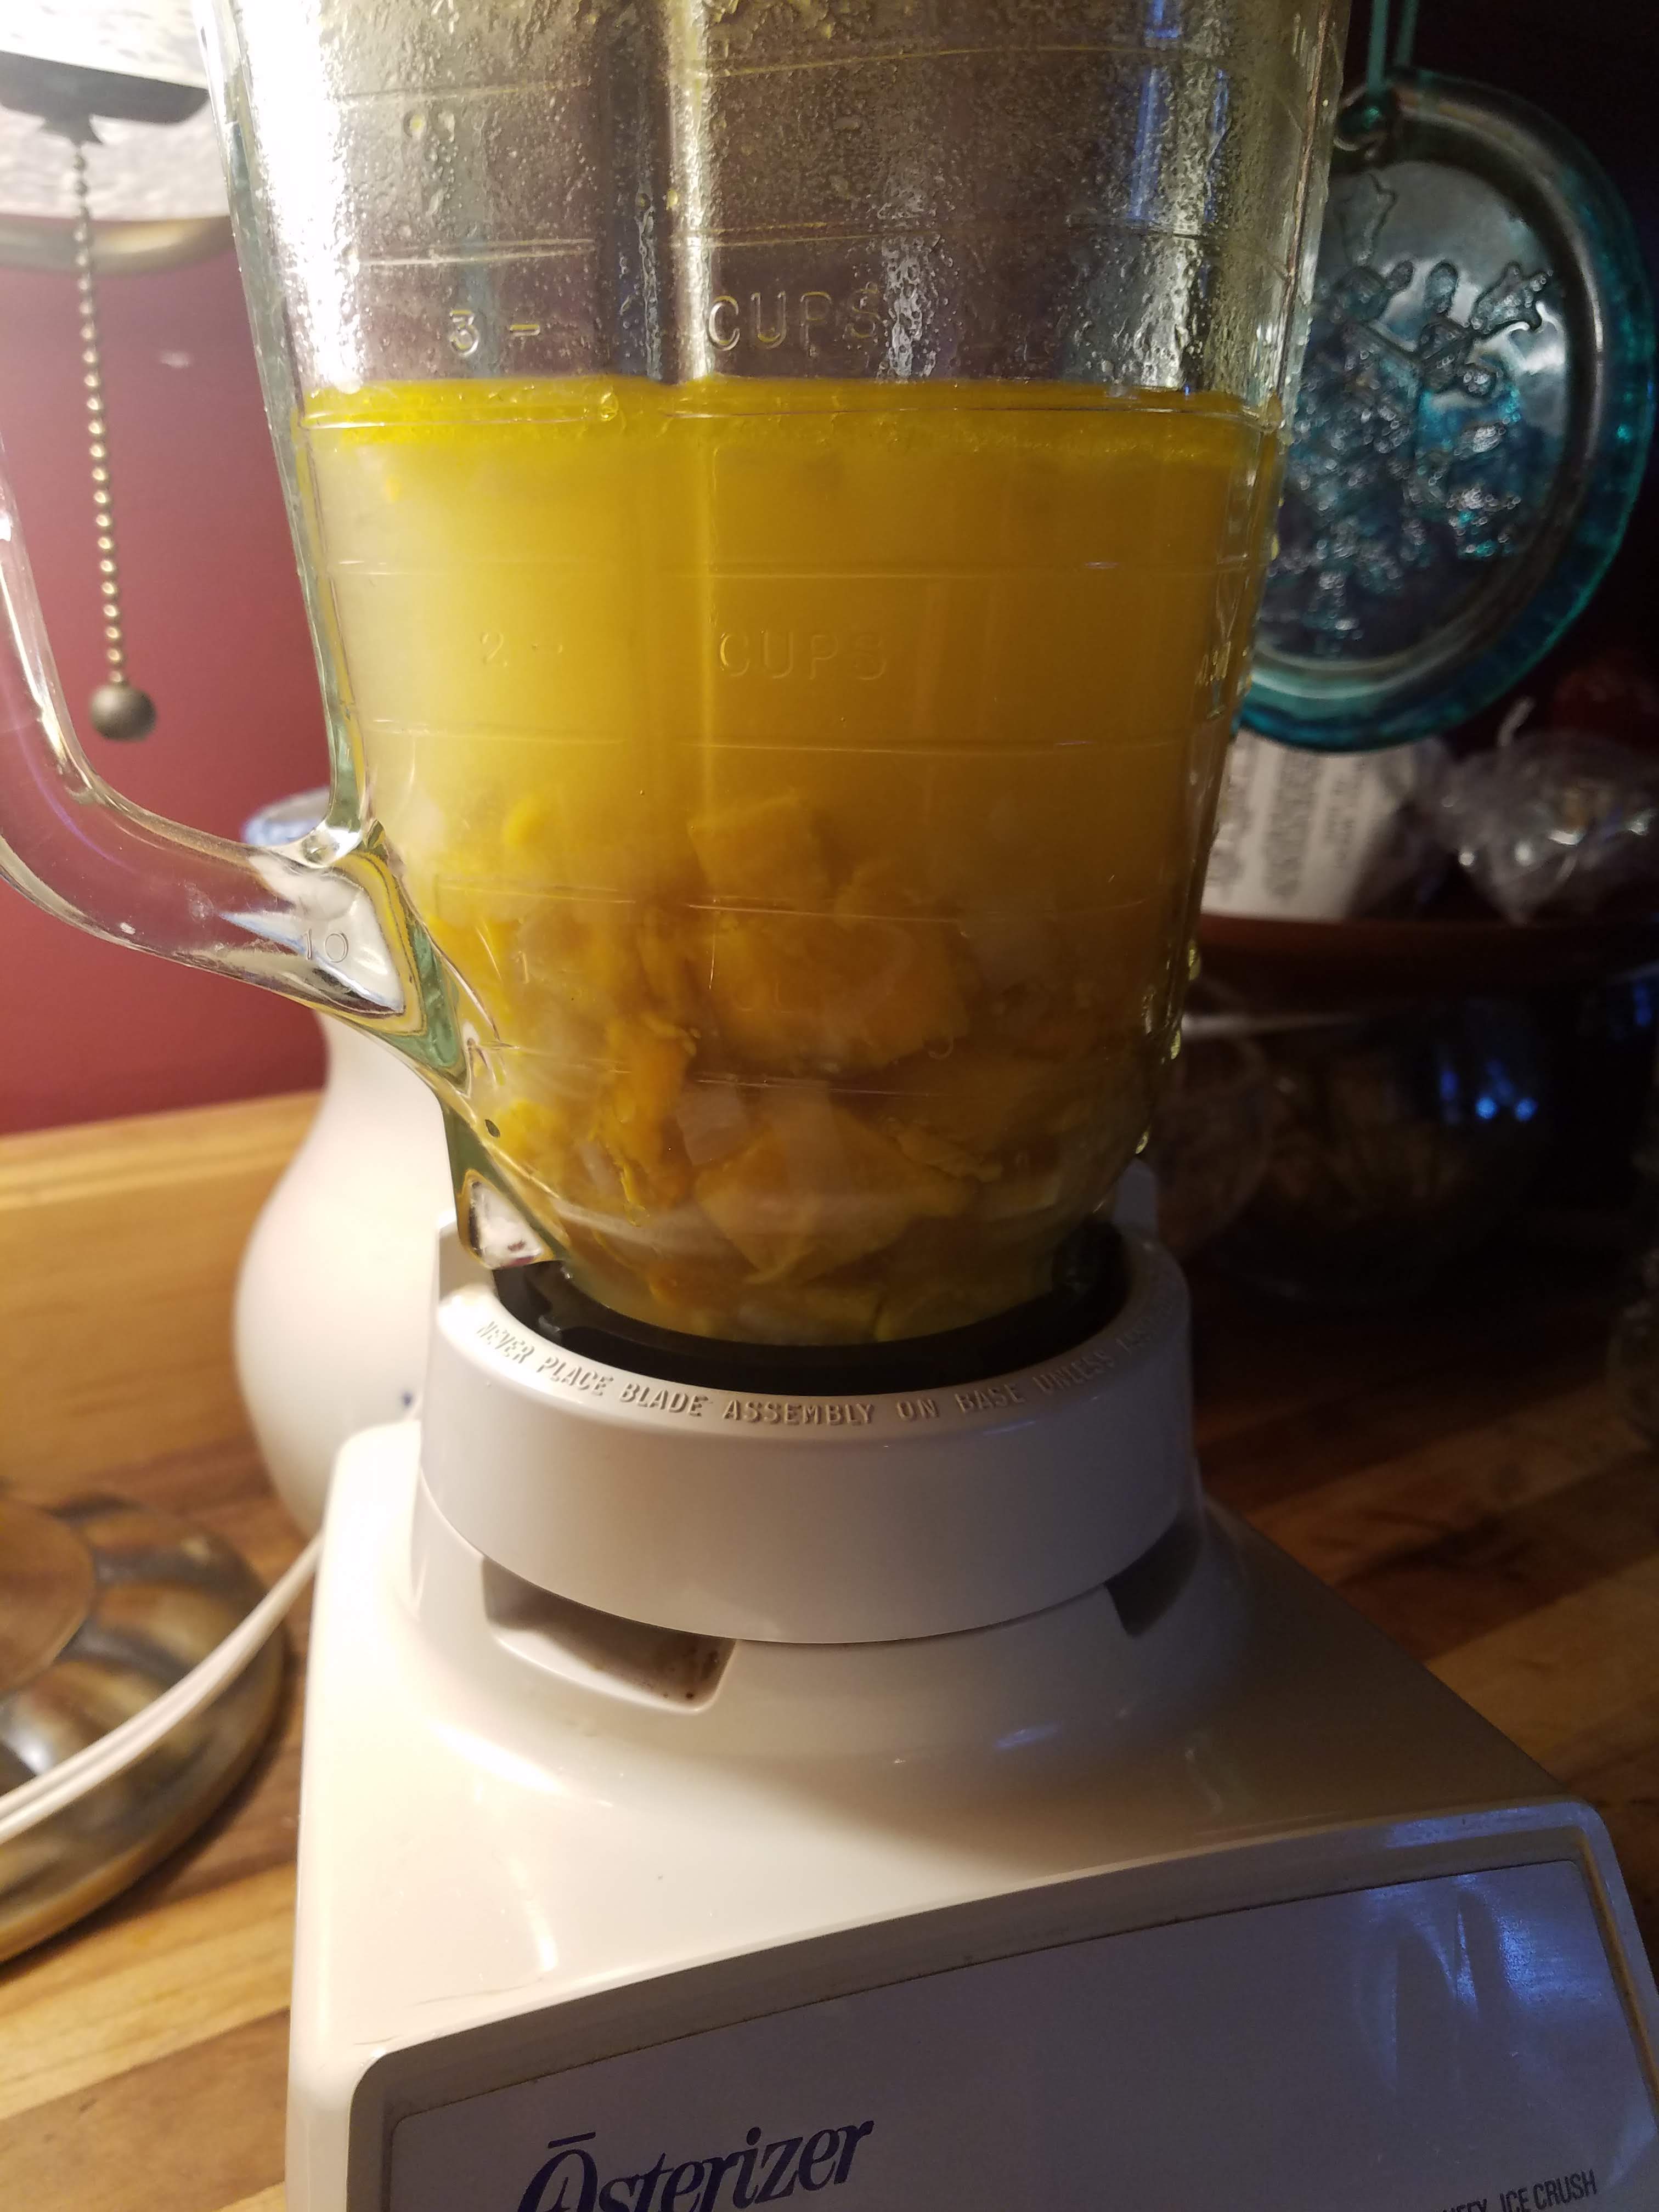
put the lid on tight and hit Puree. I let it do its thing, whirring, chopping, pureeing at high speed for ten seconds. Ten seconds means me counting to ten as in one, one thousand, two, one thousand, three, one thousand….

Voila!

Don’t you love that word: Voila!

blender2.jpg

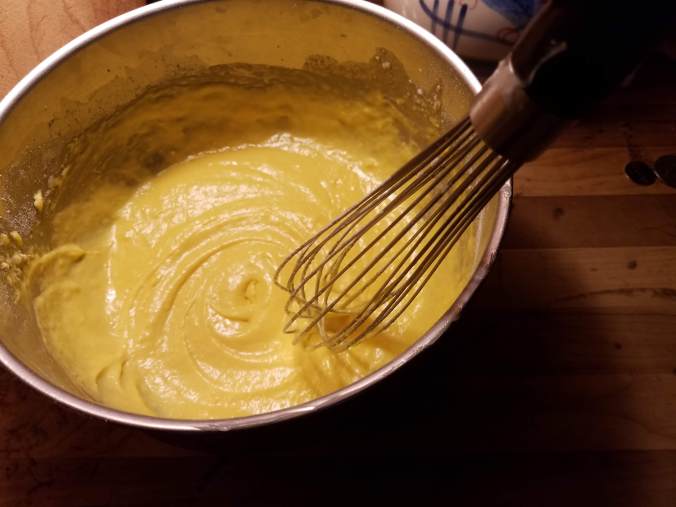
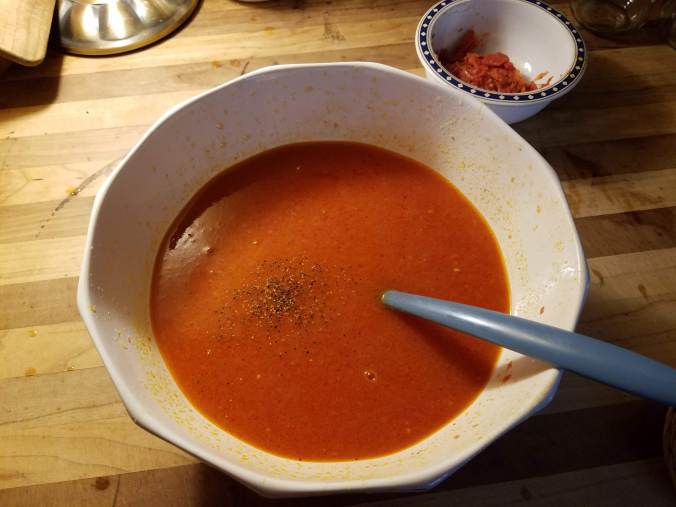
It was enough. I transferred each blender-full of the now-pureed, almost-soup to the regular size Dutch oven. Fill, puree, repeat until all is done. I got this much, which turns out to be just shy of 5 quarts.

finished in pot.jpg

Add salt a teaspoon at a time, remembering that salt enhances the flavor, brings it out. Stir and taste each time. Too little is no good. Too much is no good. I needed about a teaspoon per quart to make it taste right (to me). Add pepper to taste.

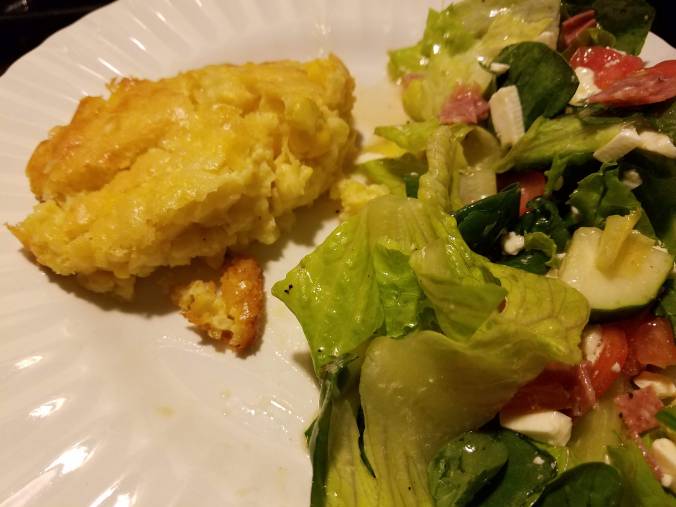
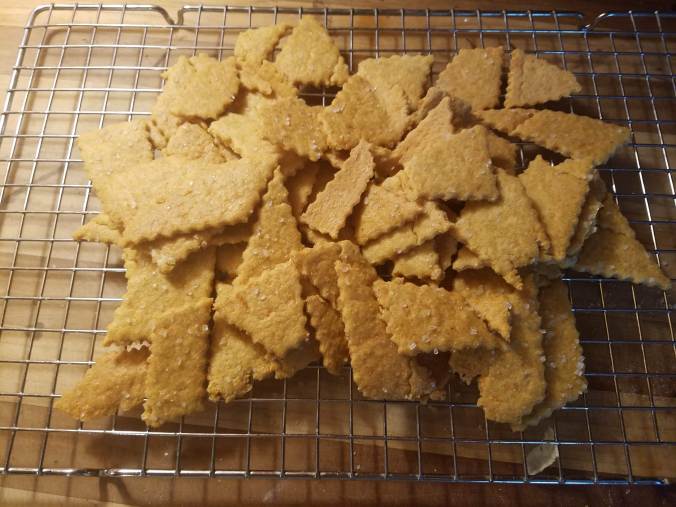
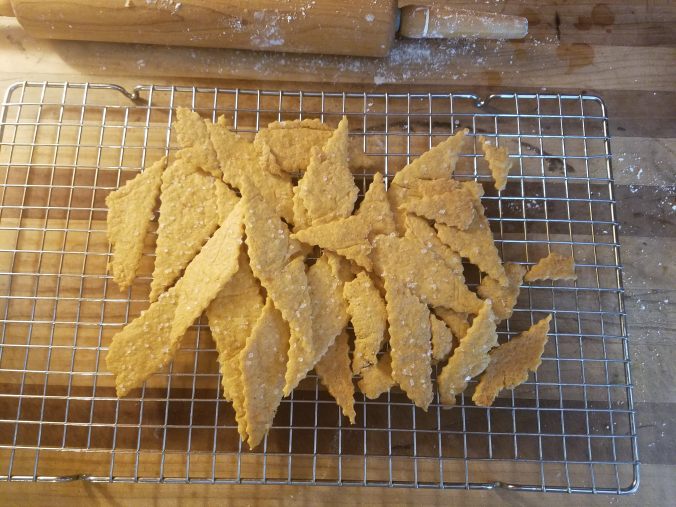
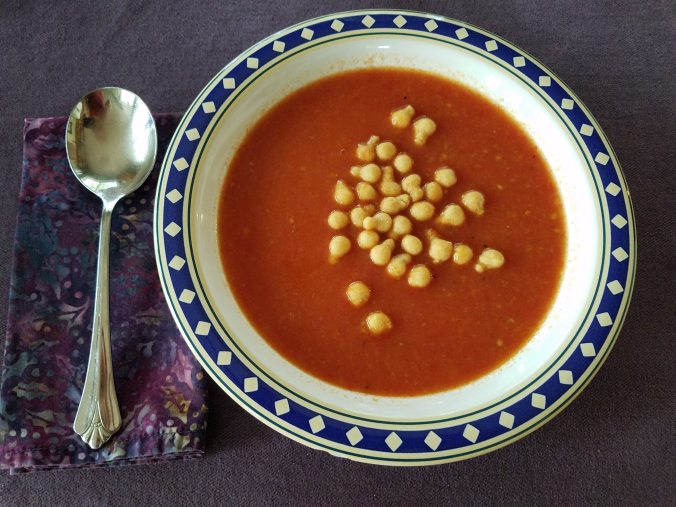
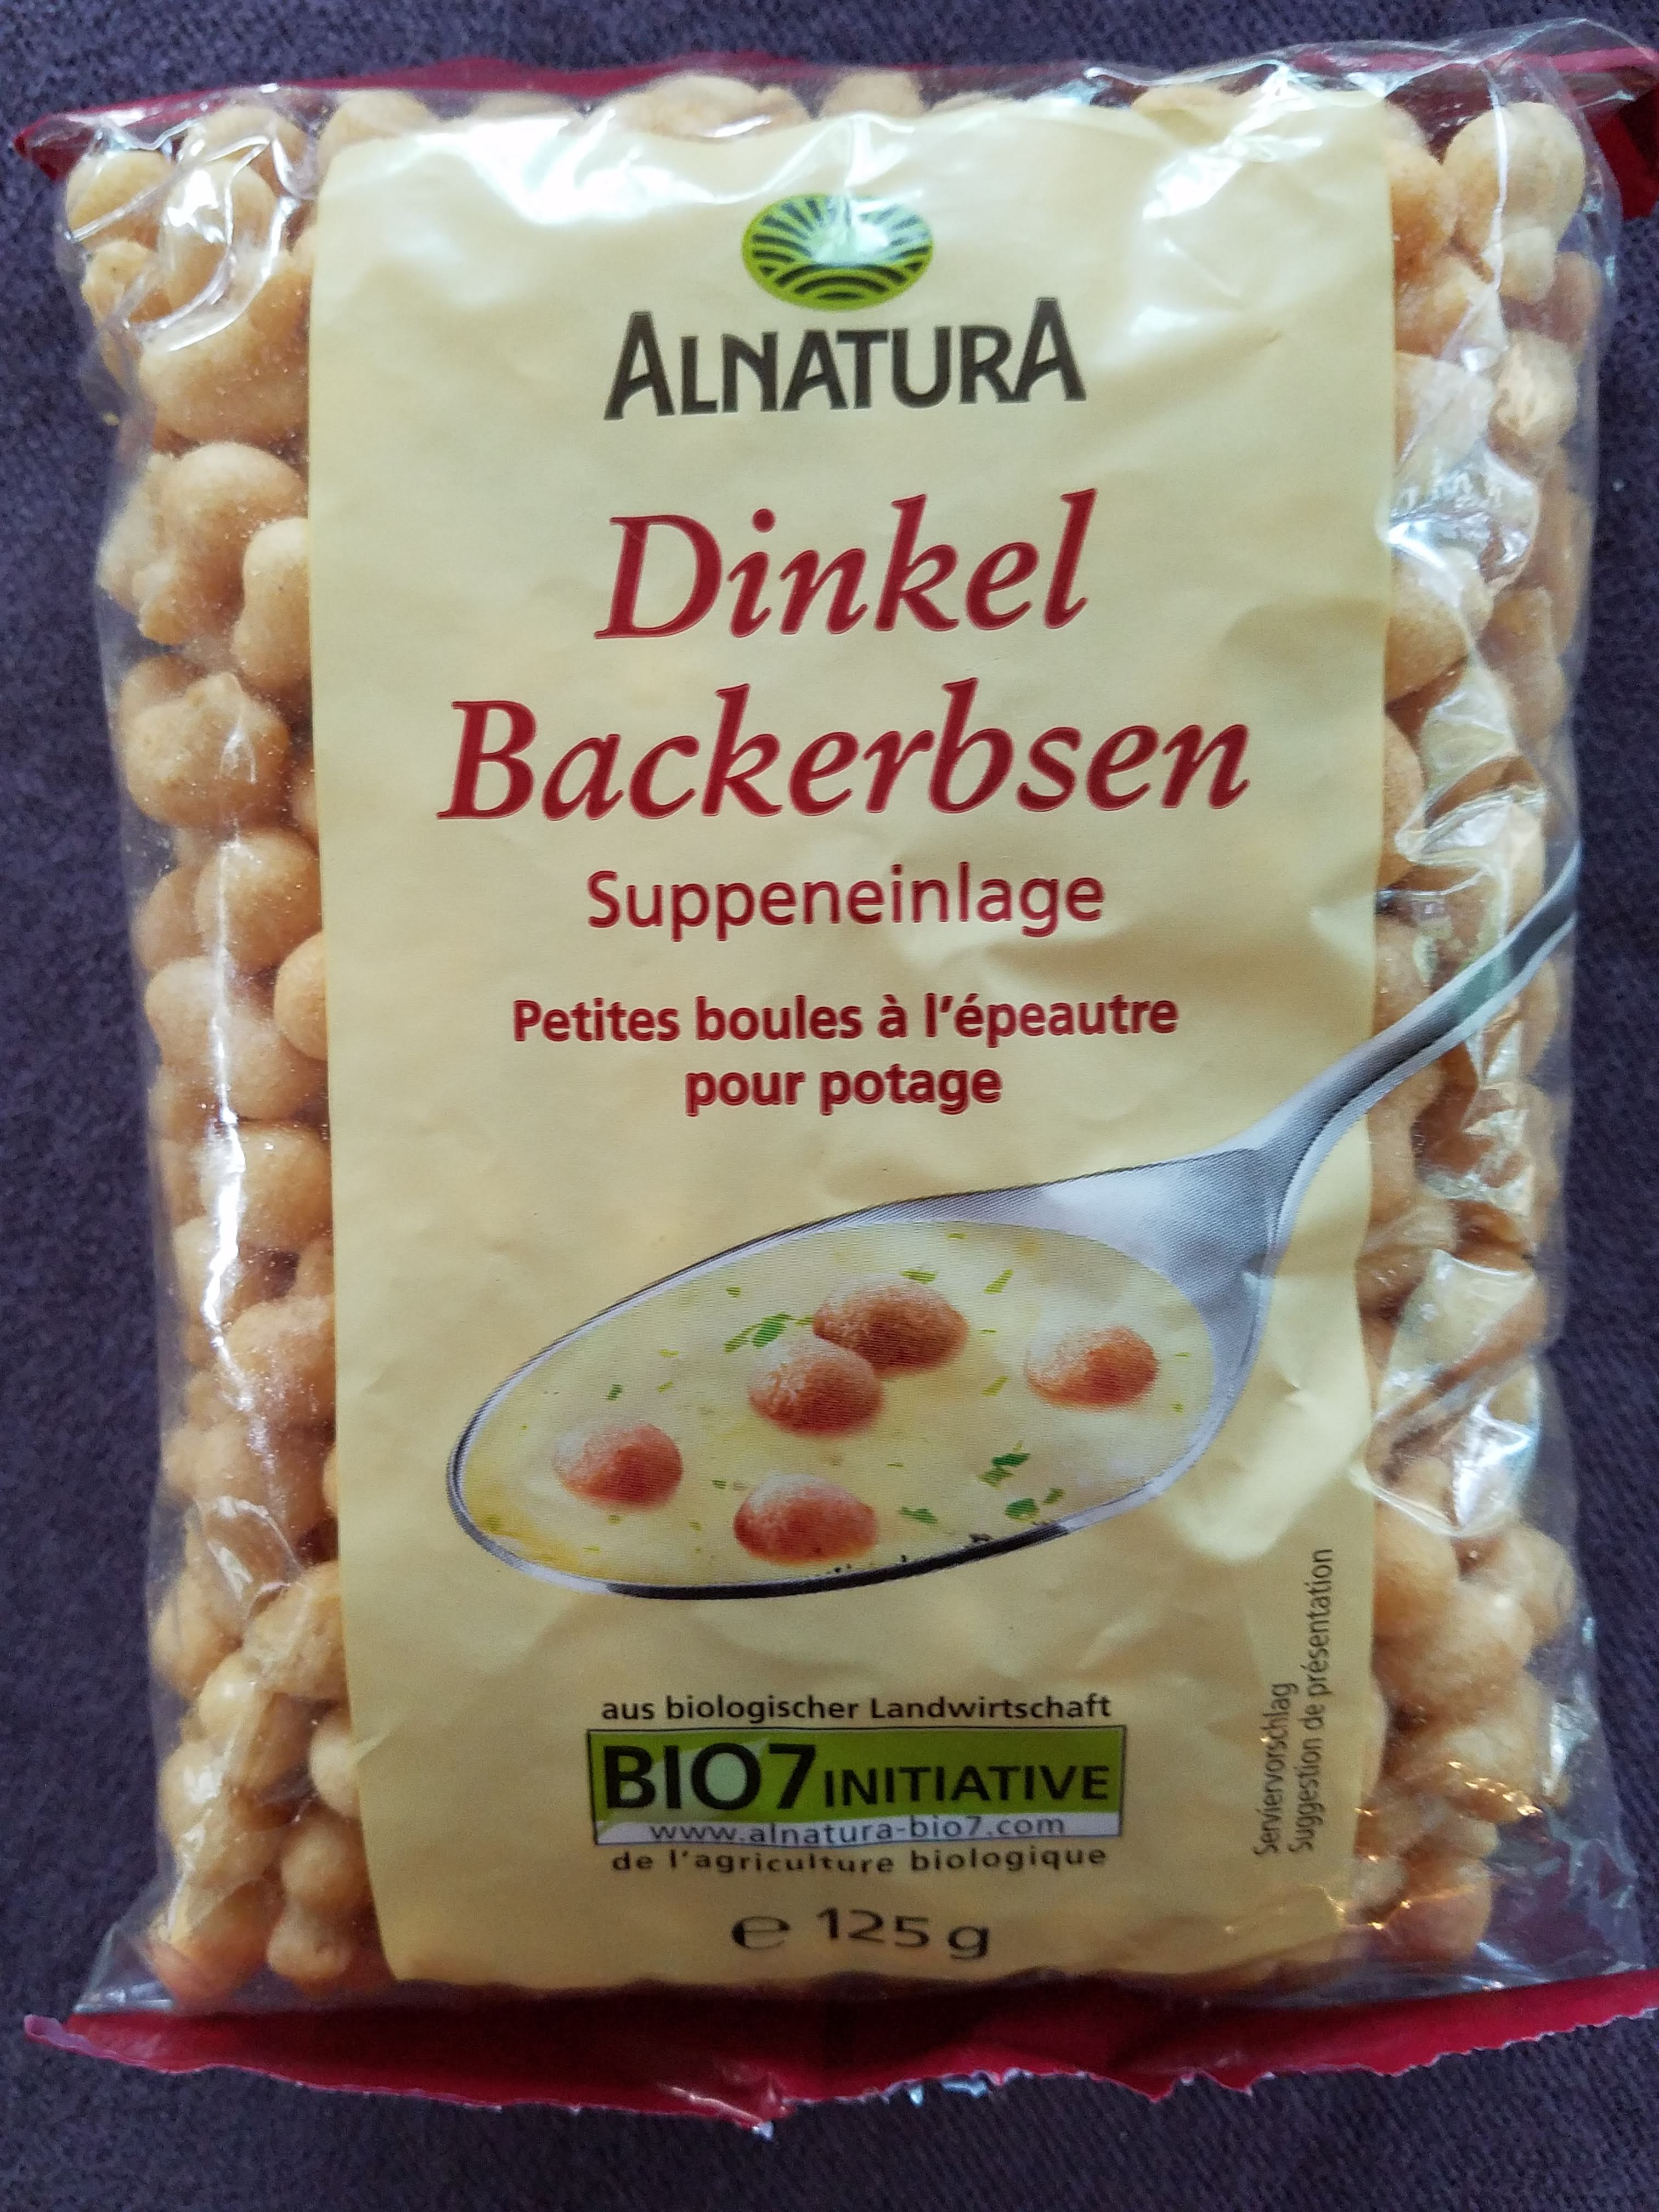
When you heat it up to eat it, put some of the Backerbsen or some other little crouton on top of the soup in your bowl as I suggested with Mom’s Tomato Soup. They would be terrific on this.

Please let me know if my efforts to be EXACT in my instructions are not exact enough. I was timing something earlier, another recipe I might share, and Samuel, my son who’s 24, chided me. “Since when do you time things?” he said to me.

“Since the people who read my blog requested that I be EXACT,” I replied.

“Is this an effort to rebrand yourself as someone who gives specific instructions instead of your normal ‘you’ll know when it’s done’?”

Very funny.

Corn for Fun and Corn for Pudding

These days, getting thread to go through the eye of the needle involves remembering where I put my glasses, which sounds easier than it is, especially when a deadline looms. My granddaughter Ellie, this darling girl, has a birthday very soon, and I needed to get her present in the mail.

Ellie (2).jpeg

She has been playing picnic lately, and if you were three and playing picnic, you would want some food. So Oma (that’s me) is making some food to add to her picnic, and I hope she likes it. Even under a deadline though, I got maybe a little carried away.

I started with a book, a sweet classic that some of you might remember: Mr. Rabbit and the Lovely Present*. In it, a little girl is trying to come up with a present for her mother. Mr. Rabbit, an unlikely helper, guides her through with fun suggestions, based on color, of what the little girl can and cannot give her mother. For example:

“What else does she like?” said Mr. Rabbit.

“Well, she likes yellow,” said the little girl.

“Yellow,” said Mr. Rabbit. “You can’t give her yellow.”

“Something yellow, maybe,” said the little girl.

“Oh, something yellow,” said Mr. Rabbit.

“What is yellow?” said the little girl.

“Well,” said Mr. Rabbit. “There are yellow taxicabs.”

“I’m sure she doesn’t want a taxicab,” said the little girl.

“The sun is yellow,” said Mr. Rabbit.

“But I can’t give her the sun,” said the little girl, “though I would if I could.”

“A canary bird is yellow,” said Mr. Rabbit.

“She likes birds in trees,” the little girl said.

“That’s right, you told me,” said Mr. Rabbit. “Well, butter is yellow. Does she like butter?”

“We have butter,” said the little girl.

“Bananas are yellow,” said Mr. Rabbit.

“Oh, good. That’s good,” said the little girl. “She likes bananas. I need something else though.”

And voila, they find bananas on a picnic blanket.

Mr. Rabbit (2).jpg

Now you see why there had to be bananas for Ellie’s birthday present. Felt bananas can be part of any fun picnic. Mr. Rabbit and the little girl also put red apples, green pears and blue grapes in her mother’s birthday basket, so there had to be those too. But let me tell you what happens when you get on the internet and look for a pattern for fake food. You see a lot of cute stuff! And the next thing you know, you are also making carrots and corn.

fake food with corn.jpg

I did buy the grapes, but the rest happened yesterday. The apples came out smaller than I wanted, and the bananas not as bendy/curved as they should be, but Ellie will figure it out. There are not that many steps to making felt food and it went pretty fast.

in process with fake food.jpg

Except for the corn. The corn is way more time-consuming that anything else but it is super cool so I had to do it. I know some of you are going to wonder how those kernels came to be.

One kernel, one stitch, at a time — that’s how. **

stitching corn.jpg

Ellie won’t have any idea that the corn took more time than the pears, but you might be able to imagine how much more time! It didn’t matter to me. The corn was too cool not to make. And one more ear is in the works and will be in the package before I mail it today.

Coincidentally, there was corn on my fridge that I had cut off the cobs the last time we had corn on the cob. We had had it on the grill, and you can see that some of the kernels got a little dark. I love it that way.

1.jpg

Corn Pudding is what you do with leftover corn! Simple and quick, totally yummy. I was in rather a hurry with making the fake food and all, so this was perfect. Start with the recipe.

corn pudding recipe (2).jpg

Naturally I am all about eggs right now. This is what I gathered yesterday from my hens, nine total.

eggs in basket 8.27.18.jpg

Some of them are still small, starter eggs, one came from a silkie and some are normal. Look at the difference in sizes. The big one here I collected a few days ago, thinking surely there must be a double yolk inside. The littlest one is from a silkie.

eggs big and small.jpg

I used all these but the silkie egg for my corn pudding, three instead of the four that the recipe calls for because I was right about the double yolk.


I keep my butter in a cabinet, not in the fridge, so at this time of year it’s plenty soft. Whisking the butter into the eggs will not work as well if your butter is hard. If yours is not soft from having been in the cabinet, soften it in the microwave.

eggs and butter.jpg

Use a whisk to beat this up. I mean beat. You have to break up the butter, and you can’t do that by stirring. You have to beat. I suppose you could use an electric beater. I prefer to do it by hand because 1. I feel more connected to the process if there is only a hand tool between me and the food. And 2. I think it’s better to use your body if you can (burn the calories, maintain some semblance of arm strength, etc). I don’t think we do ourselves any favors by letting machines do for us what we can do for ourselves – to a reasonable point, of course – but that is another conversation.

At first when you start beating in the butter, you will see some egg white un-mixed-in and some butter still in small pieces. It will look like this.

beating eggs and butter.jpg

Now use your wrist and beat it with a little umph until it looks like this.

beat up eggs and butter.jpg

Now add the flour, salt and baking powder.

add flour.jpg

And beat again.

(Perhaps you see the evidence that I had other things to do yesterday and was not paying too much attention – I never saw or felt that there was butter on the handle of my whisk!)

After you have beat in the flour etc., you will have a smooth, almost velvety batter. It’s quite lovely.

mixing flour in.jpg

Now add the milk.

adding milk 2.jpg

(I still didn’t see the butter on the handle!)

Mix that milk in. Notice I did not say beat it in. Mix the milk in carefully or you will have splashed milk all over your counter. After it is nicely mixed in, add the corn. The recipe calls for 2 cans or the frozen equivalent, neither of which I was using (fresh being far superior), so I judged that 2 cans would be about 3 cups. It worked out fine. Go with three cups.

corn in batter.jpg

Then pour this into a buttered dish, using a rubber spatula to get every bit out of the bowl. Before it went in the oven, mine looked like this.

batter in pan.jpg

After 40 minutes or so (so sorry! I did not time it exactly because I was distracted by stitching fake corn kernels onto a fake cob while waiting), it looked like this.

baked.jpg

That part around the edge where the batter met the butter and they made the darker, crispy part is oh so good! I took a corner piece. Along with the wonderful salad Samuel made, it was a fine meal.

closeup on plate.jpg

He, of course, took a larger portion, Oh, to be able to eat like that!

Samuel portion.jpg

If you want to, you could add other things to this pudding: chopped spinach, onions, pepperoni, ham, tomatoes (well drained) – your call. Play around, have fun. But maybe start with the original. And enjoy!


* Mr. Rabbit and the Lovely Present by Charlotte Zolotow with pictures by Maurice Sendak

** http://whilewearingheels.blogspot.com/2011/11/i-heart-fake-food-felt-corn-tutorial.html

Crackers Revisited

Late in the afternoon yesterday I went to visit my friend Hank Browne. First thing (after hello) I said was, “I have a little something for you. These are my homemade cheese crackers,” and I handed him a little baggie full. Never having had these crackers before, he said, “Now why would you make these when you could just buy a box?” I said, “You try them and then talk to me.”

This is the photo of Hank that we used on the end flap of the jacket of his book.* I love the fact that he is actually holding a bagel in this photo but we cropped it out.

hank browne bio pic4.jpg

Sometime after I left him with my crackers, I texted him and said, “I need to know what you think of my crackers.” He said simply, “You are my cracker maker.” I think he liked them.

Last week my mom called me to ask for “the cracker recipe.” She did not have to tell me which cracker recipe because only one matters in my world at the moment. There’s a reason you stick with a recipe. It works and it’s wonderful! Imagine sharing /savoring/devouring some of your favorite cheese alongside homemade crackers – these homemade crackers.crazy 2 baked on rack.jpg

These crackers have texture, flavor and the possibility of crazy shapes if you are so inclined. They can take cheddar (Cabot if you please), parmesan, Monterey Jack or just about any hard or semi-hard cheese. I think asiago would be great. Jarlsberg even.

About two years ago I wrote about these same crackers, but at the time I thought it was enough to present the recipe and show what they looked like finished. See how much I’ve learned in two years? Lots of pictures are good! Here we go. Still, we will start with the recipe. It’s from the King Arthur Flour 200th Anniversary cookbook. Back in the day I thought it was very cool that I got one of their first-run, limited-edition 3-ring binders.

All you need on this page is the list of ingredients, but feel free (later) to compare their instructions with mine. I don’t even look at the instructions any more. Oh, wait. Perhaps I had better check!

recipe.jpg

That’s right. They wanted you to roll out the dough on a floured surface and then transfer the crackers one by one to the baking pan. I did that for a long time. Terribly time-consuming, and as you might have guessed, I have other things to do. So a few years ago I came up with a waxed paper method I will show you, and just yesterday (lucky you!) I realized an even better way to get the rolled-out dough to the pan. I can’t believe I didn’t think of this before!

First, grate your cheese. Use the finest hole of the grater you have. This is mine that I got in IKEA years ago. I like it because 1. It has its own bowl that the cheese falls into and 2. it has a second top with bigger holes that I use at other times for other things. My sister Lynn has the same one and she loves hers too. But my mom never liked hers and gave it away. To each her own.

grater.jpg

Of course if you are using parmesan or romano cheese and it came already grated, you are good to go on that point. I chose cheddar this time because Cabot was on sale this past week and I bought four of the Seriously Sharp bricks, maybe five.

Also, I tripled the recipe because I know how these disappear. If I am going to go through this process and make something that doesn’t go bad in three days (not that they will last three days even tripled!), I might as well make enough to last a while and be able to give some away. You want to share this kind of love.

Put your cheese in a large bowl and mix in the cornmeal. I happened to have yellow cornmeal but you can get white also. The one I had in the house yesterday is also a somewhat coarser texture than I have had in the past, but it doesn’t matter unless you care about them being a finer texture in the end. They are good either way.

cheese and cornmeal in bowl.jpg

Naturally your cheese is a little moist, so mixing the cornmeal into it first helps keep the cheese from clumping. We don’t want clumps.

Next add the flour. This additionally de-clumps.

cheese flour and cornmeal in bowl.jpg

Add the rest of the dry ingredients (i.e. everything else except the eggs, oil and water). Mix in. I did not add the Dijon as suggested in the recipe, but I’m sure it’s good.

The recipe says to mix the eggs, oil and water together separately and then add it to the dry ingredients. You can do this if you want but it works just as well for me to break the eggs right in the bowl and then pour the oil and water in and stir it all up. Two things: 1. If you are worried about shells getting in your crackers (you don’t want shells), break the eggs in a separate small bowl and pour them in, and if you are going to do that, you might as well beat them up right then with the oil and water before adding to the big bowl. I did not worry about shells because my hens are making good strong shells. Your call. 2. I always use extra virgin olive oil (EVOO, as the pros call it).

mixing in eggs, oil, water.jpg

This mixture looks so yellow because of the yellow cornmeal as well as the very yellow yolks my hens are making. Yours might not look this yellow.

Here is what they dough looks like with all ingredients mixed together. You don’t want it gooky, but it should hold together. If your dough doesn’t hold together nicely or seems too dry, you can add a little water to it. But don’t make it gooky.

mixed in bowl.jpg

Now the fun part.

I did the rolling out part three ways. You can choose which way seems best to you.

  1. Between two sheets of waxed paper
  2. On one sheet of waxed paper with flour on top of the dough
  3. Between a sheet of parchment paper and a piece of waxed paper

All of these methods allow you to transfer a full pan’s worth of crackers to the pan all at once. The two-sheets method is what I discovered a few years ago. It has the advantage of being less messy than the old floured-surface method but the bottom sheet can wrinkle a bit. I’ll show you.

Take about as much dough as comfortably fits in your hands mold it to a flat ball or oval and put it on the paper.

dough on waxed paper.jpg

Put the second sheet on top and smoosh it a bit.

dough between waxed paper.jpg

Now use your rolling pin to roll it out. See, no messy floured surface. If you are careful you can re-use the paper for the next ball of dough.

dough rolled out betweem waxed paper.jpg

Keep rolling until your dough is about 1/8-inch thick. Remove the top sheet and flip the whole thing onto your silicone-mat-lined baking sheet. If you don’t have a silicone mat, grease the pan.

The first time I did this, I cut the cracker shapes first, then flipped it. You should not cut on a silicone mat. In the end I found a better way, but this way first.

I removed the top sheet and cut the shapes I wanted. The tool I have is called a Raedle, which is basically a wheel with a zig-zag edge connected to a handle. The one that says Grand.. on it was my grandma’s. It has been used a lot over the years, thus the chipped off name. The other pictured here I found in an antiques shop near me called A&W and had to decide which of my children to give it to. I settled on Samuel because he made these crackers for me some years ago when I was writing my book. Batch after batch sustained me through that project and I’ll never forget his kind service to me. This one is a beauty. If you find one at an antique shop, buy it. If you don’t have one, a pizza cutter works fine.

raedle.jpg

The dough sticks to the paper which makes the flip possible, but do you see how the paper can get a bit wrinkly? This happened as I continued to roll out the dough to the thinness I wanted. It does not affect the crackers, but maybe that bothers you.

removing paper.jpg

The bottom sheet may wrinkle less if, on top, you use flour instead of another sheet, but either way the wrinkling is not a big deal. Using waxed paper also means you have to be able to flip the paper on to the pan as I will show you. If you are shy of flipping, use the parchment. You can bake right on it. I’ll show you that later.

For now, this is the flipped waxed paper on the pan.

flipped cut dough.jpg

Little by little I carefully peeled what is now the top paper away.

peeling paper back.jpg

There are always a few stragglers that don’t want to stay with their fellows. See that one at the top? Every crowd has a few renegades. Just put them where you want.

stragglers.jpg

Brush water on the dough before you salt the crackers. I couldn’t find my little brush so I dipped my hands in a little bowl of water and used my fingers to wet the dough – just enough to make the salt stick. Use coarse salt.

salted.jpg

And into a 400-degree oven they go. The original recipe says 375, but 400 works for me. You bake these until they are as dark as you like them. I love them a little darker but was in rather a hurry yesterday so these are not as dark as I would normally make them. Still good though!

baked first pan.jpg

Transfer them to a rack to cool. Try one or two. Stop if you can. Oh yum.

baked on rack.jpg

Now back to the other rolling-out methods. First, one sheet of waxed paper only. Put flour on top, rub your fingers over it to smooth out the flour a bit and then roll the dough out.

flour on top2.jpg

You might need to keep adding a bit of flour until you get to full size and desired thinness.

lternate with flour on top.jpg

This method still requires you to flip the paper onto the pan. I found that cutting the cracker shapes before flipping made it trickier, and I know you should not cut on the silicone mat for fear of damaging it but I decided to take the chance. I flipped the uncut dough, removed the paper, then used the Raedle gently. It’s easier and I managed to not damage my mat, but then I remembered parchment paper. That’s the ticket!

Cut a piece of parchment paper that will fit your pan, roll out the dough either with waxed paper on top or with flour on top. This shows waxed paper on top.

parchment.jpg

Then simply slide this paper onto your pan. No risky flipping. No pre-cutting of shapes. No worry about mat damage.

This is the parchment slid onto my pan, which you can’t see because I cut the paper too big.

parchment ready.jpg

So I trimmed the paper.

parchment cut.jpg

Brilliant. Cut shapes, brush with water, sprinkle salt, and into the oven it goes just like that. Regarding shapes, have at it – standard squares or rectangles, maybe diamonds as you see above, or a little more free form as below. It was fun to make the arc cuts, but in the end the crackers were pretty square anyway. You can use cookie cutters if you want too. Either cut them on your counter and move them (tedious but the most efficient use of the dough) or cut them on the parchment and just leave the in-between parts to eat on the side later.

You don’t have to separate the crackers after cutting but before baking. The baked crackers break apart easily.

I know it’s just as easy to buy a box. But the other night I took the last few of the last batch of these, the ones my mother made last week and gave me, to the airport when I picked up my son Samuel. He polished them off well before we got home, at which time he asked, “Do you have any more crackers?” I knew there were no more of the homemade ones and started showing him his choices, the boxes in the cabinet. He stopped me short. None other would do.

You try them and see if he’s not right.

free form.jpg


*Hank’s book is Vanishing History, Ruins in Virginia, published last year by my little publishing company, Paper Shoe Press. You can find it on amazon!

low res Ruins cover image Browne.jpg


Mom’s Tomato Soup

It’s that time of year. Gardens, farm stands and farmers’ markets are loaded with gorgeous red tomatoes. There is absolutely nothing under the sun to compare with the taste of a sun-ripened garden tomato. How beautiful is this?

tomato.jpg

cut up.jpg

My favorite way to eat them fresh is cut up in a bowl with olive oil, cider vinegar, fresh basil (cut up) and salt and pepper. My dad’s favorite was to make a sandwich of toasted white bread, sliced tomatoes, mayo and salt and pepper – a BLT minus the B and the L. But when tomatoes are in abundance, when you can’t possibly eat that much salad or that many sandwiches, the best solution is fresh tomato soup. To be specific, the tomato soup my mom always made, and still does. It’s easy and freezes well, so you can have the taste of summer when the snow flies.

I am under strict instruction from [you know who you are!] to be EXACT in this recipe, so I will do my best to not say “a little of this” or “until it looks right.” 😊

I’ve been gathering the tomatoes from my garden, eating some and saving some. For the soup, I cut up the saved ones as shown above, stems, green-part-under-the-stem and any bad parts cut off, and had enough to fill my 3-quart bowl to overflowing. Meaning I could not possibly put one more piece in or it would have fallen out. Note that skin and seeds are not removed at this point.

For this amount of tomatoes I started with 6 tablespoons of butter. Put it in a large cooking pot – my Dutch oven was perfect. Melt the butter on a medium heat.

melting butter


Add the same amount of flour (6TB) and whisk it in.

flour to butter

Let this get bubbly over the heat.

butter and flour in pan.jpg

Turn the temp down to low and cook it for about 5 minutes, stirring occasionally, until it looks light brown, like this. You have now browned the butter.

browned butter.jpg

On top of the browned butter, dump your 3+ quarts of cut-up tomatoes.

pot3.jpg

You should not need any other liquid. The tomatoes have their own juice. Leave the heat on low and cover. I love my silicone lids! This one is particularly nice because the edges let a little steam out.

covered.jpg

Peek at it now and then. Oops, that wasn’t EXACT. Peek after 10-15 minutes. It should start to cook down, first like this:

pot2.jpg

A good stir would be good at this point. Then let it cook some more (10-15 minutes more? doing my best to be EXACT here, really I am!!) until it looks like this:

pot1.jpg

When it looks like this, give it another good stir and turn off the heat. I let it cool for a while, say half an hour or even an hour, while I do something else. You can think of something else to do.

The next step is separating soup from skin and seeds. A strainer works well. This is my set-up.

strainer in bowl.jpg

The holes in my strainer are not overly small meaning two things: One, the soup will go through easily, which is good, and two, some seeds will get through, which may or may not be ok with you. It’s ok with me, but I am one of those people who likes raspberry jam with the seeds still in it, so decide for yourself. Some seeds, or use a strainer with smaller holes and do a little more work.

The work is in the pushing through. First, use a ladle to put enough of the tomato mixture in the strainer to almost fill it, like this:

seeds4.jpg

You see that some went through already. Your job is to get the rest of the soup to go through but leave the seeds (most of them) and the skins in the strainer. With a large spoon, stir it up and some more soup will go through.

seeds3.jpg

Then with the back of the spoon, push against the side of the strainer.

seeds2.jpg

More and more soup goes through, and more and more seeds and skins don’t, until it looks like this:

seeds1.jpg

Use your spoon to scrape off – into the soup – any bits that are stuck to the bottom of the strainer. Set the strainer aside. Now depending on how big your bowl is, you have two choices. Either remove the seeds and skins to a separate bowl (and later feed it to the chickens) and start over with putting the rest of what’s in the pot through the strainer OR season what’s in the bowl with salt and pepper, transfer it your freezer containers and then put the rest through the strainer.

seasoning.jpg

This is the first half of my soup. I added the salt and pepper (to taste – I can’t be more EXACT about that), stirred it up, then transferred it to old quart-size yogurt containers which work beautifully for freezing this or any soup. I then pushed the second half through, and seasoned it just the same (or about the same because, you know, seasoning to taste is not an EXACT science 😊).

See if you can put it away without preparing a bowl for yourself. I’ve topped mine with Backerbsen, a German specialty I discovered years ago. This past April, my friend Anett brought me some when she came from Karlsruhe to visit. (If you want to try them, you can get them on amazon — maybe not the brand below, but Leimer is a good brand too.) The translation is “baked peas” but they are just perfect little croutons for tomato soup. Oh yum!

in bowl.jpg

backerbsen.jpg


Fun with Names

People can tell you that they love the sound of waves crashing on the shore or birds singing in the trees, but common sense tells you (and studies have shown) that the sound people love more than any other is the sound of their own name. “How can I help you, Mr. Jones?” is so different than “How can I help you?”

When I was directing the training program at a high-end resort, we had a set of “behavioral standards” that helped staff to know, in general, the expectations for their interactions with guests. These were not the technical directives such as the wait staff offering to refill the guest’s coffee cup within three minutes of them finishing the cup they have or the housekeeping staff remaking the bed “tightly and attractively” during daily service. Behavioral standards were the basics like smiling, being polite and maintaining eye contact. Use the guest’s name, we told them. Do not underestimate the power of using someone’s name. Use it discreetly, but use it.

Using someone’s name builds good relations, makes people feel respected, shows attention to detail, is the ultimate personalization. There are good reasons why, when you sign in to a web page such as your email or credit card statement, you invariably see some form of “Hello, ______[your name]______” or “Welcome back, ______[your name]______.” These companies know the power of using your name and work hard to make it seem natural, as if you are being spoken to personally.

Plus it’s fun, especially if you have names like Eppie and Rise. And we should have fun wherever and whenever we can! This past week my granddaughters and I did something we have done twice before on previous visits (does this make it a tradition yet?). We made name pretzels! They may be only four and five, but they know their names!

eppie at the table (2).jpg

rise at the table (2).jpg

It’s rather tricky to guide a child in dough-rolling and take pictures at the same time, so many thanks to Fred, my friend who was visiting, for the great photos that follow.

For pizza dough and pretzels, I have used King Arthur Flour’s “Easiest Bread You’ll Ever Make” recipe for many years. I grant that all the practice I’ve had makes it easier for me than for someone who is new at it. Nonetheless, this is what I started with when I was new at it, and it has served me well. https://www.kingarthurflour.com/recipes/hearth-bread-recipe

Once the girls have their aprons on and the dough is rising on the counter, it’s time for the real fun to begin. You pinch off a piece of dough and get a snake started, one snake at a time. Applying enough pressure to get the dough to stretch out lengthwise but not so much as to smoosh it is probably the trickiest part of this whole operation.

demonstrating rolling technique.JPG

But after a few of them, you get the idea.

snake (3).JPG

With a four-year-old and a five-year-old, this activity is about working with your hands to make something interesting and yummy. If it’s not perfect, it will be yummy anyway, but the fun for a child – think of it – writing your name using snakes of bread dough! And then getting to eat it!

Let’s start with E for Eppie (which is short for Eponine, in case you wondered).

starting the E (2).JPG

How proud and happy she was to see it take shape.

eppie admiring E (2).JPG

And R for Rise. Do we like it?

R.JPG

R is not so easy as E. A little tweak is in order.

R2.JPG

That’s better. She’s happy. I’m happy. Onward.

making R.JPG

I’m not sure this is strictly for kids either. Can you see yourself with your friends in your kitchen, party-time (!), each of you making your names? Eppie loved seeing hers!

eppie unbaked2 (2).JPG

By the way, those are silicone mats on my baking pans. I love them. Before I had these, I prepared the pans differently. I used to cut brown paper grocery bags to fit the pans and then greased the paper. This technique works beautifully but I prefer the mats. One less step.

Rise was equally proud of her name.

Rise unbaked.JPG

We also made OMA (for me, Oma), an F for Fred, and a J, A and W for Jennifer, Anna Lane and Will, our neighbors who were coming later to play. But before you bake them (at 400 degrees), you first have to paint beaten egg on them and then add salt. The painting is another artistic element for the girls to enjoy.

rise painting egg.JPG

When the time comes for adding salt, you can talk about how different people have different tastes, different preferences, even with something as simple as salt. Some like more, some like less. We put on as much as we wanted to, and in some cases more (oops) than we intended to, though their ability to distribute it carefully and evenly was quite remarkable. If you do put on too much, you can push it off later. We are using coarse salt, umpteen varieties of which are available to choose from.

eppie adding salt.JPG

While waiting for them to bake, the new swing came in very handy. I don’t know about the kids in your life, but these kids LOVE to swing!

swing3.JPG

We didn’t read as many books together this time as we did in March – I wonder why!

When the pretzels are good and browned, take the letters off the baking sheets to cool. Wire racks are perfect for this.

rise on cooling rack.jpg

Add a plate of cheese (this one has dried cranberries in it) and a perfect plum or some other fruit cut up, and you have lunch! A very special lunch!

eppie rise oma at table.JPG

Corn Muffins at Their Best

There are some foods I just don’t buy except at the height of their season. Corn on the cob is one of them. I read a great post by Shaun H. the other day about Grilled Sweetcorn (https://catchmeonthewater.com/2018/07/21/grilled-sweetcorn/) and then saw the best looking fresh corn at Yoder’s (Madison, Va) the next day. Yes, need to try that. We got a dozen ears, followed his instructions for removing the silk, soaking the ears and grilling till slightly blackened, and oh how heavenly it was. Thank you, Shaun. The leftover ears I shaved clean with a sharp knife, then put the kernels in the fridge for another day, not having any idea what would become of them.

corn

I love a new day and the ideas it brings. At the moment I have two little granddaughters in the house, Rise and Eppie, ages 5 and 4. “What shall we have for breakfast, girls?” In that moment I remembered three things: the fresh corn in the fridge, my wonderful recipe for Johnnycake (a.k.a. Cornbread) and another recipe I got from an Amish cookbook for “Unconventional Cornbread.”

I vaguely remembered that the “unconventional cornbread” recipe included corn as well as cornmeal. It had been a long time since I looked at it,* but I recall it had other things in it, bacon even – undoubtedly good, but more than I wanted to bother with at the moment.

Keep it simple. How about just a handful of the fresh corn in the cornbread? Use the tried (a hundred times) and true cornbread recipe and add the grilled kernels.

You can always tell which of my recipes date from way back. They are the ones that include shortening crossed out and replaced by butter. Early on, I just copied recipes from wherever I found them and generally followed them to the letter. But it didn’t take me long to discover that butter is far superior to shortening in all but a few applications, so I made corrections. Rule of thumb: Err on the side of butter.

johnnycake (2).jpg

This recipe is great for two reasons: 1. It’s simple and comes out great every time and 2. the maple syrup. I lived in Vermont for 22 years so I got used to the real stuff. If at all possible, use the real stuff. It is so much better there is hardly a comparison with the product called pancake syrup.

Put the dry ingredients in a bowl and stir them up. A wooden spoon works great. I don’t beat the rest separately, but feel free to follow the recipe. I just mix the dry stuff, then break the eggs onto it, pour the milk and maple syrup onto it and start stirring as I add the melted butter. Stir only enough to blend. This is important. Lastly, if you have it (find a way to have it!), add some fresh corn recently grilled and shaved from the cobs. I think I added about half a cup, maybe ¾ cup. The batter them looked like this, kinda lumpy, just right.

batter

To make things easier (and fun) for the girls, we used paper muffin cups inside my tins. They loved wearing their aprons, helping to stir the batter and having the job of putting the papers in the tins.

paper muffin cups

This amount of batter was perfect for twelve muffins, which baked to a golden brown and smelled soooo yummy.

muffins in tins

The jar to the left is my homemade strawberry jam, which in no way conflicted with the corn, in fact enhanced it. I also put honey and of course butter on the table. The muffins needed a basket for serving, and we were ready.

muffins in basket

I tried to capture the steam wafting up from the hot muffin in this next photo – you might see it, but I don’t. I also know that a photo can’t capture the sweet scent, the waiting jam, our hungry bellies… It was almost 830am by the time we were sitting down, the preparation process taking slightly longer when two little girls are involved – not that I would trade this time with them for the world!

inside of muffin

I haven’t had a good corn muffin in a long time. These were both new for me – never added corn to that recipe before – and beyond good. Outstanding texture, perfect moisture. I’ll make them a time or two again before that stash in the fridge is gone, and then most likely I’ll wait till next year for a repeat. I don’t mind a bit having something so delicious only in its season.

Naturally there were a few crumbs left on the plates when we were done, so guess who else got to enjoy some of this delicious breakfast: chickens! I think they like it too.

crumbs to hens 2

*In case you are interested in the “Unconventional Cornbread”

unconventional2 (2)


In a Pickle

Some things ask to be done, and it’s best to just do it. I had not planned to make pickles this week, but it’s the middle of the summer and five more cucumbers in the garden were ready to be picked (with more to come!) and there were already nine in the fridge, so it was time.

cukes to start with.jpg

I started with 14 cucumbers, sliced them up and layered them with salt in my big bowl (which is 7” high and 12” across the top). If you want to make these yourself, you let that sit about an hour. You could add sliced onions or green, yellow, red or orange peppers, or cauliflower cut up into florets, but I had so many cukes, I’m stopping there this time.

Part of cooking, part of life, is knowing where to draw the line.

Kenny Rogers doesn’t know it, but he really helped me a few years ago. I had a difficult decision to make and I kept hearing him singing in my head: You got to know when to hold ‘em, know when to fold ‘em, know when to walk away, know when to run… Kenny knew. Sometimes you are just in a pickle about what to do and there are reasons for this choice and reasons for that. Should you hold on or let go? Stay or move? Buck up or give in? Hope for more or settle for what you have?

In the end, back then, I knew it was time to walk away. Not run, not bolt. Just walk. The voice in my head – his voice in my head – guided me not only in what choice to make, but also in the best way to do this thing that had to be done. Funny, the song doesn’t tell you what to do. It just tells you there are choices and you have to pick one. You can’t waffle, and you can’t pick them all. You think it through, you pick a route and you take it. It leads to new scenery and new experiences that you would not have on another route.

I picked the route tonight that included 14 cucumbers and it led me to nine jars of pickles! I made the dog happy too. Within seconds of opening fridge and beginning to bring the cucumbers out, she was out of her sound sleep, off the couch and at my feet. She LOVES cucumbers!

coco better.jpg

Carrots too, in case you’re wondering, and the heel of the romaine lettuce head, and peppers (the guts or the outside part with skin that we eat), and watermelon!

But we are on pickle-making now: Here are my cut-up cukes, resting, sweating (the salt will cause them to do that, really), relishing (hehe) their final unpickled moments.  cut up and salted.jpg

As soon as I am not being distracted by how many cucumber chips a small black pug can eat, or watching her adorable begging, I go get my jars. Everyone has a cabinet with jars in it, right? Mine contains the ones I’ve been saving because they are just too pretty to put in the recycle bin. Or too potentially useful down the road. If you have not been doing this, you might have to buy mason jars, which are great also, but if you had been saving jars all along…

You laugh, but jars come in very handy. You just ask the 35 or 40 jars in my basement how useful they have been, how many times they have been called to action, how integral to the operation they are, how versatile, how easy to clean, how good looking – the list goes on. If jars had feelings, mine would feel good!

Make sure your jars are clean, inside and out, and that the lids are good. By good I mean they have that rubbery ring along the inside edge which provides the seal. I keep my pickles in the fridge, and I give them away, so I am content with this kind of seal. The yummy pickles are not going to last that long.

While the cukes are sitting with the salt, and once you have your jars clean and ready, you can prepare the brine. I like a sweet-sour taste, also called bread and butter pickles. The brine is basically vinegar and sugar and spices. You can put together your own combination of spices (recipes abound) or buy something called “pickling spice.” The one I got at Yoder’s includes mustard, allspice, coriander, cassia, ginger, peppercorns, cloves and bay leaves. I am happy with this one, but you might have particular flavors that you like or don’t like or want to include more of. That is the joy of cooking – you make it the way you like it!

The basic method is

  • Cut up the cukes/other veggies
  • Layer with salt and let sit an hour
  • Prepare jars
  • Prepare brine
  • Pack salted cukes in jars
  • Pour brine over top
  • Close up jars and refrigerate

The basic proportion is for every 3 cups of cukes/veggies, make a brine with 1 cup sugar, 1 ½ cups vinegar and about a teaspoon of pickling spice. Figure out how many cucumbers you have and do the math. I find the easiest thing is to let the cukes sit in the salt for an hour or so, then stuff them into the jars. Put as many as you can fit in there. That tells you how many cups of cukes you have, so it’s easier to do the math. Then measure out your vinegar, sugar and spices into the pot and turn on the flame.in jars waiting.jpg

If you don’t have a garden or access to a farmer’s market, you can use cucumbers from the store just as well. I would use the European cukes because they simply wrap them in plastic instead of putting a waxy whatever on their skins. You don’t want that waxy stuff.

You can use brown or white sugar. A combination is good. With this batch I used up a bag of brown sugar that had gotten too hard. It dissolved in the vinegar over a flame just fine, but the proportion of brown to white sugar made my pickle brine darker than usual. If the amount of sugar seems too much for you, use less. The pickles will just be more sour and less sweet. It’s up to you. You can use white or cider or rice vinegar or a combination. The flavor you get — just like the scenery you see and the experiences you have! — comes from the choices you make. Have fun! Every time you make pickles, make them a little different. Why not?

Combine the sugar, vinegar and spices in a pot and bring it to a full boil (making sure the sugar is dissolved). The slight fuzziness you see in this photo is not blur. It’s steam rising from a fully boiling brine.

full boil.jpg

Use a 2-cup or 4-cup glass measuring cup that has a pour spout to get the brine from the pot …

dipping.jpg

into the jars filled with cukes. Be careful. The jars are so full of sliced cucumbers, it could make a splashy mess otherwise, and still might.

pouring.jpg

Oops. It did make a mess. I poured too fast. Bother.

mess.jpg

You can see that the pickling spice likes to collect at the top of the liquid. If you end up with a lot of the mustard seeds or whatever sitting on the topmost cucumber in the jar, you can spoon some of that off. You don’t want your pickles that spicy. Or maybe you do?

As each jar is filled, use a damp cloth to clean the outside of the jar and around the rim where the lid will seal against the glass. Put the lid on and set aside. Keep going until you have filled and closed up all your jars. Set the jars in a nice place and take a picture of your collection to show your friends! When they are cool, put them in the fridge.

finished.jpg


Just One Rhubarb Cobbler This Year

I love rhubarb. If my plants gave me lots, I would use lots. But they haven’t been doing well the past couple of years. We planted them five years ago among the strawberries because strawberries and rhubarb go together, right? The second year and the third year I had lots of rhubarb – oh, the cobblers we had! Now I wonder if possibly the combo works in baking but not in planting?

All I got this year is this amount. It’s not much. But it’s something, and something is better than nothing.

stalks

When you have only a little time, you spend it doing something you really like. When you have only a little money, you spend it on something you really want. When you have only a little rhubarb, you make the recipe you think is the yummiest! I will get enough rhubarb from my garden to make cobbler just once this year, and I will enjoy every bite!

My version of rhubarb cobbler is quick. A lot of the food I make is quick. It had to be, back in the day, and still has to be. When you walk an unboring path for a lot of years, every single day, you figure out that if you spend too much time on one thing, there is not enough time for another thing. There are always other things to do! And I want to do them too!

This many stalks of rhubarb made about 2 cups all chopped up.

cut up

I put it in a small bowl and poured about ¼ cup of my strawberry jam (the one that came out a little too runny) on it and mixed it up. I put it in my baking dish. You can see the bits of strawberry jam in there. As you might realize, the jam adds not only the strawberry flavor but also the sweet balance to the tart rhubarb.

mixed with jam

My topping is oats, flour, sugar, butter and cinnamon. It’s going to go right on top of this, so I opened my oats tin (I love my oats tin….

oats tin.jpg

…You can see it’s old. I think it was a promotional item 20+ years ago or so. I have been using it ever since. One of these days I’ll show more of my various beautiful tins.)

I took a handful of oats out of the tin. I’m afraid I’m not one for measuring much. The amount that fits in a handful is about right. I put that in the bowl that the rhubarb and jam had been in, and then looked down at the rhubarb and jam in the baking dish and realized I forgot to butter the dish.

Two choices now:

  • Put the rhubarb and jam in a clean bowl. This would mean I would have two bowls to wash.
  • Put the rhubarb and jam in the previously used bowl. This mixes the oats with the rhubarb and jam. But that’s ok too. So that’s what I decided to do. The oats will take up some of the rhubarb’s moisture when it cooks down.

I buttered the dish and put the mixed-up rhubarb, jam and oats back in it. By the way, these are “old fashioned” oats. I like them a little bigger – those finely chopped “quick” oats get too mushy.

mixed with oats too

Now for the topping. In the same bowl, which is now empty, I put a couple heaping tablespoons of sugar, same of flour and maybe about 1 ½ tablespoons of soft butter. My butter sits in a covered glass dish in my cabinet, not in my fridge. It always has. I have not died yet.

Oh, and another tablespoon or so of oats, just so some oats are mixed in with the topping. And a couple shakes of cinnamon. Mix this up with a spoon until it’s reasonably well blended, like “coarse crumbs” as they say in recipe books.

with topping

Put the topping on top and bake at 375 until it’s done, which means golden brown on top, probably about half an hour, maybe a little longer. My nose is telling me it’s almost done. I just checked it. Not quite. I like my baked goods a little more golden brown. This is what not quite looks like:

not quite

For someone else this might be perfect, and that’s ok too. I’m sure the rhubarb is cooked down already. Just waiting for the topping to brown up. I am just thinking: I could have added dried cranberries to this. That would have been terrific too.

Now, Louisa, if only we could sit down with this cobbler and a cup of tea together…

done

Pizza Pile

The title does not contain a typo. It is not supposed to say Pizza Pie. I said Pile and I mean Pile. You’ll see.

One day last week – I don’t remember which day except it was the day that included Dog-opoly – Kaileena and I wanted to make pizza. She is ten and so eager about learning to make good food. During the earlier part of the week that she was with me, we had made yeast dough twice, once for cinnamon-swirl bread and once for calzones. Now we would make it for pizza.

Until very recently, I have been making pizza the same way for my entire adult life.

  • Make dough. Let rest.
  • Roll out dough and put on prepared pan.
  • Spread tomato sauce on dough.
  • Sprinkle basil, oregano and garlic powder (one at a time) on sauce. Back in the day all of these came in little jars, dried and broken into very small pieces. Thus the sprinkling. Fresh is much better if you can manage it.
  • Top with grated mozzarella, parmesan and possibly asiago (one at a time).
  • Top with whatever else: spinach, salami, peppers, pepperoni (one at a time).
  • Bake in a hot oven.

In all these years it never once occurred to me to combine ingredients. Here is the way Kaileena and I made a pizza pile together.

First you gather all the ingredients for your pizza other than the crust, which is separate for obvious reasons. We decided to make our pizza with just two cheeses, mozz and parm, and also to use salami, spinach and a half of a yellow pepper that we found in the fridge. Of course you can put whatever you want on your pizza.

pizza ingredients

You see two cheeses (mozz wrapped in plastic and parm in a jar), spinach between them, a few slices of salami next to fresh basil and garlic cloves (we used just one clove), fresh oregano next to the garlic, and a piece of yellow pepper next to the can of all-important Don Pepino pizza sauce.

Kaileena grated the mozzarella while I cut up the rest.

pizza ingredients 2

We are getting closer to the pile. All of this stuff, except the sauce, goes in a bowl. Don’t forget a little salt and pepper. I would say not quite a teaspoon of salt for a pizza this size. But the amount is up to you.

pizza ingredients in bowl

Then you mix it up and either use it right away or put a plate on it and put it in the fridge until later when you want to make the pizza.

pizza ingredients mixed in bowl

Easy peasy.

Normally I would make the dough first, then grate the cheese, cut up the rest and mix it in a bowl while the dough is resting. But we knew we had to go get my mom and had only a little time, so we reversed the normal order. When we came back home with Mom, we made the dough.

First put one cup lukewarm water in a bowl along with a tablespoon of yeast. Stir. Add a cup of flour and a teaspoon of sugar. Stir. It will look like this.

dough

Add another cup of flour and a teaspoon of salt. Add flour about a cup at a time until the dough pulls away from the side of the bowl (about 4-5 cups total I think). Transfer to your countertop and knead about 10 minutes, until smooth and elastic. Kaileena got pretty good at this. In the kneading, you push with the heels of your hands, then pull the dough back toward you. Put some umpf into it. You’ll get a better dough and strengthen your arms at the same time. Who needs a gym when you can knead yeast dough like this?

dough1

After your dough is smooth, let it rest about 20 minutes before you roll it out. Just put a little flour on the counter and let the dough sit there.

dough resting

I swear we did not try to make a smiley face in the dough!

After 20 minutes or so, roll out the dough. Kaileena did this without help of any kind.

dough rolled out

We let that sit while we prepared the pan. Can you tell I’ve used a pizza cutter on that pan a gazillion times? I poured a bit of olive oil on it.

pizza pan oil1

Kaileena spread it around with her hands, not worrying about getting them oily because she was going right back to the dough, and that won’t hurt a thing.

pizza pan oil spread

I then sprinkled a few tablespoons of cornmeal on the pan. It’s not necessary. I just like the added texture.

pizza pan cornmeal

By the way, my oven takes 15 minutes to heat to 425 degrees, so I would turn it on about now.

Kaileena folded the dough in half and lifted it carefully to place it on the pan.

dough on pan in half

She unfolded it to cover the pan and curled up the edges that hung over the sides.

dough on pan opening up

Then we put half of that can of Don Pepino pizza sauce on the dough. I used to use the little 8-oz cans of tomato sauce, but one time last year we went to make pizza and had none of that in the house. Mom was here at that time, in transition from one house to another, and had stored a few bags of groceries in my basement. “I think there’s a can of pizza sauce in one of those bags,” she said. She had Don Pepino. Samuel deemed it the ingredient that moved homemade pizza to another level. I agree it was an enormous difference. We ordered a case from amazon.

pizza pan sauce

Kaileena spread the sauce. If you have the least bit of an artistic bent in you, this part is quite fun. A little like fingerpainting, only you do it with the back of a spoon.

pizza pan sauce spread2

Out from the fridge came the bowl of mixed-up cheeses, herbs and toppings. When you unload the bowl onto the pizza dough and sauce, you are looking at a PILE. You knew I would show you: Pizza Pile, get it? 🙂

pizza pile

None of this “first the basil, then the oregano, then the …..” Just empty the bowl on top and spread it out. Done! Oven ready in no time!

pizza pie oven ready

To get a good bottom crust, I slide the pizza right onto the bottom oven rack when it is set but not yet brown. This crisps it up and in five minutes or so I can slide it right back onto the pan. A spatula helps.

Voila!

pizza pie done

Pies, Galettes, Bread and …Cartwheels?

I have been cooking and baking for a long time. When I was a kid, we always helped my mom make the salad or stir the pot. When I was 16 I got a job at a French restaurant called Picot’s Place in Hamden, Massachusetts, and learned to make Beef Wellington, French onion soup, chocolate mousse and the best omelets ever. I wanted to learn to be a master chef and was accepted to the Culinary Institute of America in Hyde Park, New York. Before I turned 18 I had worked in the kitchen at a German restaurant, at a country club and, for part of a summer, at a little country inn in Bavaria. Starting in my 20s I made food for my family all the time.

What on earth this has to do with cartwheels is a good question. Getting there…

Today was a baking day with Kaileena, my ten-year-old great niece. She said she wanted to make something like a tart and had mentioned swirl bread as well. A wet front has been coming through our area, so on this rainy July day, we picked up Mom, got what we could from the garden before the skies opened up, and headed for the kitchen. We decided on plum galette and cinnamon swirl bread.

Kaileena has helped make pies at home at Thanksgiving every year but had never made any kind of yeast bread before, not that she remembers anyway. She helps a lot in the kitchen at home, loves watching cooking shows and is very comfortable in the kitchen. Nonetheless, kneading bread dough until it is smooth and elastic, incorporating enough flour but not too much and keeping yourself and the kitchen from becoming a gigantic mess is no minor effort.

Kaileena kneading bread dough

“Wow!” she said upon seeing that her dough had risen the way it is supposed to.

And oh how yummy the bread was, lightly toasted, a few hours later with its delicate swirls and hint of cinnamon…

cinnamon swirl bread.jpg

Rolling out pie dough so that it doesn’t stick to the counter, is the right shape and the right thickness and then transfers nicely to the pie dish takes some doing as well. Kaileena had the distinct advantage (and pleasure!) of working alongside her great-grandma.

Mom and Kaileena rolling out dough

She learned what a galette is – a free form pie, in this case filled with pieces of plum and a few dried cranberries, mixed (as with any fruit pie) with a little sugar for sweetness and flour to bind,

filling galette

and baked to golden brown!

plum galette.jpg

She even learned how to put a lattice top on this little pie (which did not last long)!

plum pie.jpg

Have you ever tried to put a lattice top on a pie? You start with rolling out a piece of the dough as thin as your bottom crust. A tool called a pastry wheel (which we affectionately in my family call a Raedle) is used to cut the dough into thin strips that have a zigzag edge. You start with two strips laid across the middle of the pie at right angles to each other, then add one strip at a time and weave them together working outward – over, under, over, under – and then another strip in the other direction until you have covered the pie. Crimp the edges and into the oven it goes. As they say, easy as pie!

If you have never made a pie, or put a lattice top on a pie, it’s a little like doing a left-handed cartwheel if you have been doing them right-handed or doing a right-handed cartwheel when you have been doing them left-handed – harder than it looks! Or like signing your name with your nondominant hand. Or like walking up stairs backwards or trying to have an intelligent conversation in a foreign language you learned in high school and never quite polished. In my case it’s like using a biscuit joiner – a woodworking tool that has nothing whatsoever to do with making yummy biscuits! I think about how cool it would be to make useful and beautiful things from wood, and I’ve watched other people do it many, many times, but doing it myself is oh so different!

If you do a thing often and are very practiced at it, you develop an ease, a finesse, an effortlessness. I think of Mark doing a drop shot, Brad or Lincoln or Ernie building anything with wood, Marie taking photos, Samuel doing a handstand, Kim holding a preemie, Claudia making jam. It’s easy to forget how many steps are involved when a given skill is broken down, how awkward and slow you (you too!) used to be back when you had not devoted so much time to developing and practicing it.

Doing a cartwheel, for instance, involves lunging with your dominant leg in front, then in one smooth motion putting your hands on the ground shoulder-width apart and turned 90 degrees, kicking your back leg up and over followed by your other leg and landing in a lunge facing the opposite way you started. That’s a lot of steps. Not to mention keeping your weight over your shoulders when you are upside down or keeping your legs straight.

Sure, that’s doable, right? This is Kaileena, who is not a gymnast, in mid-cartwheel on her dominant side.

Kaileena cartwheel

And this is her non-dominant side.

Kaileena cartwheel 2

Wait, what? How do I do this? It felt totally awkward to her, but no amount of awkwardness prevented her from wanting to try it again. And in one short session, that cartwheel improved considerably! Luckily, gymnastics is not a required activity for most of us.

As we get older we see the cycle of learning more clearly. People of any age can be eager and energetic but also fairly clueless about the how-to or the why, and certainly lacking in high levels of skill. Others come along to guide, instruct and encourage.  As learners we get the joy of doing something new, which is not only exciting but also feeds on itself and makes us eager to learn something else new. We also get what it feels like to be the novice so that we don’t get too impatient with the novices when we ourselves are on the guiding side. As guides we get the joy of passing along some of our sometimes-hard-earned knowledge and skill, and seeing someone else enjoy a thing maybe as much as we do, as well as carry forward a method, a style or a tradition.

I love this cycle. I love being in some things on the learning side and in some things on the guiding side. I got to make a beautiful red bench with my uncle’s patient help, and with my help and Mom’s, Kaileena got to make a scrumptious pie. For this happy face, I’ll guide her any day!

Kaileena and pie