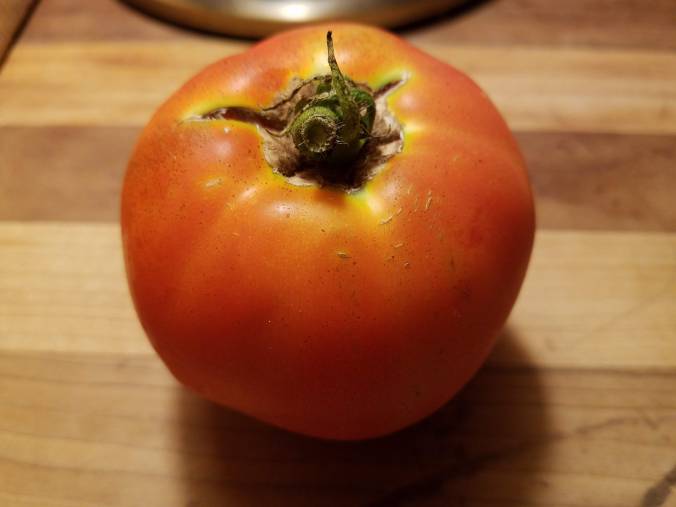
It’s that time of year. Gardens, farm stands and farmers’ markets are loaded with gorgeous red tomatoes. There is absolutely nothing under the sun to compare with the taste of a sun-ripened garden tomato. How beautiful is this?
My favorite way to eat them fresh is cut up in a bowl with olive oil, cider vinegar, fresh basil (cut up) and salt and pepper. My dad’s favorite was to make a sandwich of toasted white bread, sliced tomatoes, mayo and salt and pepper – a BLT minus the B and the L. But when tomatoes are in abundance, when you can’t possibly eat that much salad or that many sandwiches, the best solution is fresh tomato soup. To be specific, the tomato soup my mom always made, and still does. It’s easy and freezes well, so you can have the taste of summer when the snow flies.
I am under strict instruction from [you know who you are!] to be EXACT in this recipe, so I will do my best to not say “a little of this” or “until it looks right.” 😊
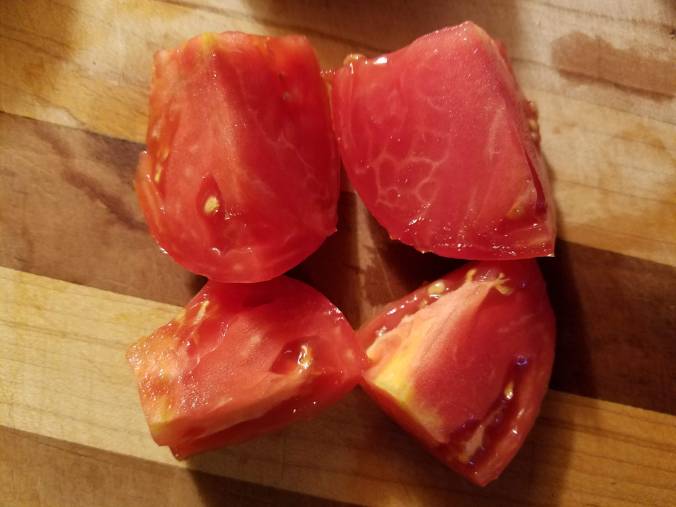
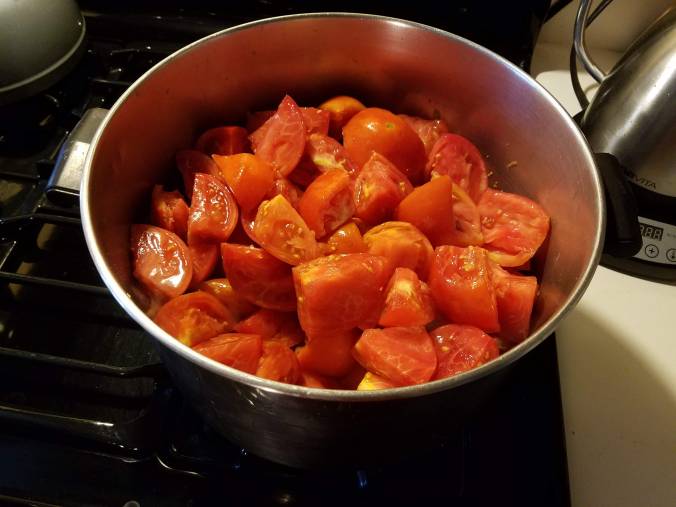
I’ve been gathering the tomatoes from my garden, eating some and saving some. For the soup, I cut up the saved ones as shown above, stems, green-part-under-the-stem and any bad parts cut off, and had enough to fill my 3-quart bowl to overflowing. Meaning I could not possibly put one more piece in or it would have fallen out. Note that skin and seeds are not removed at this point.
For this amount of tomatoes I started with 6 tablespoons of butter. Put it in a large cooking pot – my Dutch oven was perfect. Melt the butter on a medium heat.

Add the same amount of flour (6TB) and whisk it in.
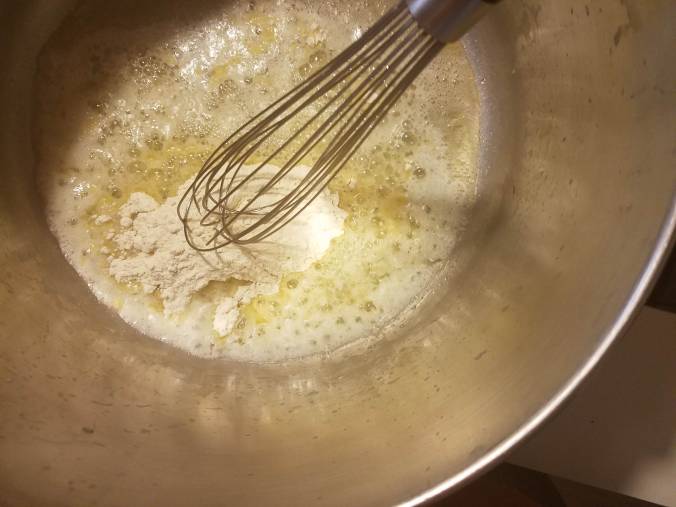
Let this get bubbly over the heat.
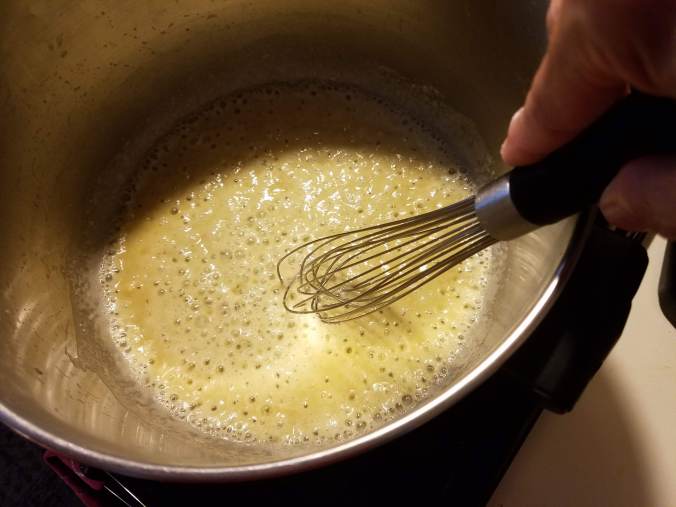
Turn the temp down to low and cook it for about 5 minutes, stirring occasionally, until it looks light brown, like this. You have now browned the butter.
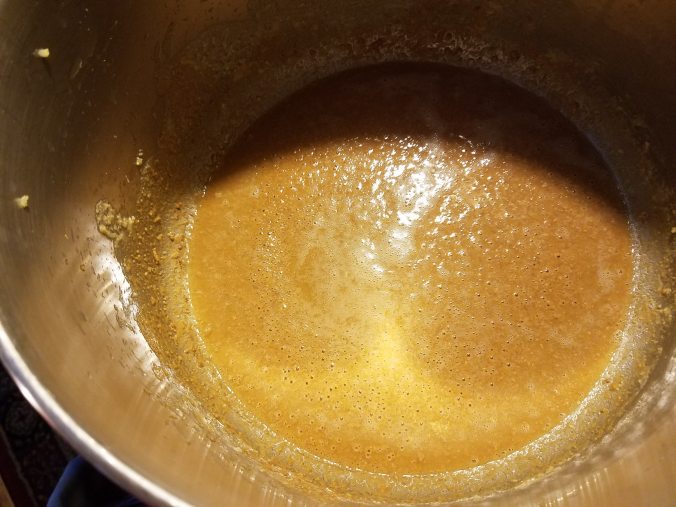
On top of the browned butter, dump your 3+ quarts of cut-up tomatoes.
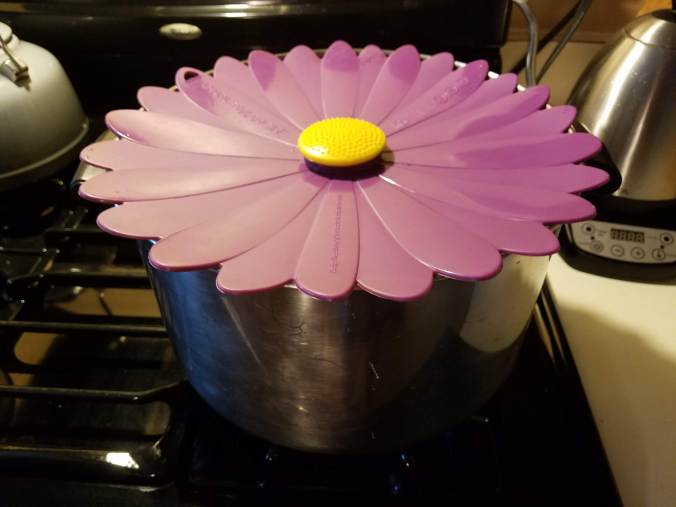
You should not need any other liquid. The tomatoes have their own juice. Leave the heat on low and cover. I love my silicone lids! This one is particularly nice because the edges let a little steam out.
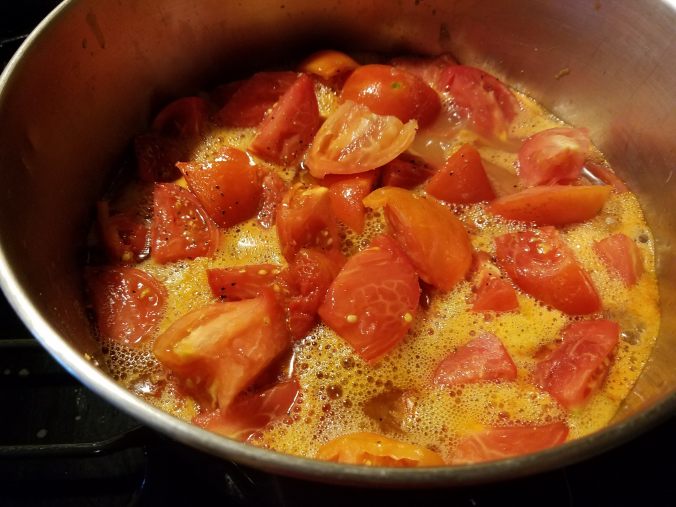
Peek at it now and then. Oops, that wasn’t EXACT. Peek after 10-15 minutes. It should start to cook down, first like this:
A good stir would be good at this point. Then let it cook some more (10-15 minutes more? doing my best to be EXACT here, really I am!!) until it looks like this:
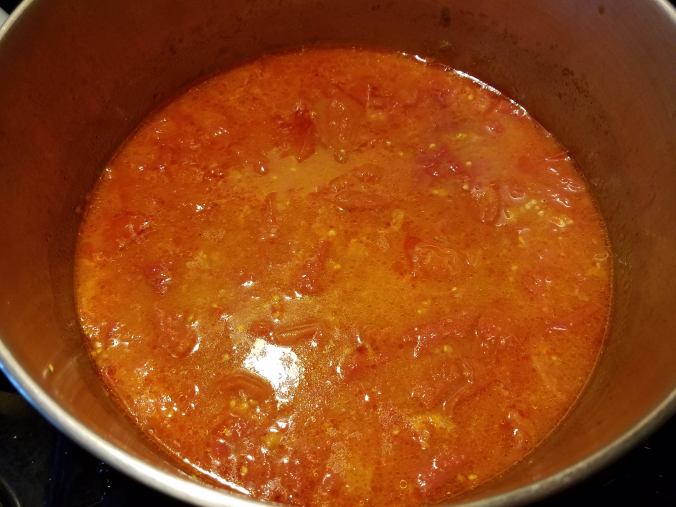
When it looks like this, give it another good stir and turn off the heat. I let it cool for a while, say half an hour or even an hour, while I do something else. You can think of something else to do.
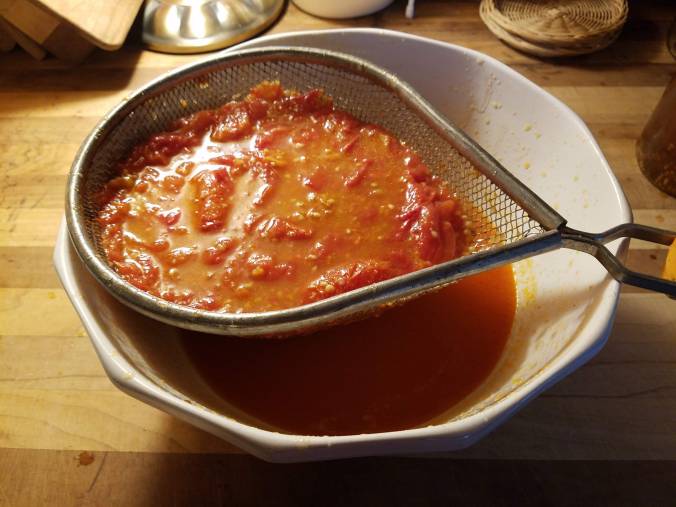
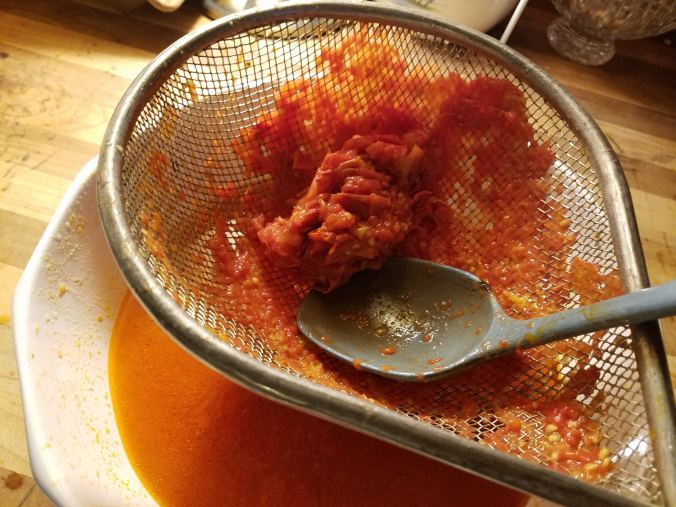
The next step is separating soup from skin and seeds. A strainer works well. This is my set-up.

The holes in my strainer are not overly small meaning two things: One, the soup will go through easily, which is good, and two, some seeds will get through, which may or may not be ok with you. It’s ok with me, but I am one of those people who likes raspberry jam with the seeds still in it, so decide for yourself. Some seeds, or use a strainer with smaller holes and do a little more work.
The work is in the pushing through. First, use a ladle to put enough of the tomato mixture in the strainer to almost fill it, like this:
You see that some went through already. Your job is to get the rest of the soup to go through but leave the seeds (most of them) and the skins in the strainer. With a large spoon, stir it up and some more soup will go through.
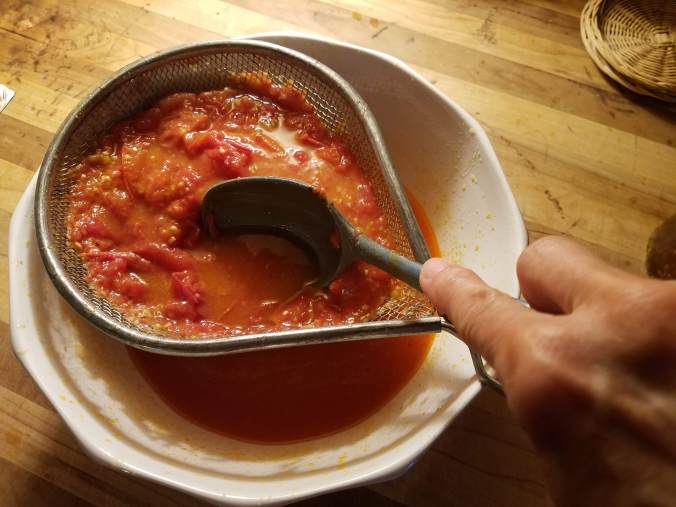
Then with the back of the spoon, push against the side of the strainer.
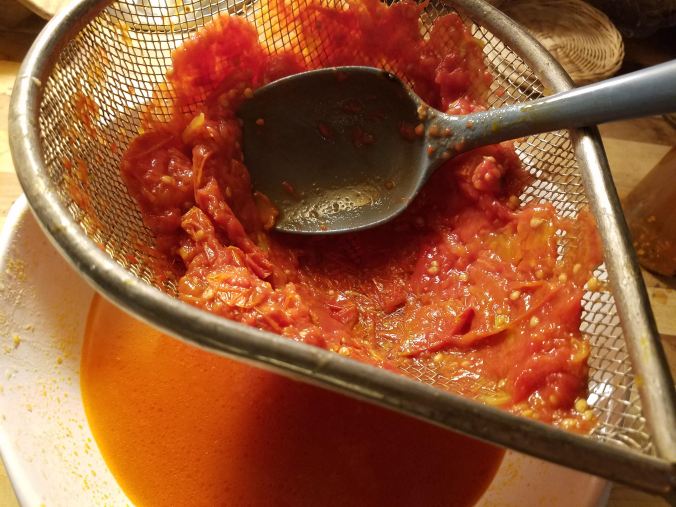
More and more soup goes through, and more and more seeds and skins don’t, until it looks like this:
Use your spoon to scrape off – into the soup – any bits that are stuck to the bottom of the strainer. Set the strainer aside. Now depending on how big your bowl is, you have two choices. Either remove the seeds and skins to a separate bowl (and later feed it to the chickens) and start over with putting the rest of what’s in the pot through the strainer OR season what’s in the bowl with salt and pepper, transfer it your freezer containers and then put the rest through the strainer.
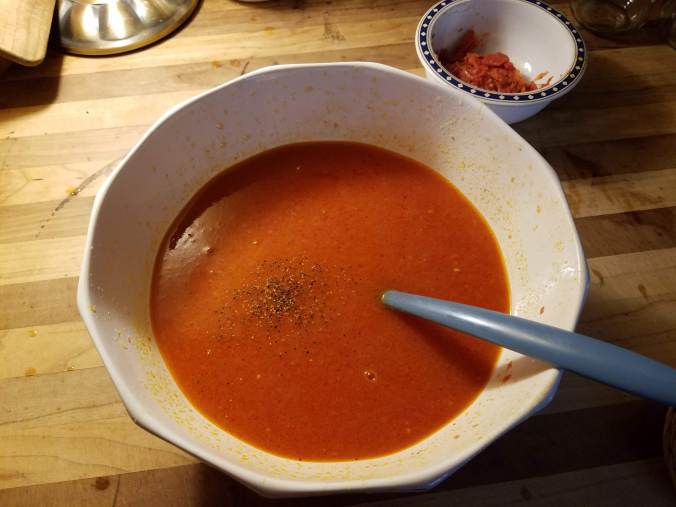
This is the first half of my soup. I added the salt and pepper (to taste – I can’t be more EXACT about that), stirred it up, then transferred it to old quart-size yogurt containers which work beautifully for freezing this or any soup. I then pushed the second half through, and seasoned it just the same (or about the same because, you know, seasoning to taste is not an EXACT science 😊).
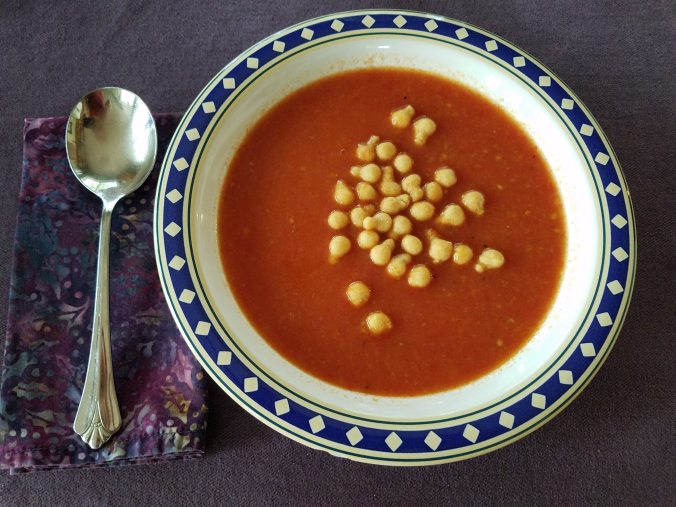
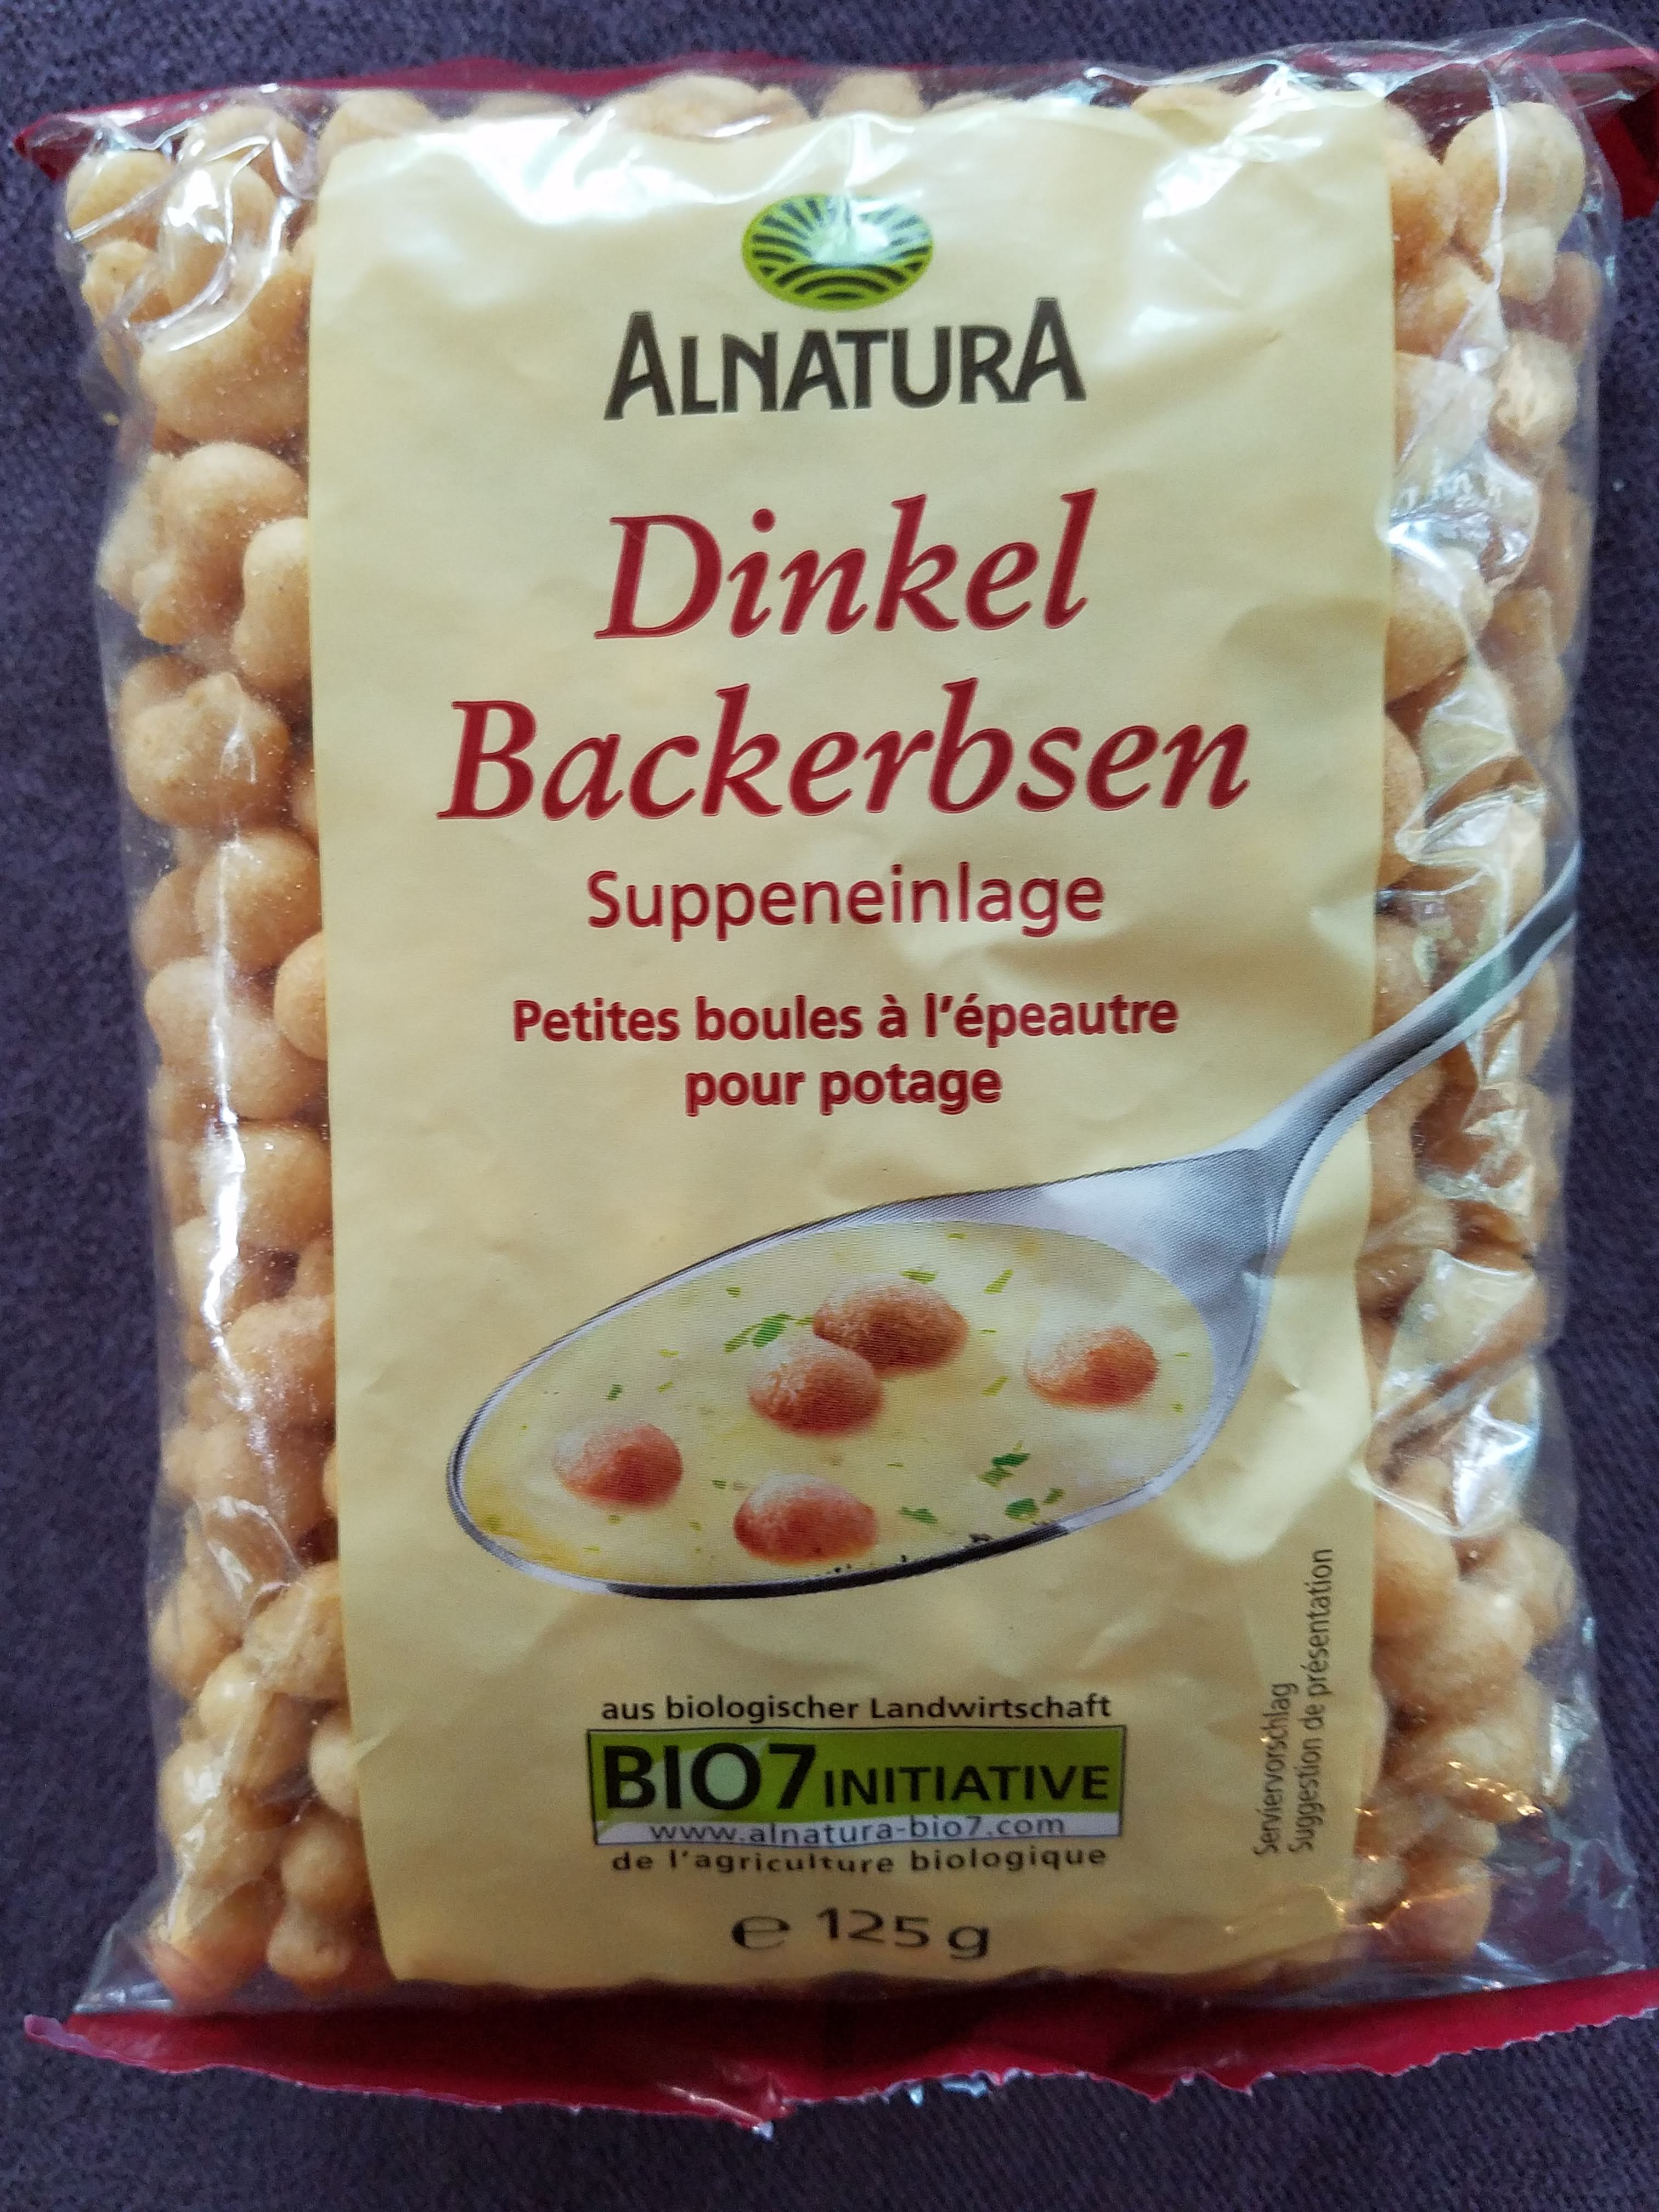
See if you can put it away without preparing a bowl for yourself. I’ve topped mine with Backerbsen, a German specialty I discovered years ago. This past April, my friend Anett brought me some when she came from Karlsruhe to visit. (If you want to try them, you can get them on amazon — maybe not the brand below, but Leimer is a good brand too.) The translation is “baked peas” but they are just perfect little croutons for tomato soup. Oh yum!

The soup looks tasty and no doubt will be even better on a cold winter day. Unfortunately my tomatoes ripened weeks ago so I’ll have to wait till next year to try this.
LikeLike
As the sister to the author, I must agree that this is the best soup ever. One hint for easier and quicker straining, use a Foley Food Mill-leaves no seeds.
LikeLike
The recipe AND pictures!!! Now I’m feeling more confident. 😄 Thank you.
Soup’s on!
LikeLike
My Oma and my Mom (in early childhood days) used to make Backerbsen herself especially on high holydays: 1 cup flour, 2 eggs combined + a little milk if dough is to stiff –> With Spaetzlemaker in hot oil.
LikeLike
Lovely blog you hhave here
LikeLike
Thank you! I don’t keep up with it as I should, but it seems this is not the season. But I so appreciate your kindness.
LikeLike