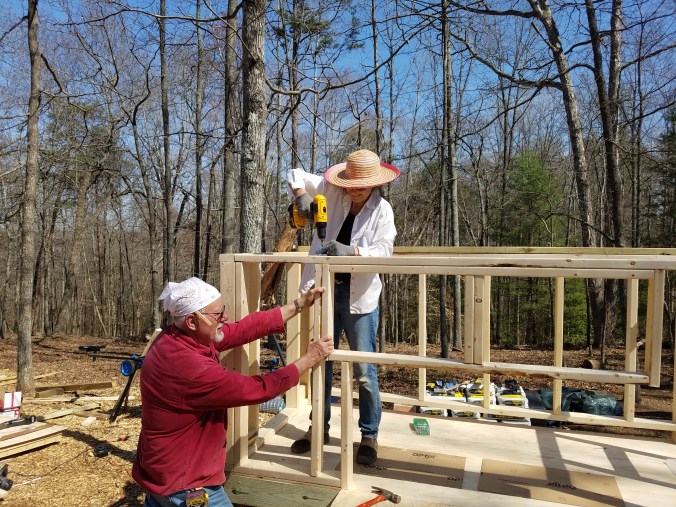
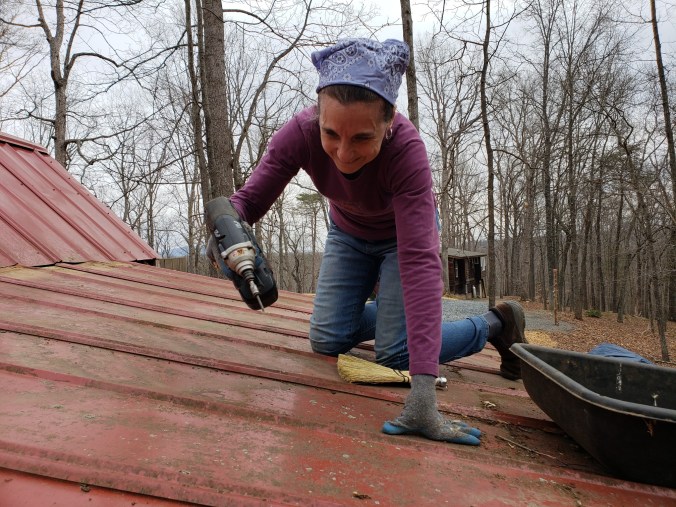
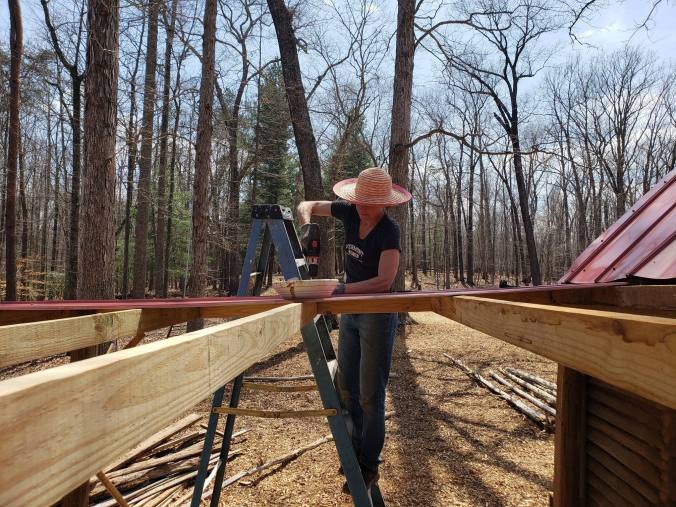
I am not a builder. I can help with building. I can get the ball rolling, draw designs on paper, put a bunch of screws in (or take them out), tell you if a board is level or hold something in place when an extra set of hands makes it easier. I can tidy up, move things from one place to another, order supplies, and suggest we stop if people look exhausted. During this project I became familiar with the chop saw and the cordless drill and screwdriver. That was new territory for me and I felt quite pleased about it, but I am a novice in this arena. I very much appreciate the people with woodworking skills who understand joinery and aren’t afraid of table saws. I know my limitations, but at the same time I know what I can do.
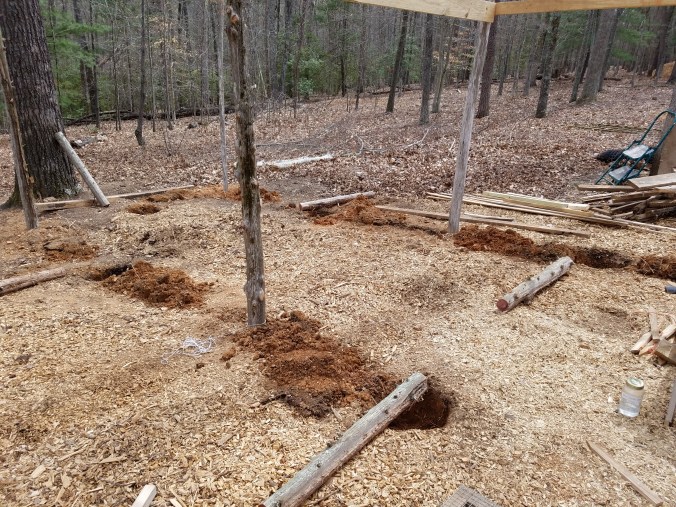
I can dig!
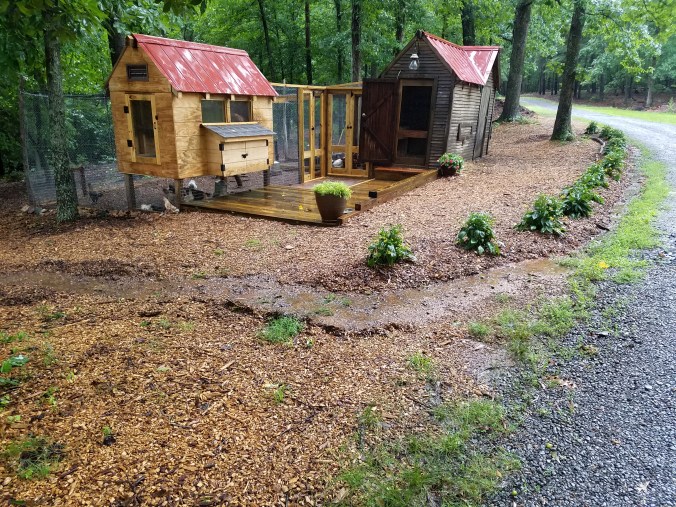
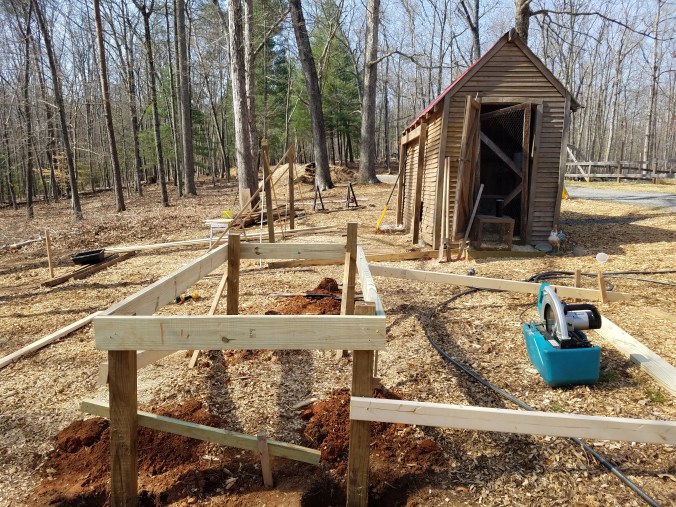
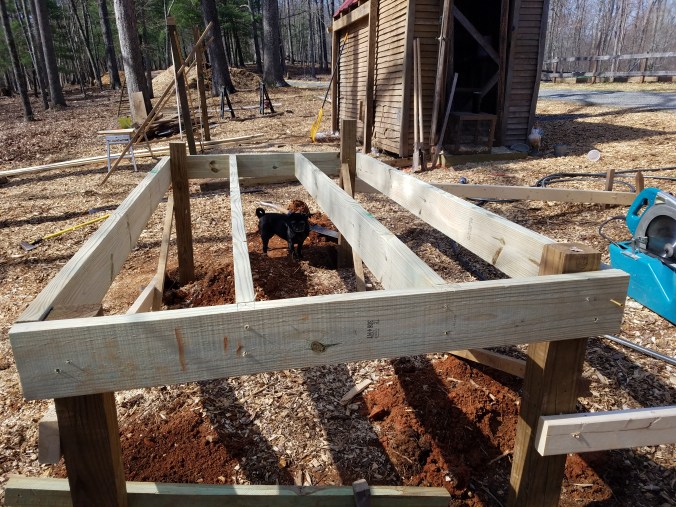
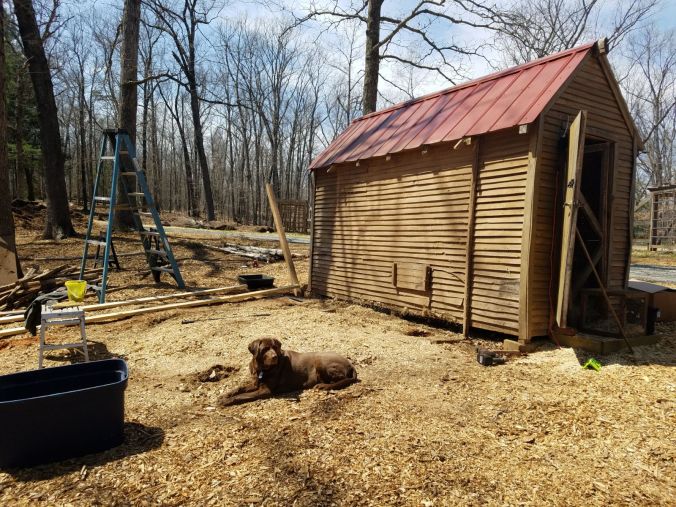
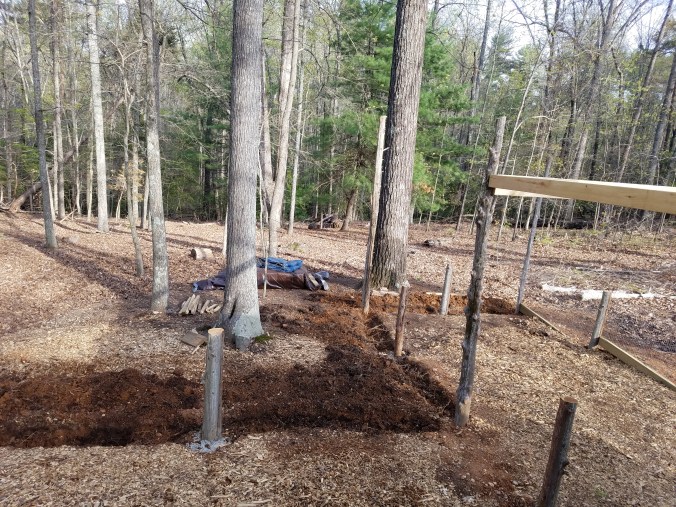
This project, start to finish, included no fewer than 50 holes, some of which had to be 18 or 20” deep, to say nothing of the digging for the bricked entrance area or the terracing of the slope. Most of the holes were for the posts for the fencing around the run; 18 were for plantings to ornament the berm that came later (still, they were holes). We had decided to enlarge the old run considerably, and I was anxious to move along with it even before the old supports were completely removed. Sandy did skilled work – continued with the framing of the new coop, building tresses for its roof and the egg boxes out the front (and clearly took more pictures than I did). I dug. I happily dug. This I can do.
I emphasize this point because sometimes it’s easy to think about or focus on what we can’t do, and put on the brakes and not accomplish goals. I know that my contributions are in the category of what a teenage apprentice could do, but that’s ok. All the grunt work has to be done too, and I like feeling useful.
It’s not only that. I’m old enough now that there are things I can no longer do. Cartwheels, for instance. And I am nowhere near as strong as I used to be. It’s maddening at times but there are people who, for all kinds of reasons, could never do cartwheels, or never were strong. I was and am one of the lucky ones. So even though I can’t do cartwheels any more, and am aggravated at my own weakness, I don’t take for granted that I can get out of bed in the morning. There will come a day when I can no longer participate in projects like this, but until I can’t, I will.
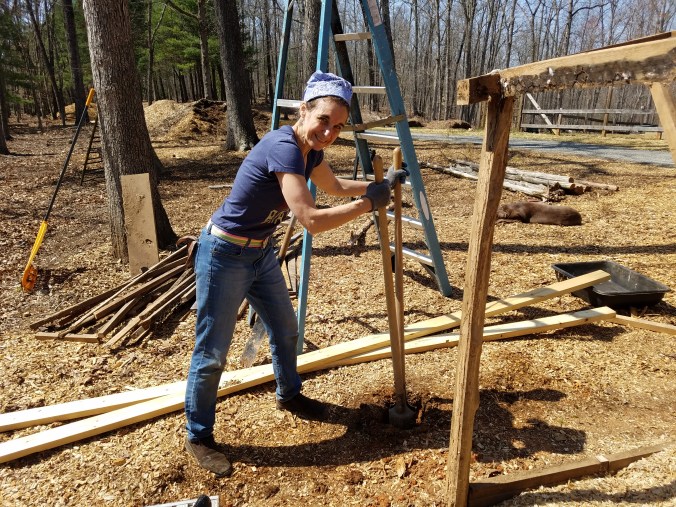
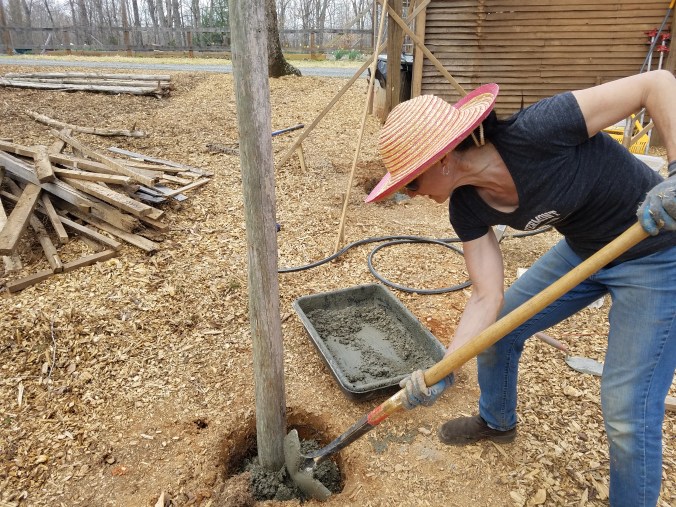
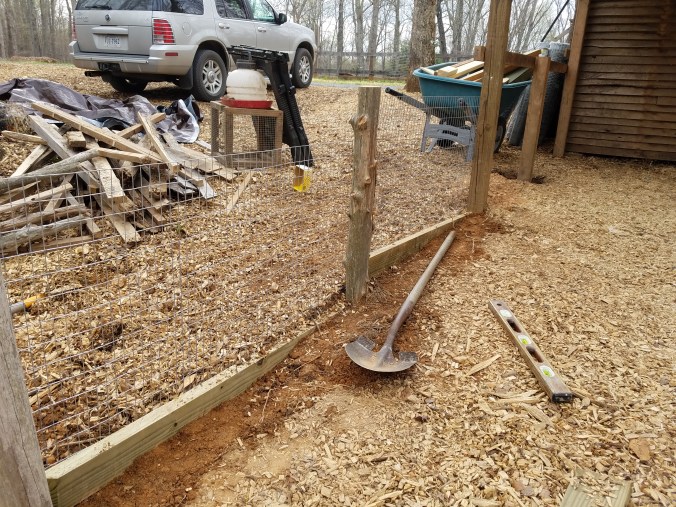
Putting cedar poles in the ground with cement feels so, well, concrete, so permanent, so long lasting. Like you better do it right because a long time from now someone is going to come along and look at your work and be impressed, or not. We decided that every post needed cement. In retrospect this is a good thing because the chickens love to dig around the posts!
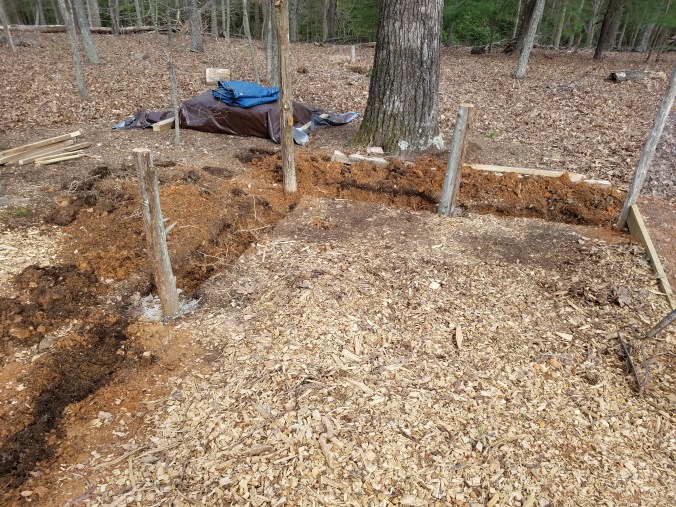
Once the cement is in, it has to harden up before you can do anything else, like stapling chicken wire to it. So you dig some more holes. You fill them with cement. You wait. You clean up that mess on the side.
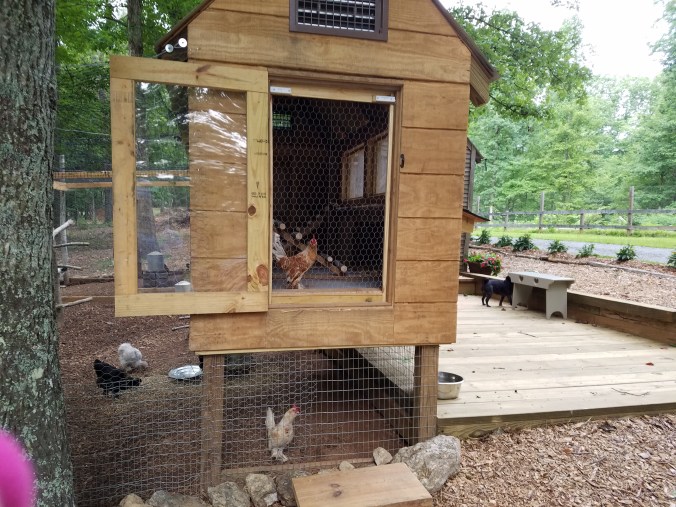
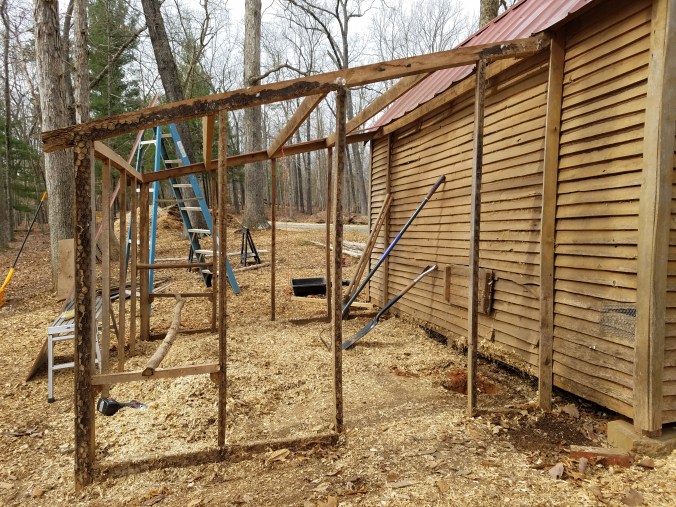
One step at a time, one more hole dug, one more pole planted, one more concrete base. Notice in the photo below that the posts used near the old coop are pressure-treated 4x4s. This made sense because of the framing that was needed for the shed roof. Later we will use 4x4s for the door framing as well.
Once the posts were in place and the cement dried, the roof panels could be put back and the fencing could be started. It was beginning to feel like it could be a home for chickens again after all. One screw at a time.
And one shovelful at a time. There were a lot of posts to get in so they would be prepared for the wire fencing that would be stretched and attached horizontally starting at the bottom.
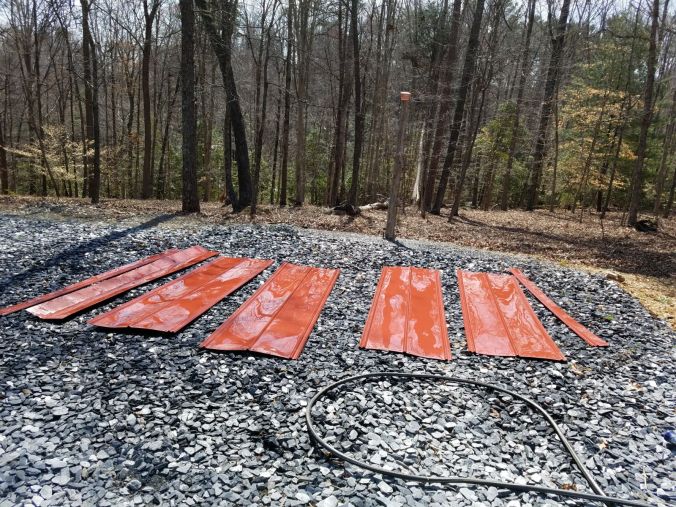
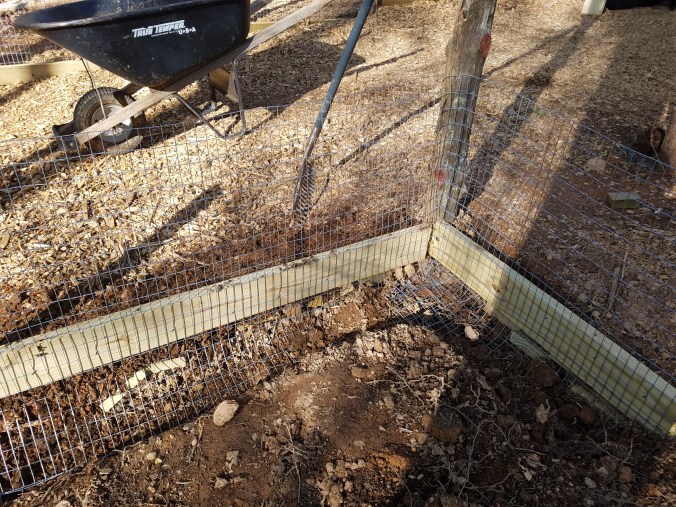
The lower band of fencing we chose to use is not standard chicken wire, which we found during the last go-round to degrade in a few short years and become too easy for foxes, raccoons and other unwanteds to snap it with their teeth or claws and get through. We chose a heavier gauge fencing you can see here. For some reason I want to call it rabbit wire.
The rabbit wire will hopefully serve well at the level most predators will try to get through. It comes 36” wide, allowing for the part that has to go into the ground. Notice also that since the ground slopes toward the woods, we needed horizontal 2x4s from post to post at ground level, which meant more digging, then angling and notching the wood to fit around the irregularly shaped cedar posts and around the concrete in the ground.
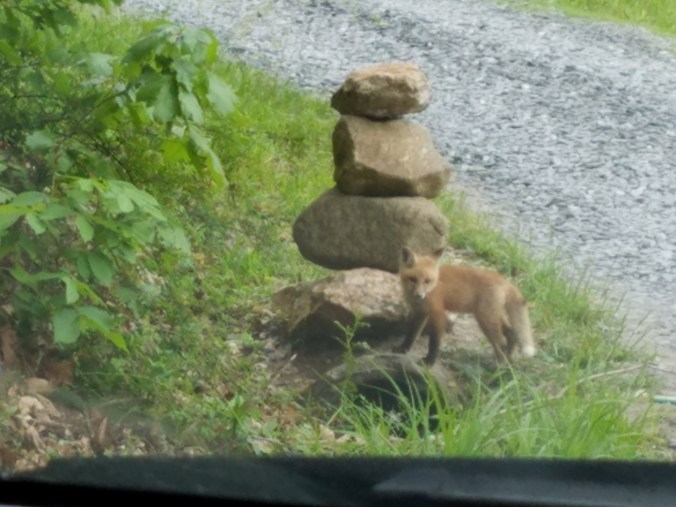
Getting back to the part of the fence that has to go in the ground, there’s good reason for that. Imagine what tasty snacks chickens must be to foxes. And fox mothers have families to feed. Right around this time we noticed that one resourceful mother had used the culvert at the end of the driveway as a den in which to have her babies. I caught sight of this cutie coming home one day. We do well to protect the birds as best as we can. If we’re smart, we’ll create not a chicken coop, but a chicken FORT!
Sinking the fencing into the ground requires a trench about 12” down and about the same distance away from the outer edge of each post. You dig it such that you can press that fencing in there, cover it back up with dirt, and know that when predators try to dig, they will hit this and be unable to tunnel under it. This is the trench around the edge.
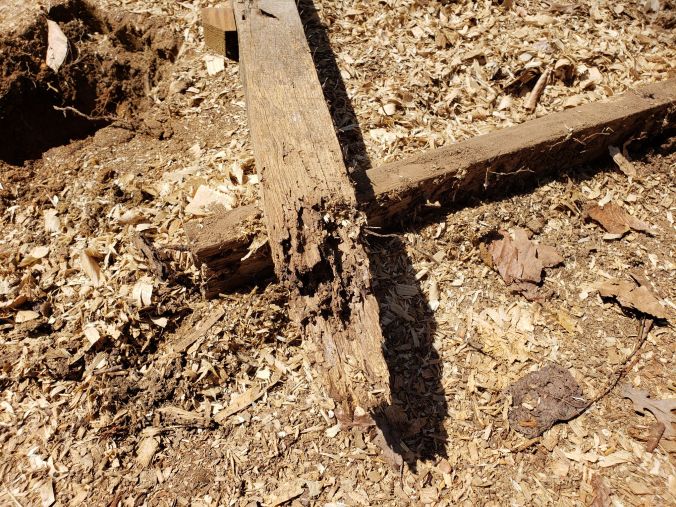
A little closer up, you can see some of the annoying roots that were in the way. I did get help with these any number of times. We have a very heavy, slender, iron pole that has a sharp edge on one end and a round flat knob on the other end. I can barely lift it, but when someone stronger than I am jams it into the ground against a fat root, it’s quite effective in chopping through it. My gratitude for these moments of assistance was huge.
This is what the wire looks like when it is in the ground.
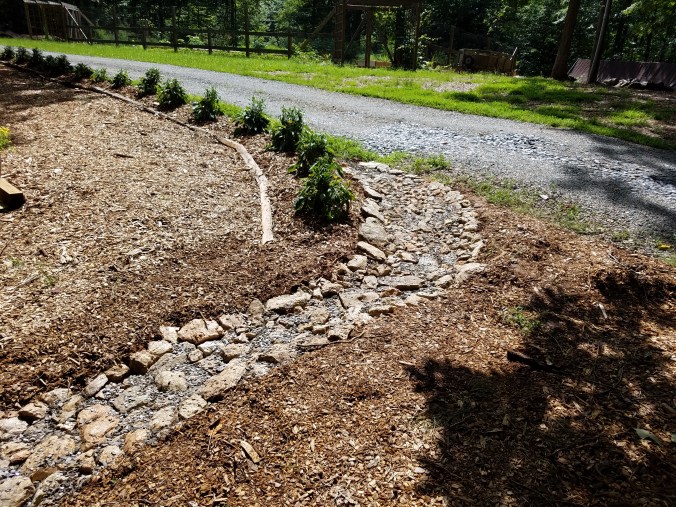
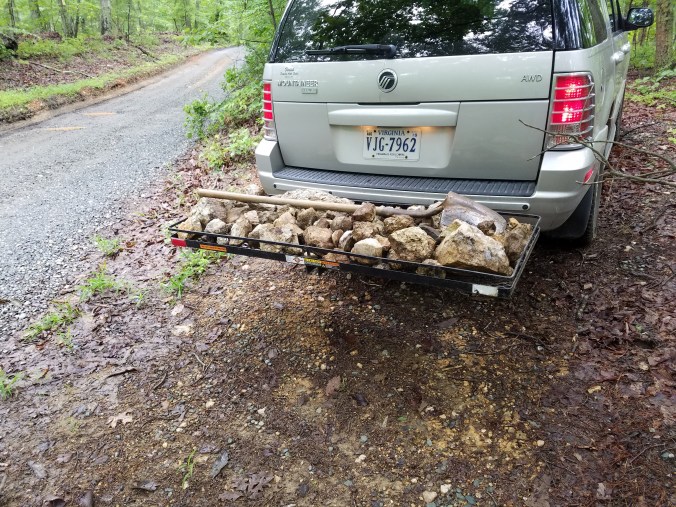
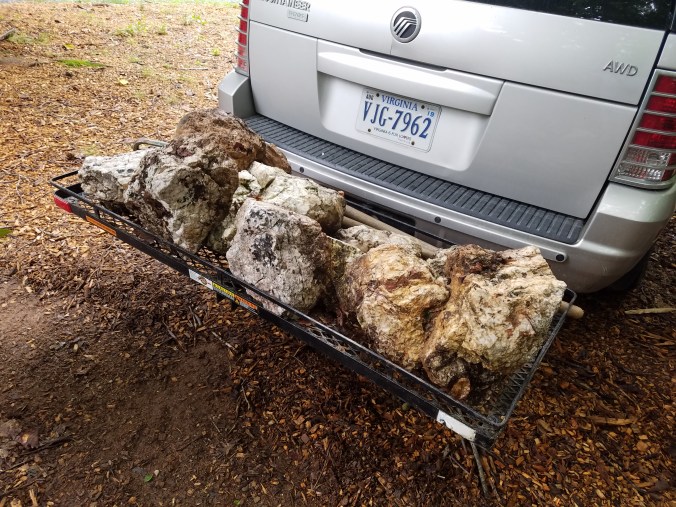
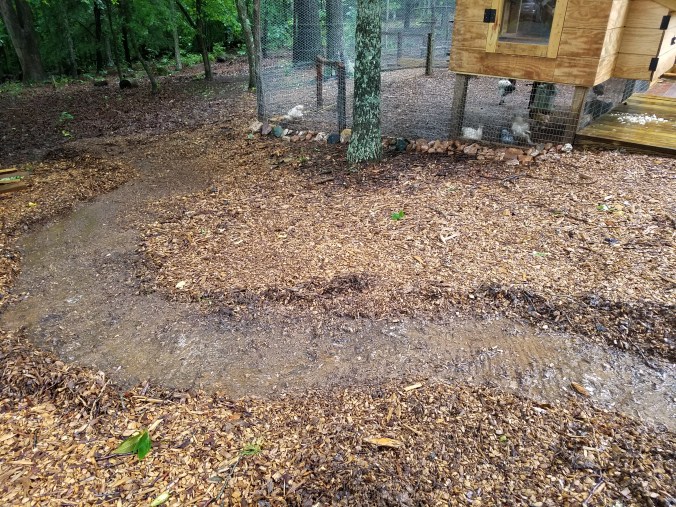
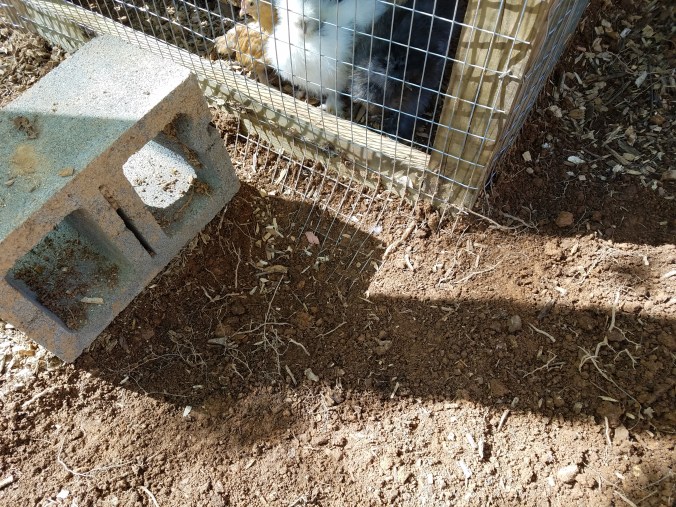
We found out that it works. Some weeks later, the very first night after putting the silkies and their friends in the newly finished run, something dug and clawed until it reached the underground fencing, then apparently stopped. It’s hard to see that 10-12” of dirt had been forcibly removed, but it had. We replaced the dirt and then put the cinder blocks along the edge until we could get some rocks. Rocks will just look nicer.
The negative of this rabbit wire fencing is that if your chickens are young and stupid, they might try putting their head through the fence, making it easy for an animal with sharp teeth on the other side. Yes, we lost one this way. The predator got only a bite, but it was enough of a bite. You will have to imagine the rest of that gory scene because I did not take a picture of it.
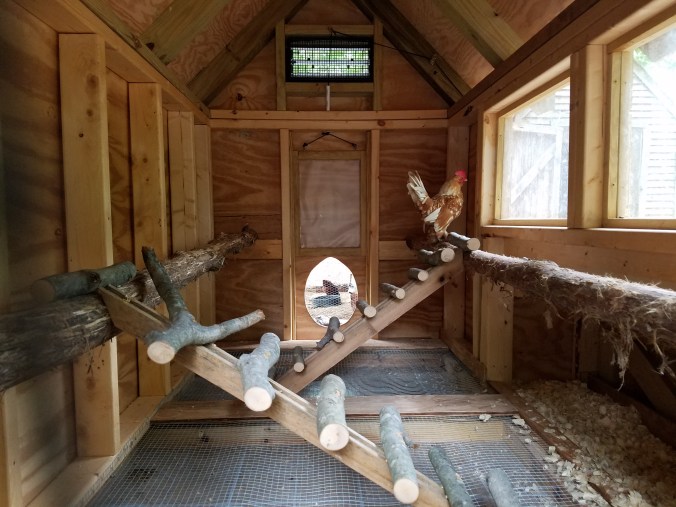
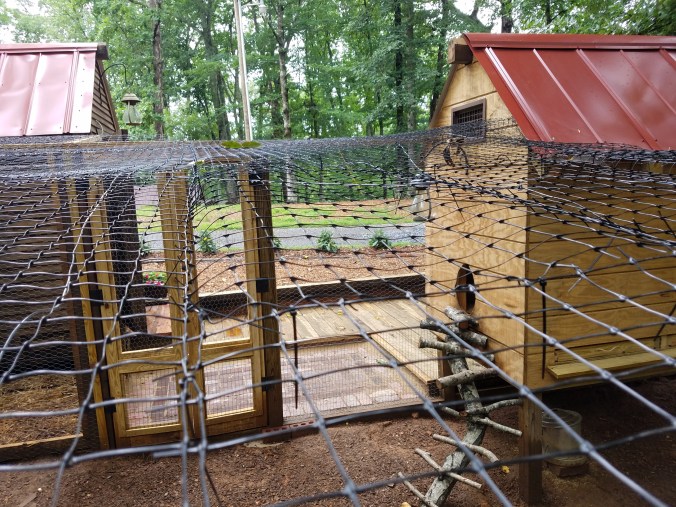
The ground level rabbit wire overlaps the next band of regular chicken wire. In the following two photos you can see them both, overlapped, plus, if you look carefully, the wire we wove through the top and bottom of where they overlap just in case something should try to squeeze between the two layers. The chicken wire came in 6’ width, which doesn’t go all the way to ground level, but close, and let’s hope it’s enough. It was stretched pole to pole and then a plastic-coated wire was woven through its upper edge and tightened as best as we could. Thank you, Chris, thank you, Fred, for helping with unrolling and stretching the wire out, stapling it onto the posts, weaving the support and connecting wires and being really good sports about the whole thing.

Foxes and raccoons will try to dig, thus the ground level fortifications. But owls and hawks come from overhead and would love a tasty morsel just as well. Leftover from the construction of the vegetable garden fence six years ago was a length of lightweight but very strong deer netting that we hope will keep out the flyers. We attached the deer netting to the chicken wire using cable ties, lots of cable ties. It ends up looking like an aviary.
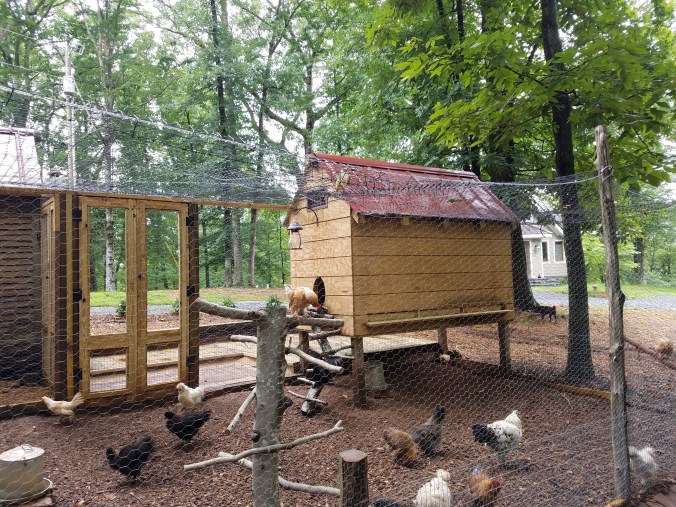
We nearly ran out of deer netting. This one section of the “ceiling” is a patchwork. Not trying to win any prizes here – if it keeps the big birds with their sharp talons out, I’m happy.
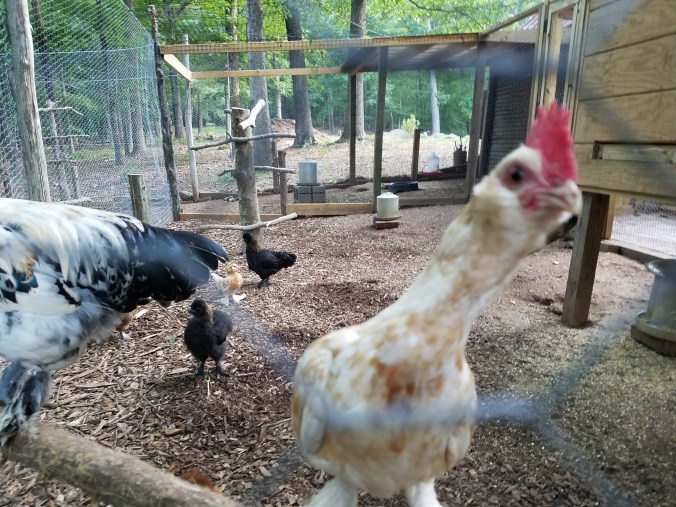
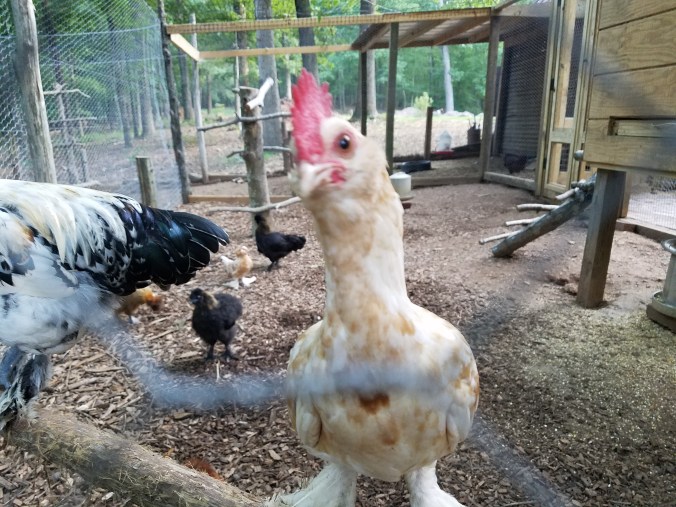
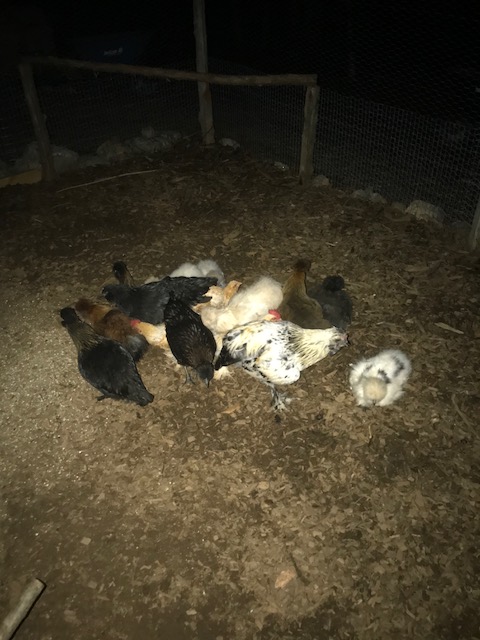
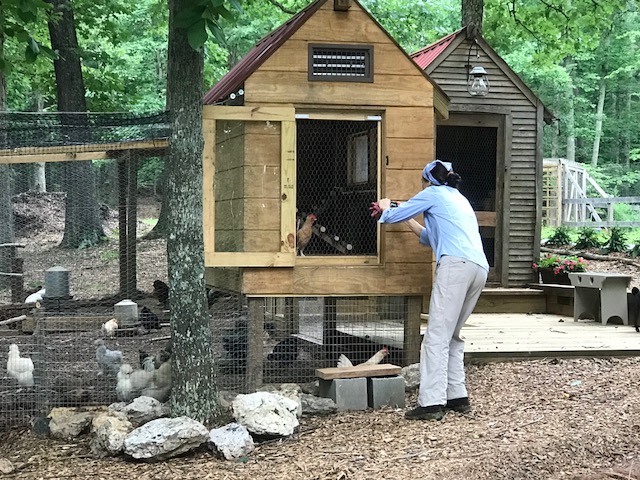
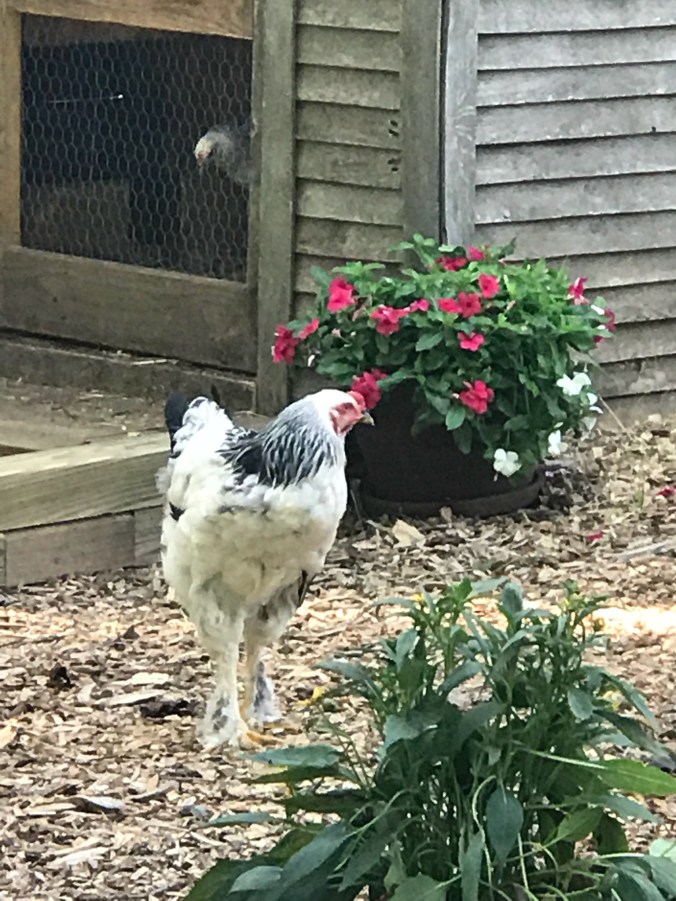
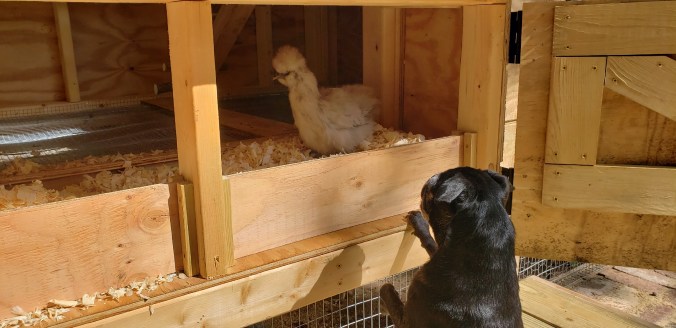
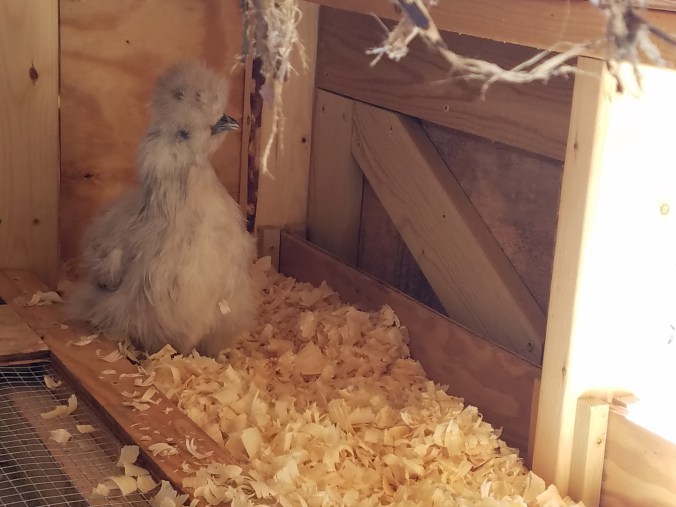
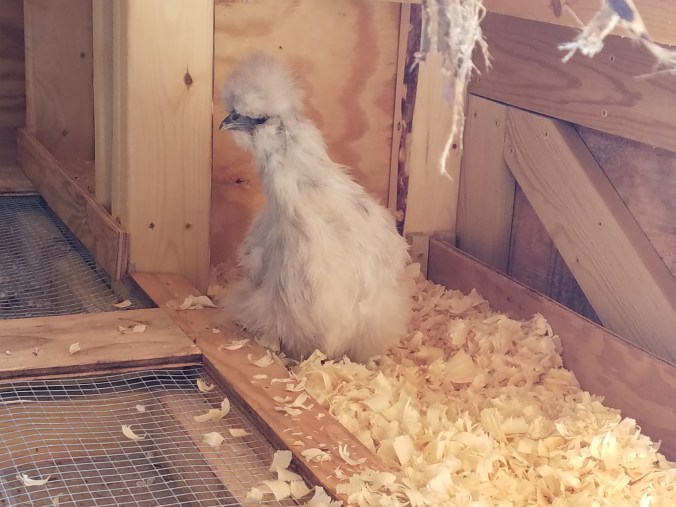
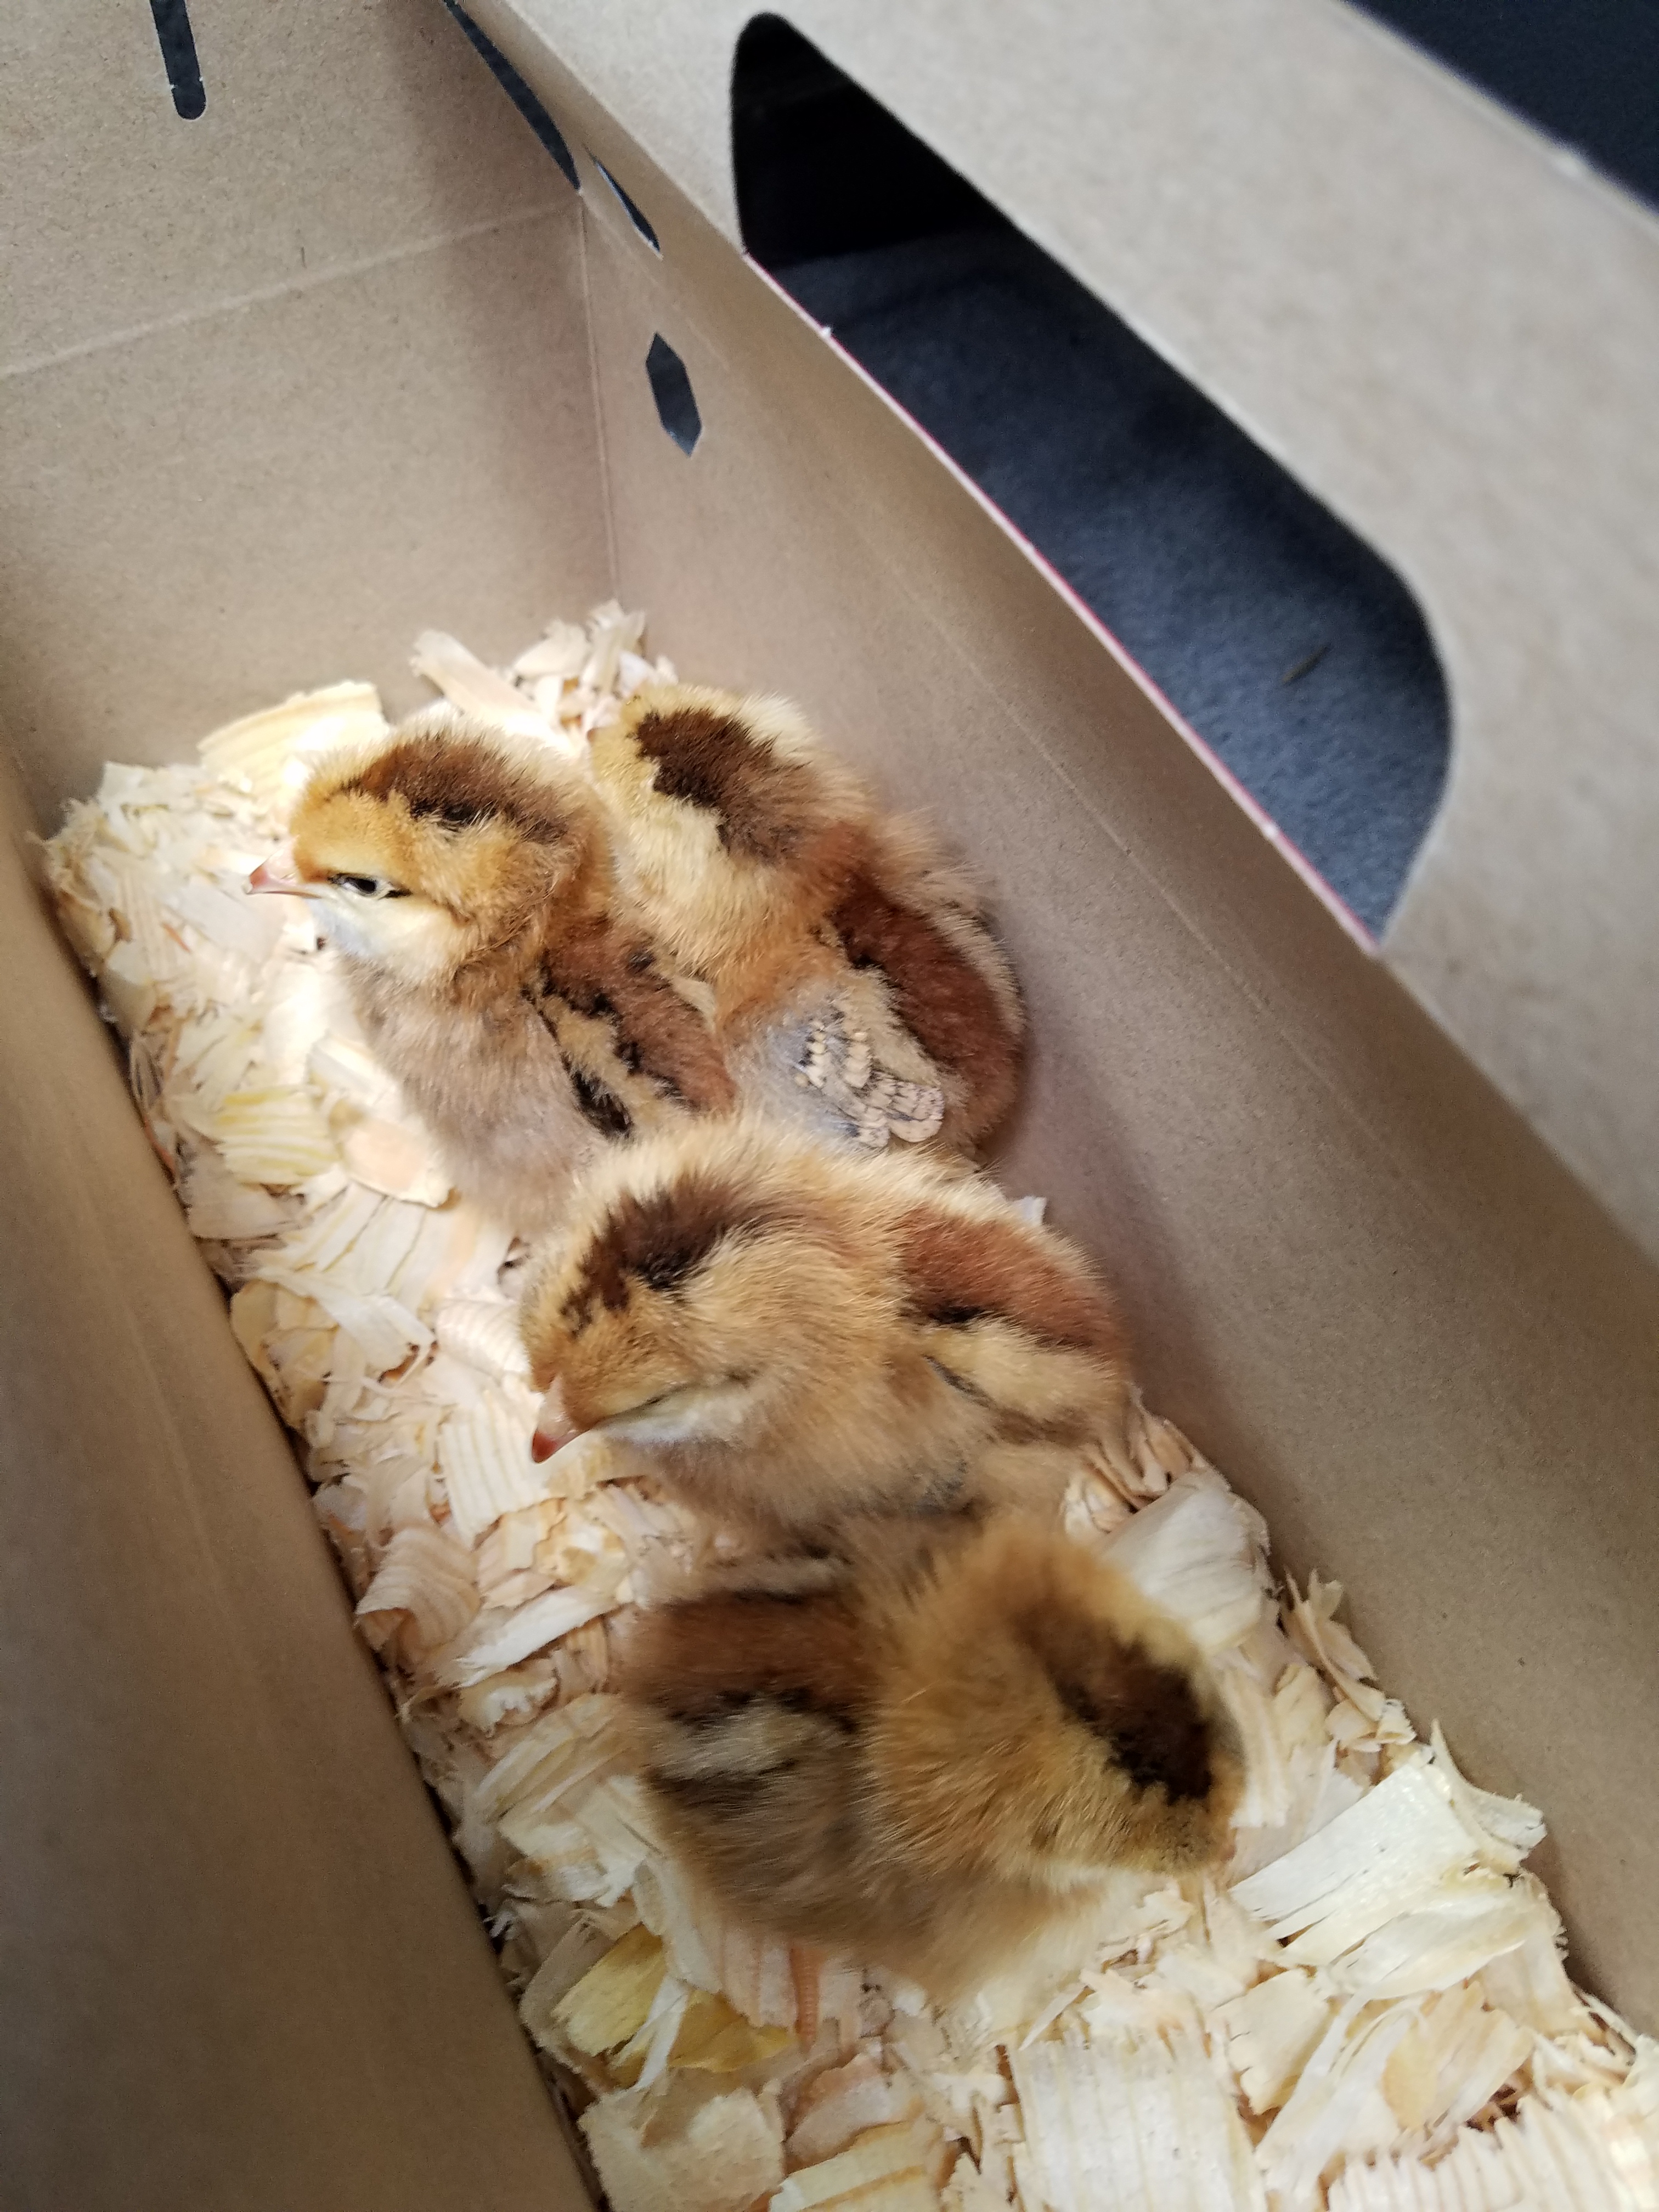
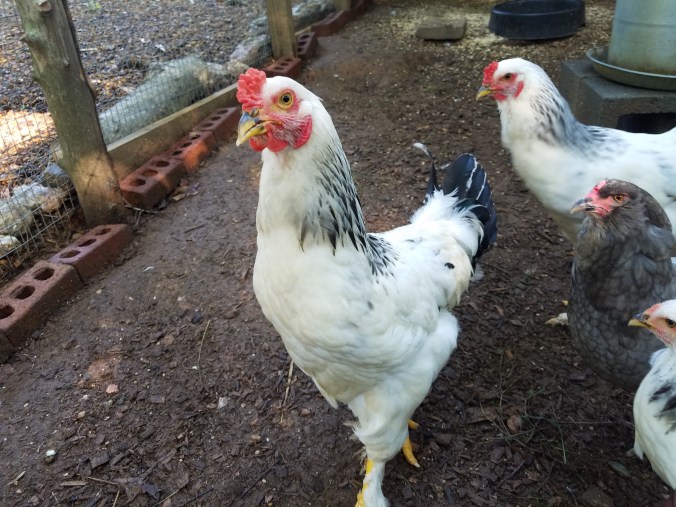
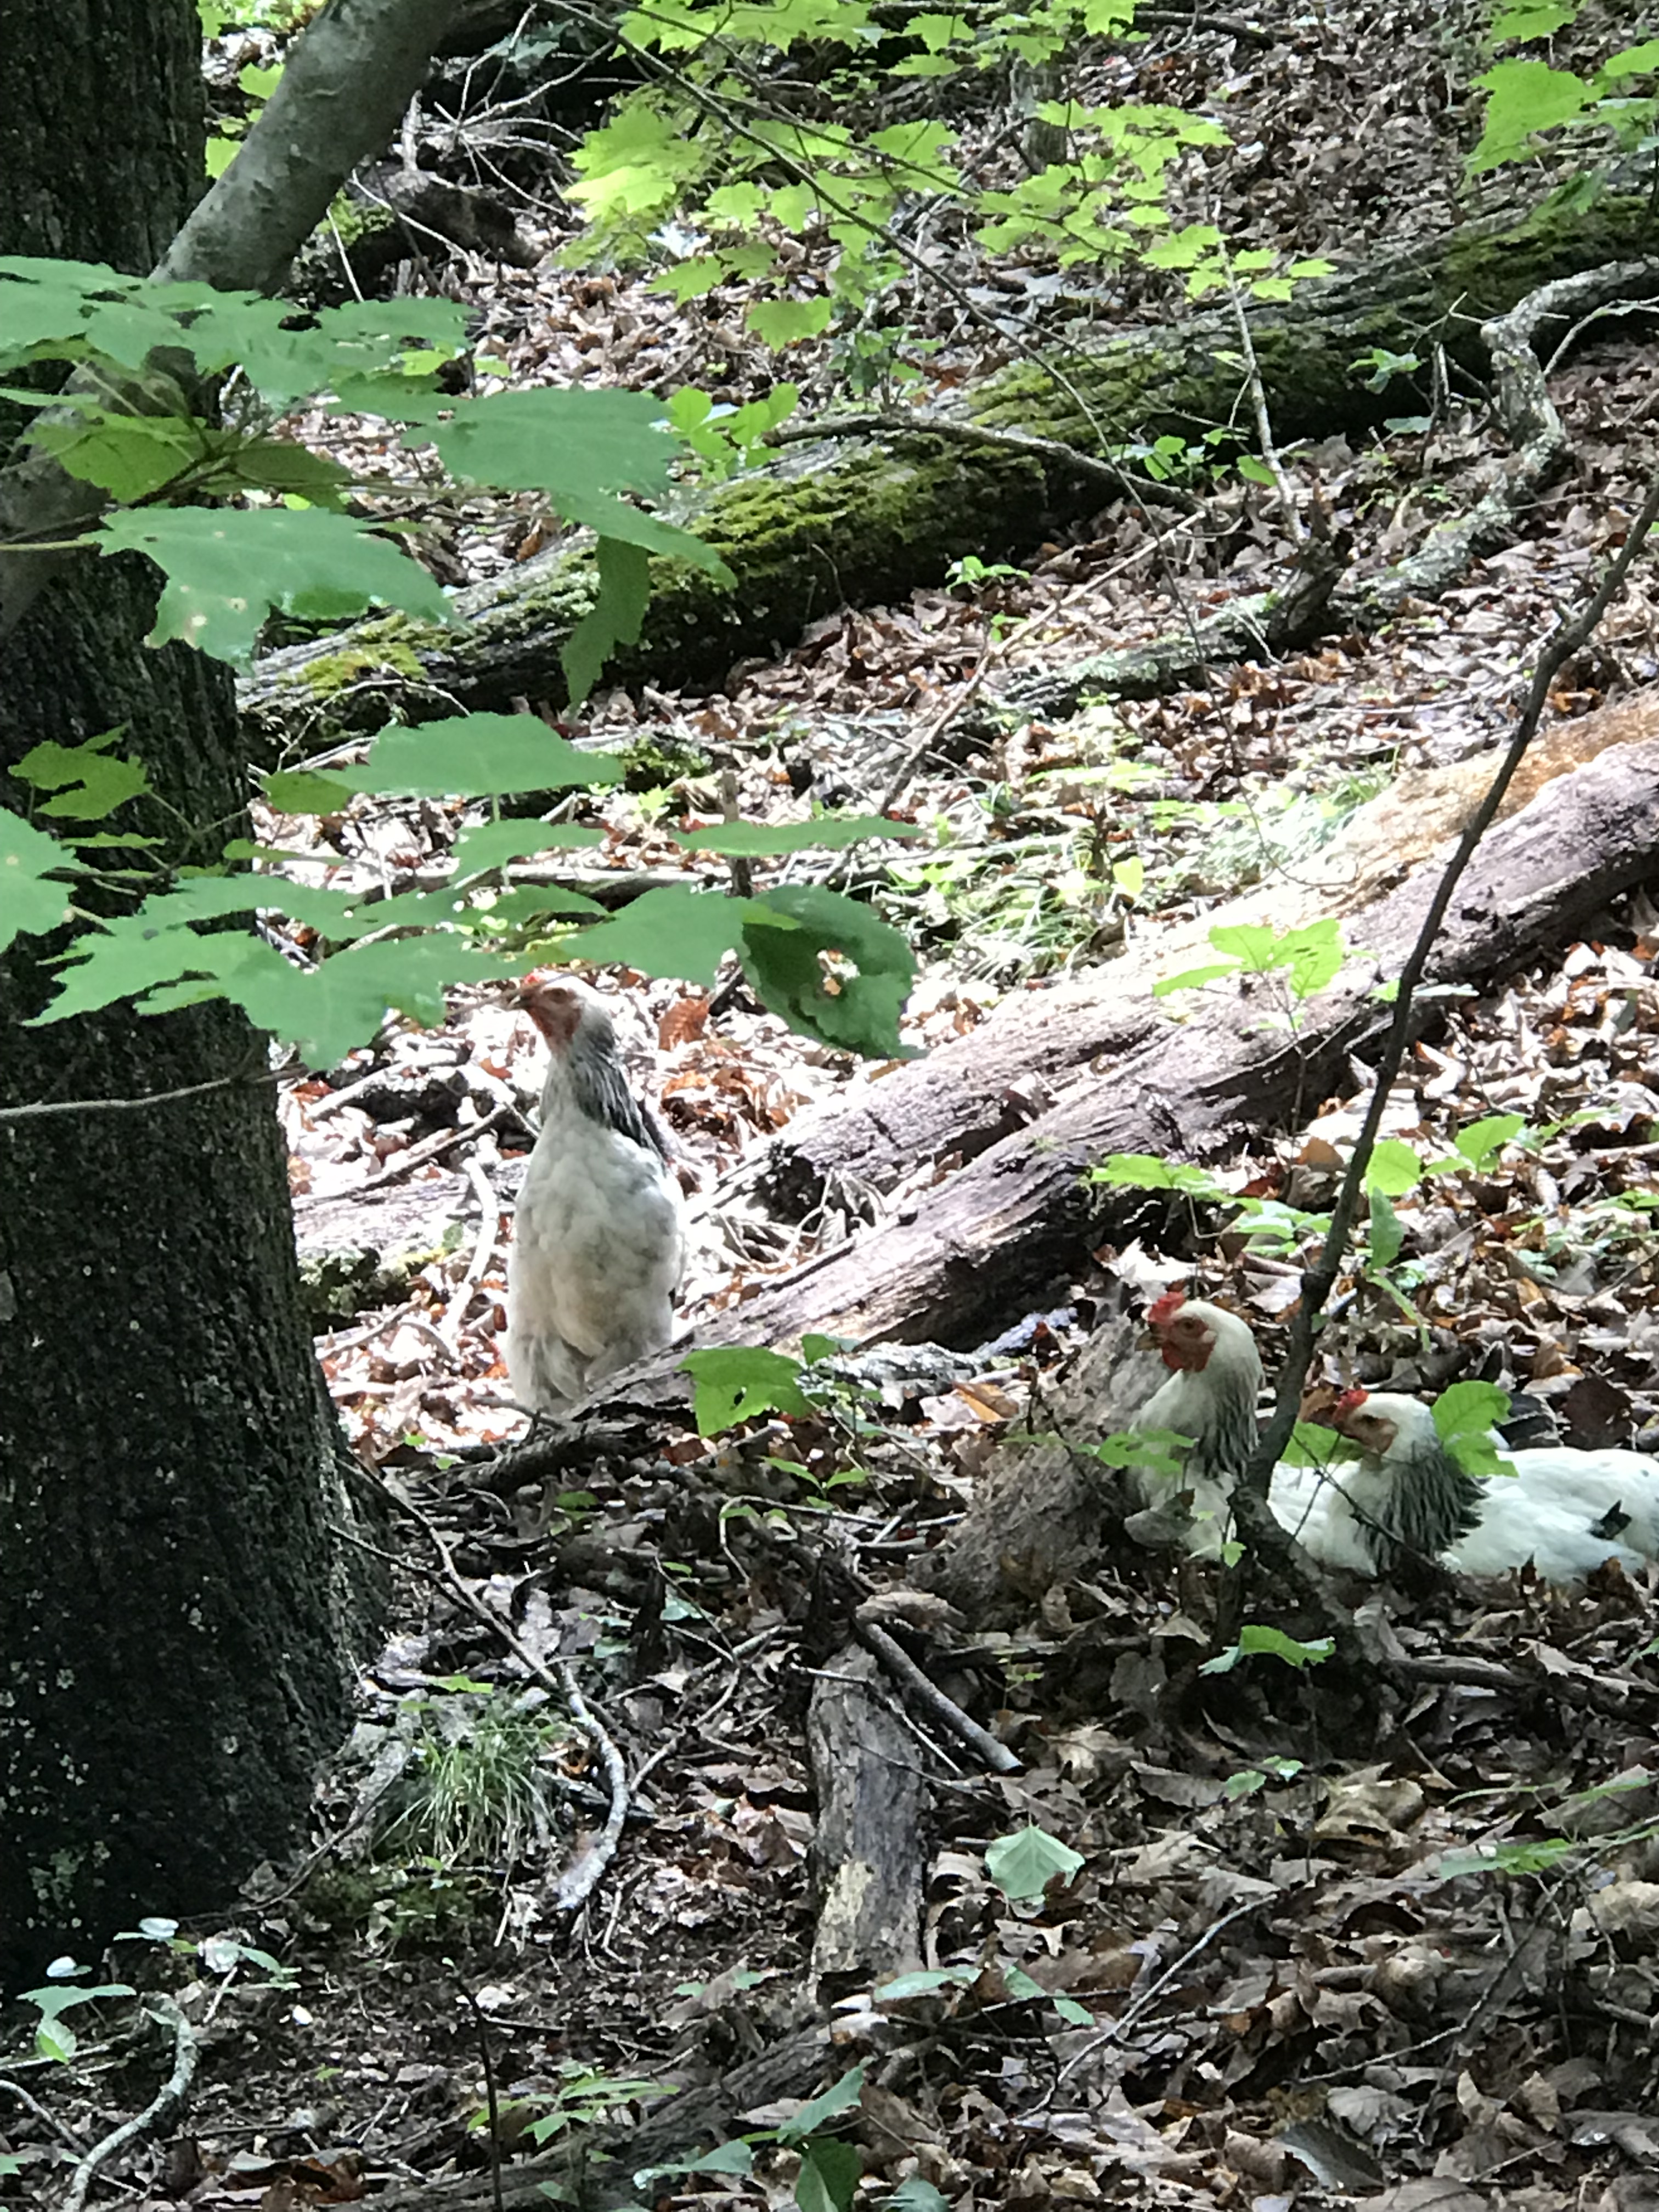
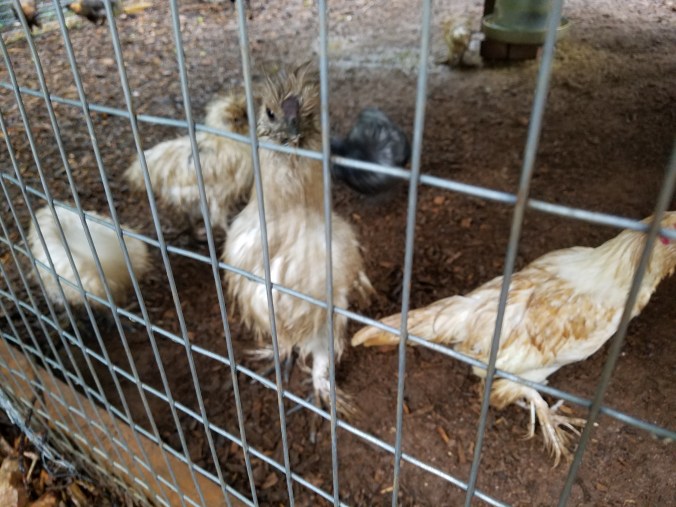
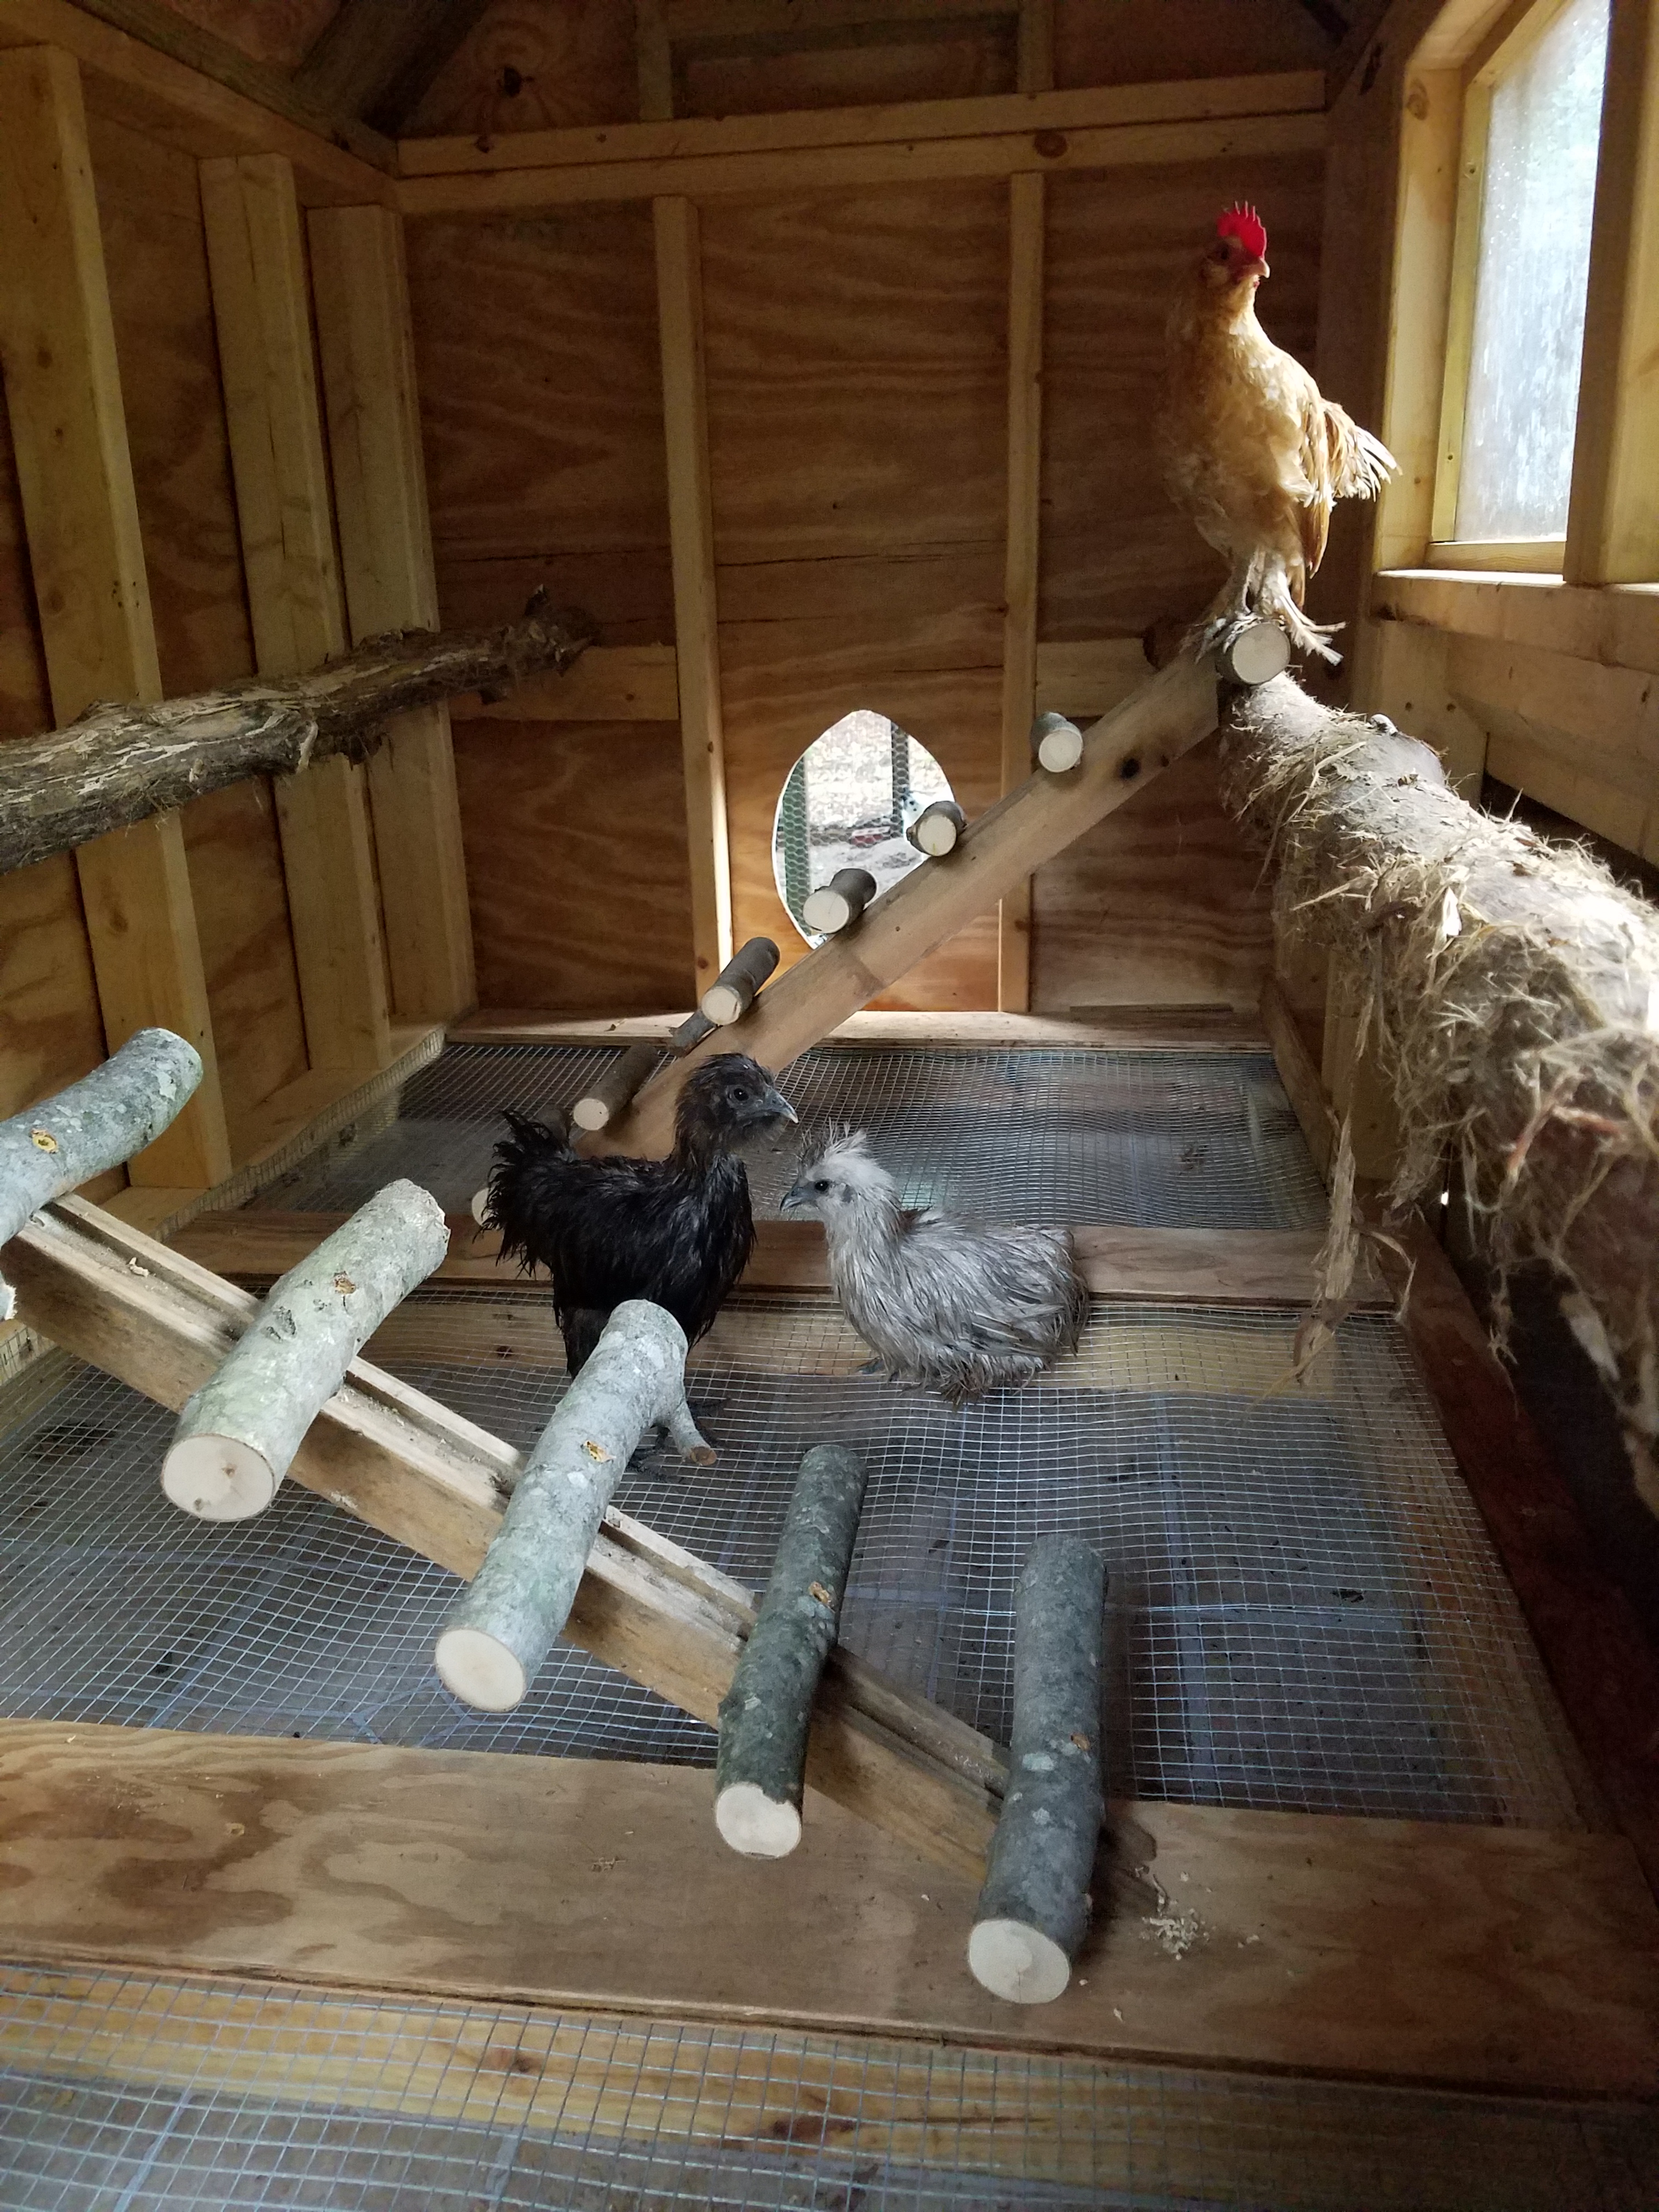
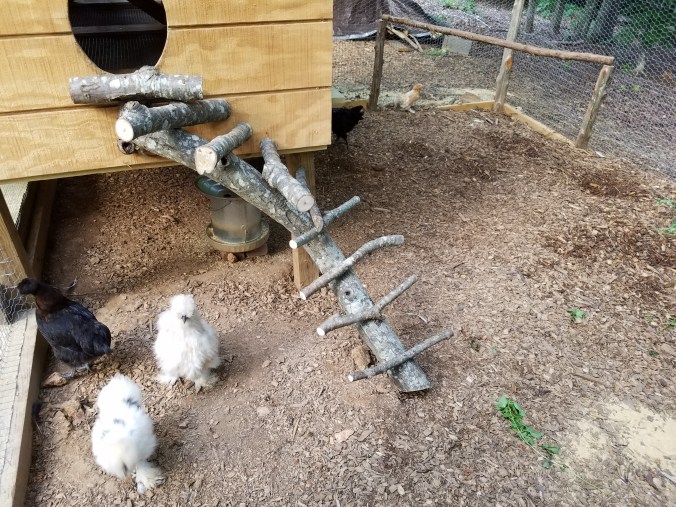
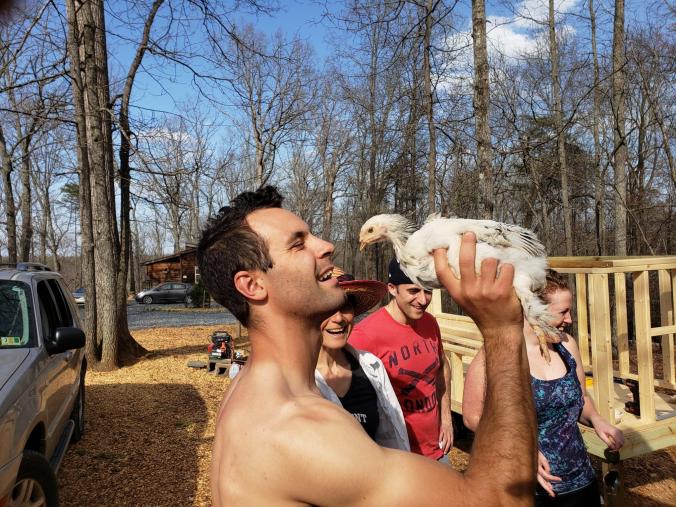
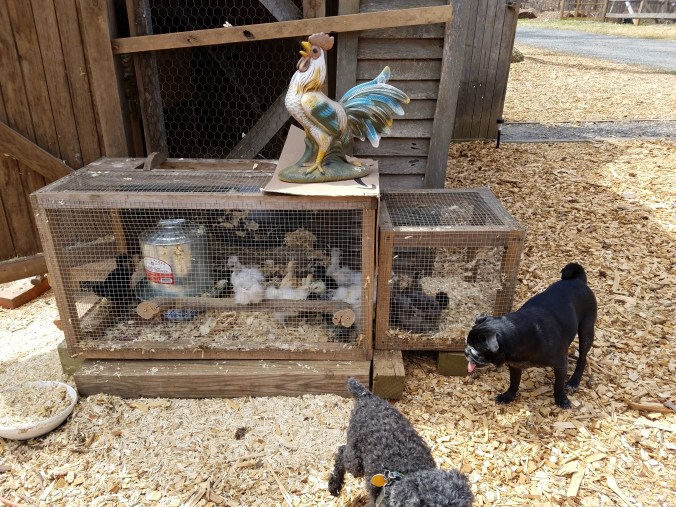
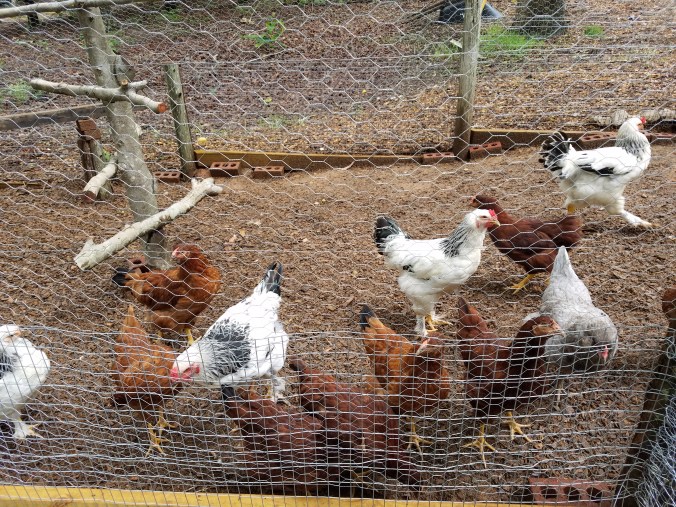
One last thing about the fencing. You might have noticed that there are two sets of chickens. This goes back to when they were itty bitty chicks and there were just too many of them so we had two separate enclosures in the basement. We had kept the brahmas, cinnamon queens and Rhode Island reds (the Bigs) apart from the silkies, d’uccles, black copper marans and their various mixed breed friends (the Smalls). We took a chance allowing the Bigs to invade the gray Ameraucana’s lonely space of the old coop; she was the holdover/sole survivor from the last batch we had. The Bigs were half the size you see in the above photo when they joined her, but when she tried her dominating tricks, they outnumbered her and were too fast. The stress caused her to stop laying for weeks, poor thing, but she got used to them eventually and is giving greenish eggs once again.
Still, combining the Bigs (plus Old Gray) with the Smalls did not seem wise, considering not only the size difference but also the murderous pecking order demonstrations we have witnessed in the past. The recent predator biting half the head off a chick (the one who foolishly stuck her head out the fence) is enough of a crime scene for this year. So we put a barrier between the two sets of chickens, between their respective runs. This did require the digging of two additional holes, but only chicken wire top to bottom, and no trench, no wire in the ground.

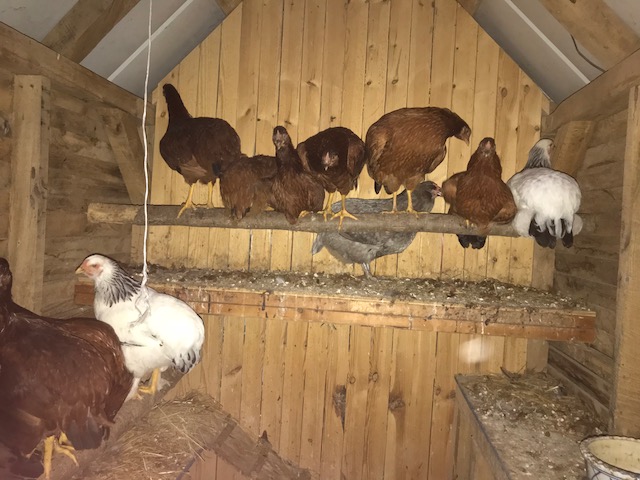
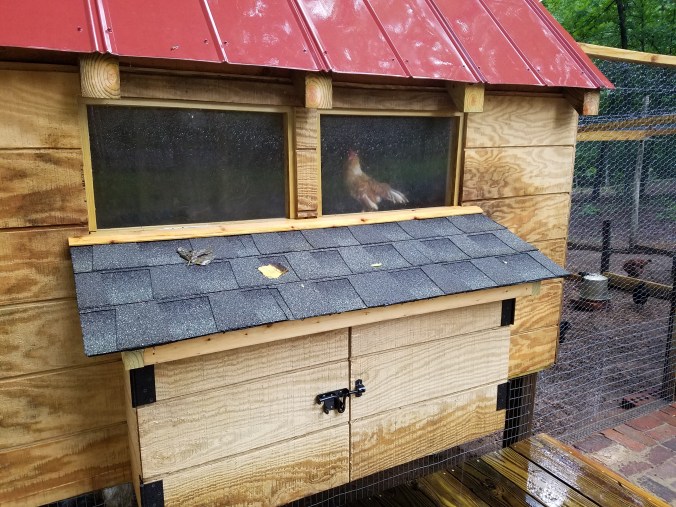
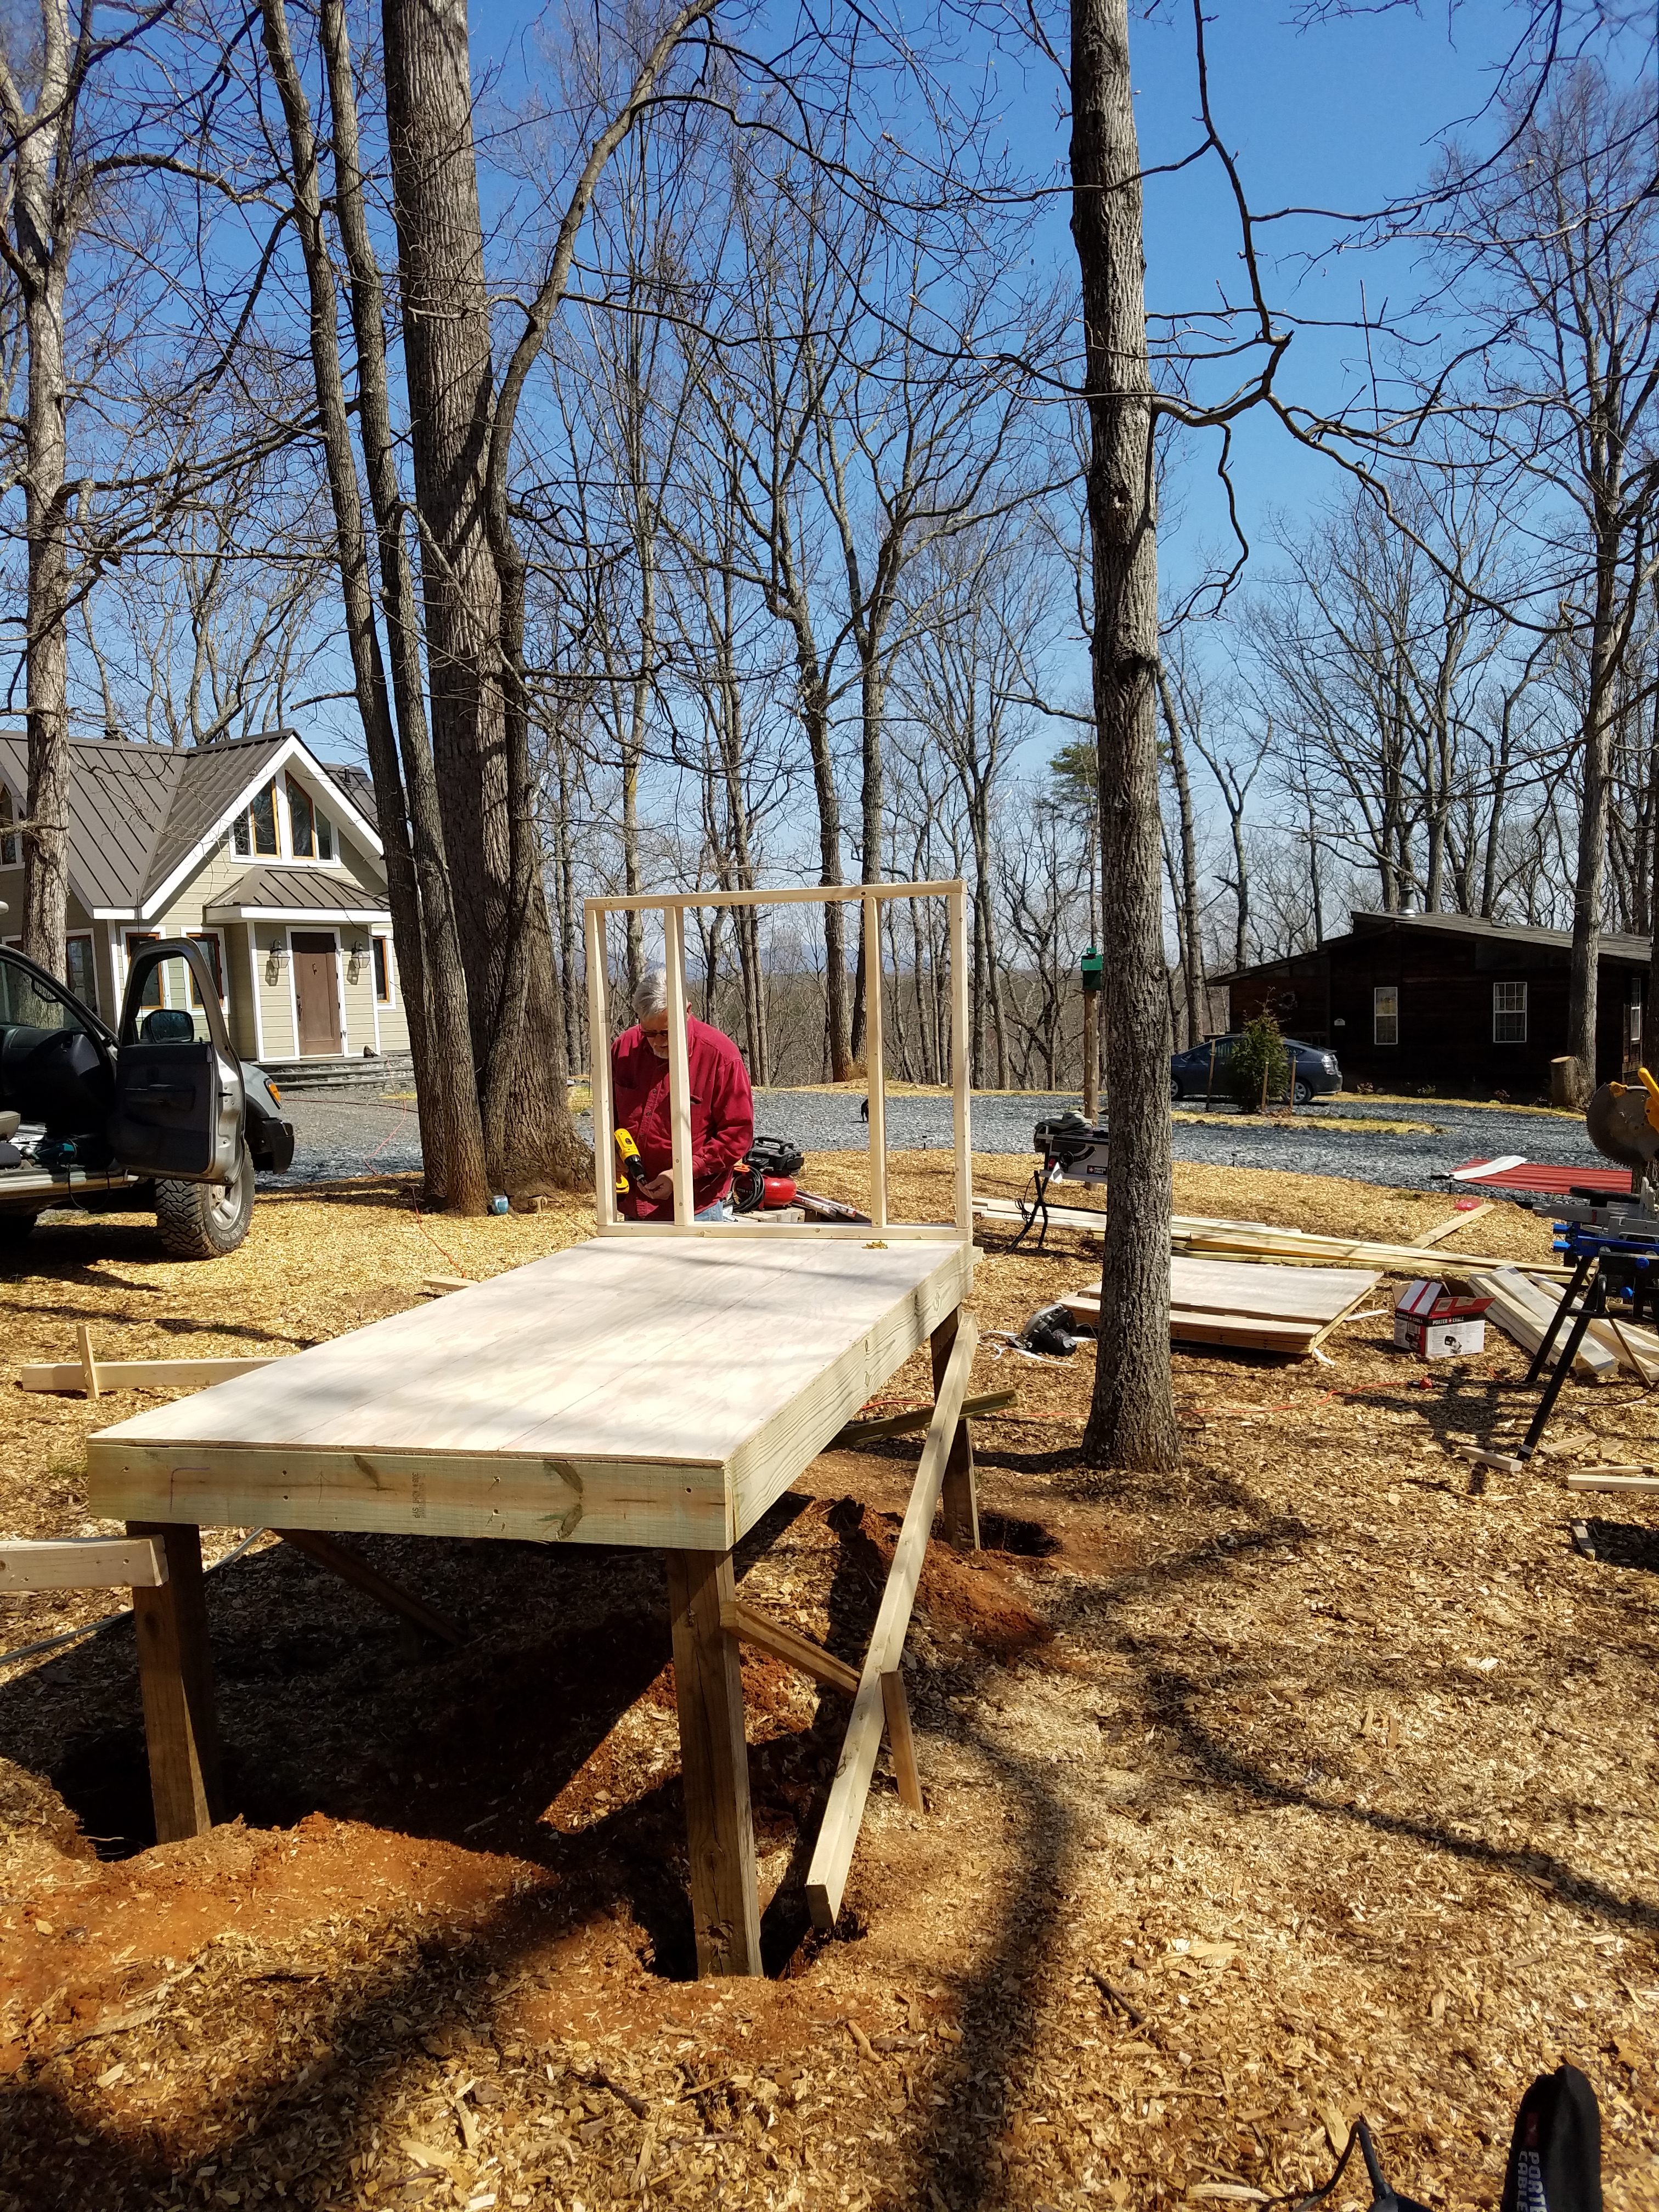
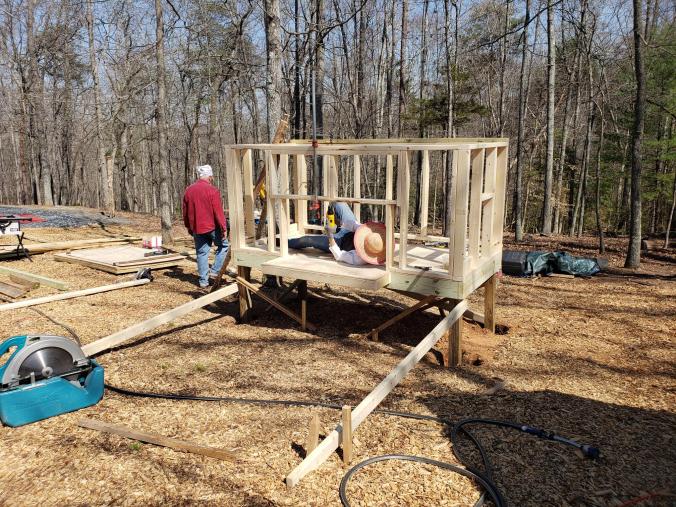
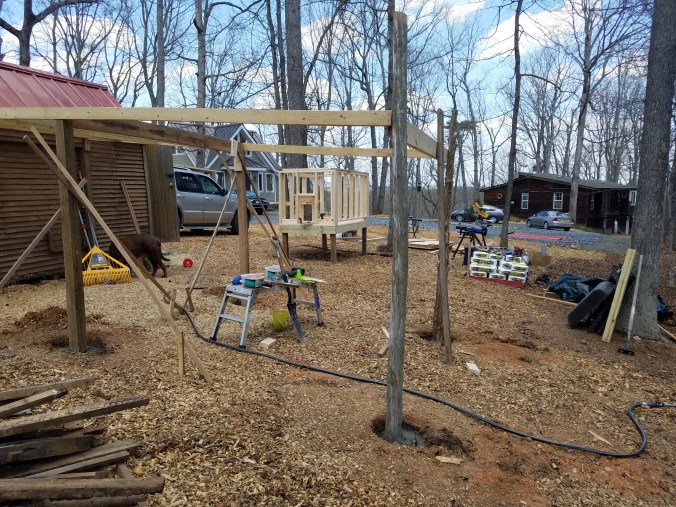
At the same time as all this fencing work was taking place, Sandy was working on the new coop little by little. From those YouTube videos at the start of this project, a lot of good ideas came. Maybe someone will get good ideas from these posts too.