The title does not contain a typo. It is not supposed to say Pizza Pie. I said Pile and I mean Pile. You’ll see.
One day last week – I don’t remember which day except it was the day that included Dog-opoly – Kaileena and I wanted to make pizza. She is ten and so eager about learning to make good food. During the earlier part of the week that she was with me, we had made yeast dough twice, once for cinnamon-swirl bread and once for calzones. Now we would make it for pizza.
Until very recently, I have been making pizza the same way for my entire adult life.
- Make dough. Let rest.
- Roll out dough and put on prepared pan.
- Spread tomato sauce on dough.
- Sprinkle basil, oregano and garlic powder (one at a time) on sauce. Back in the day all of these came in little jars, dried and broken into very small pieces. Thus the sprinkling. Fresh is much better if you can manage it.
- Top with grated mozzarella, parmesan and possibly asiago (one at a time).
- Top with whatever else: spinach, salami, peppers, pepperoni (one at a time).
- Bake in a hot oven.
In all these years it never once occurred to me to combine ingredients. Here is the way Kaileena and I made a pizza pile together.
First you gather all the ingredients for your pizza other than the crust, which is separate for obvious reasons. We decided to make our pizza with just two cheeses, mozz and parm, and also to use salami, spinach and a half of a yellow pepper that we found in the fridge. Of course you can put whatever you want on your pizza.
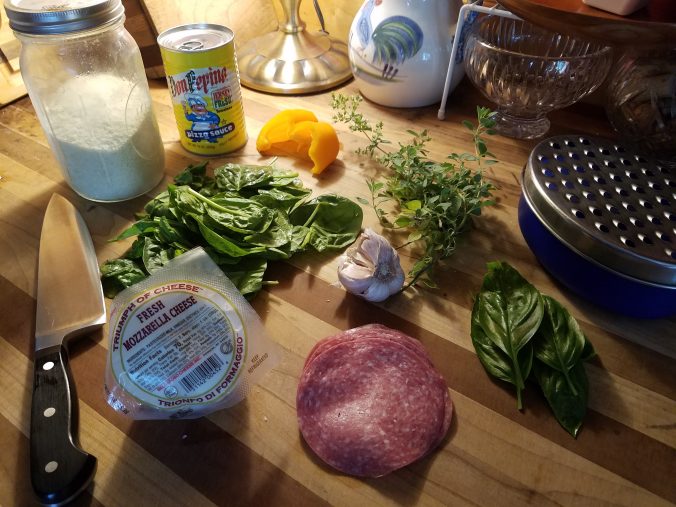
You see two cheeses (mozz wrapped in plastic and parm in a jar), spinach between them, a few slices of salami next to fresh basil and garlic cloves (we used just one clove), fresh oregano next to the garlic, and a piece of yellow pepper next to the can of all-important Don Pepino pizza sauce.
Kaileena grated the mozzarella while I cut up the rest.
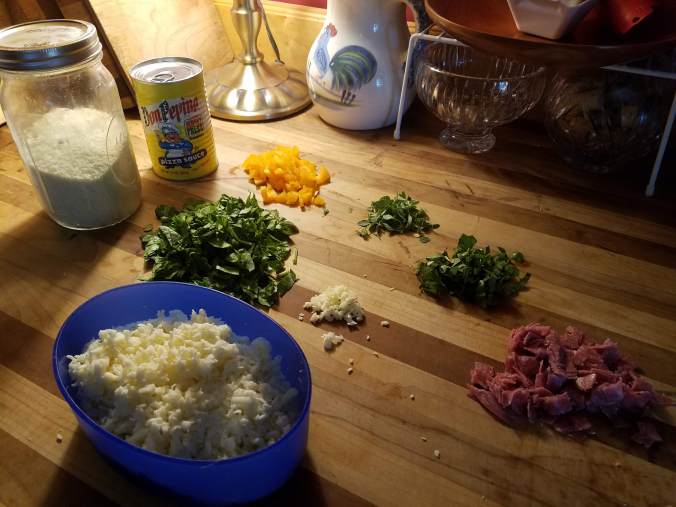
We are getting closer to the pile. All of this stuff, except the sauce, goes in a bowl. Don’t forget a little salt and pepper. I would say not quite a teaspoon of salt for a pizza this size. But the amount is up to you.
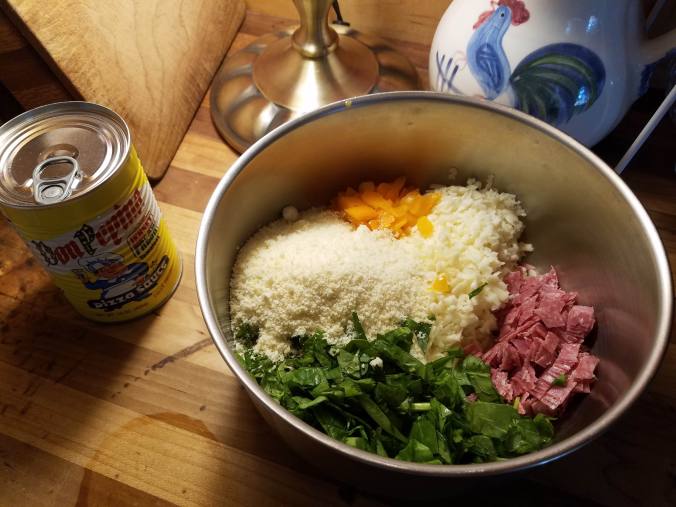
Then you mix it up and either use it right away or put a plate on it and put it in the fridge until later when you want to make the pizza.
Easy peasy.
Normally I would make the dough first, then grate the cheese, cut up the rest and mix it in a bowl while the dough is resting. But we knew we had to go get my mom and had only a little time, so we reversed the normal order. When we came back home with Mom, we made the dough.
First put one cup lukewarm water in a bowl along with a tablespoon of yeast. Stir. Add a cup of flour and a teaspoon of sugar. Stir. It will look like this.

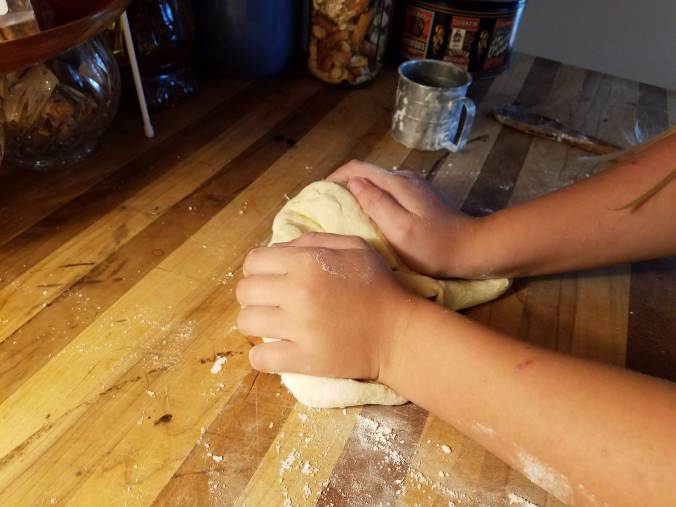
Add another cup of flour and a teaspoon of salt. Add flour about a cup at a time until the dough pulls away from the side of the bowl (about 4-5 cups total I think). Transfer to your countertop and knead about 10 minutes, until smooth and elastic. Kaileena got pretty good at this. In the kneading, you push with the heels of your hands, then pull the dough back toward you. Put some umpf into it. You’ll get a better dough and strengthen your arms at the same time. Who needs a gym when you can knead yeast dough like this?
After your dough is smooth, let it rest about 20 minutes before you roll it out. Just put a little flour on the counter and let the dough sit there.
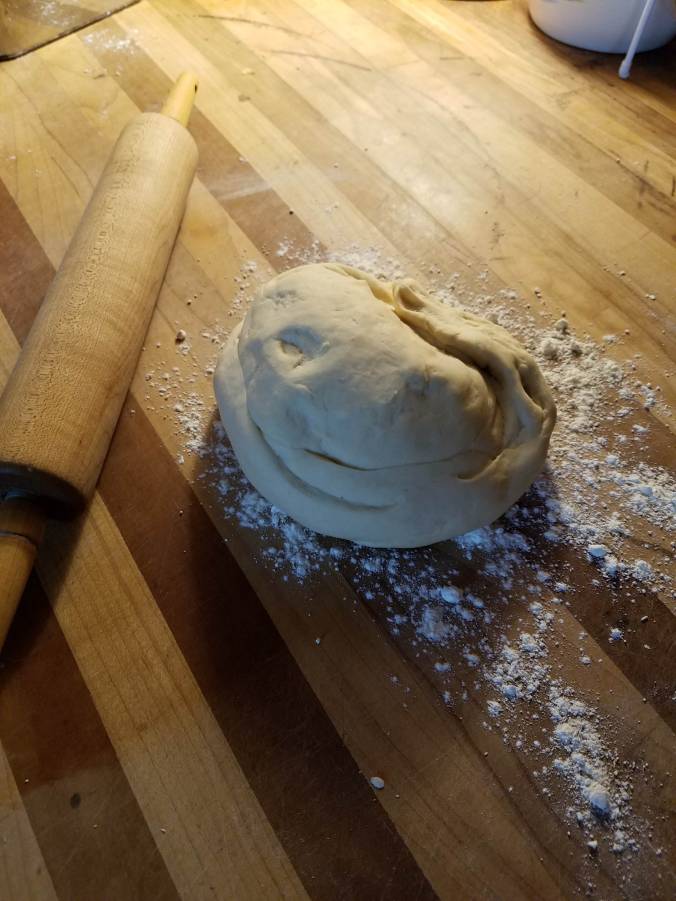
I swear we did not try to make a smiley face in the dough!
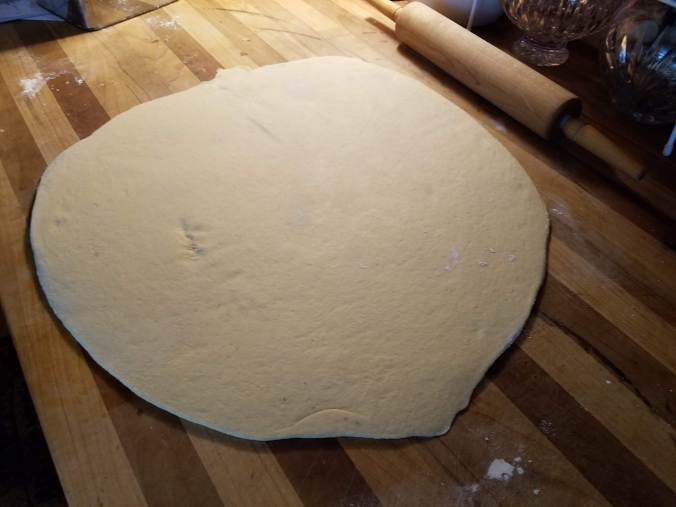
After 20 minutes or so, roll out the dough. Kaileena did this without help of any kind.
We let that sit while we prepared the pan. Can you tell I’ve used a pizza cutter on that pan a gazillion times? I poured a bit of olive oil on it.
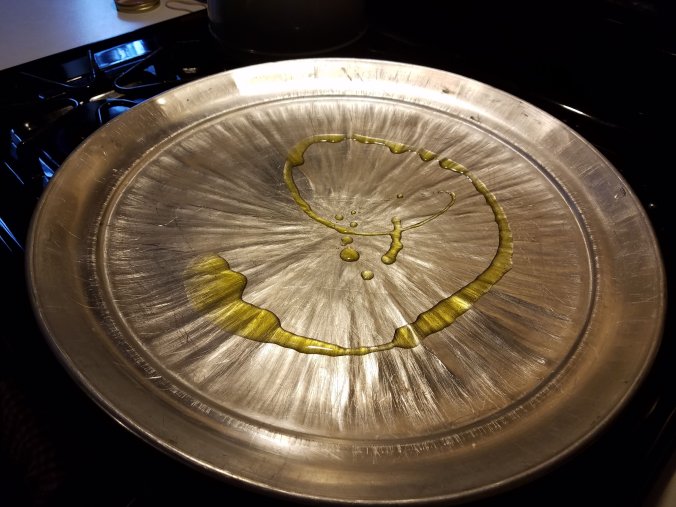
Kaileena spread it around with her hands, not worrying about getting them oily because she was going right back to the dough, and that won’t hurt a thing.
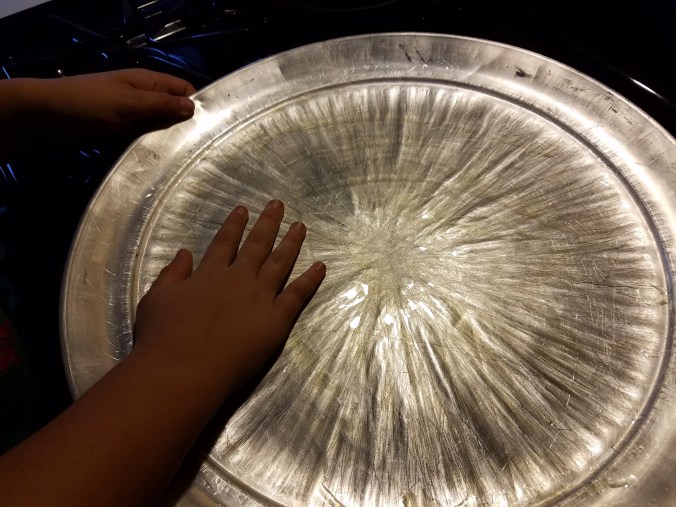
I then sprinkled a few tablespoons of cornmeal on the pan. It’s not necessary. I just like the added texture.
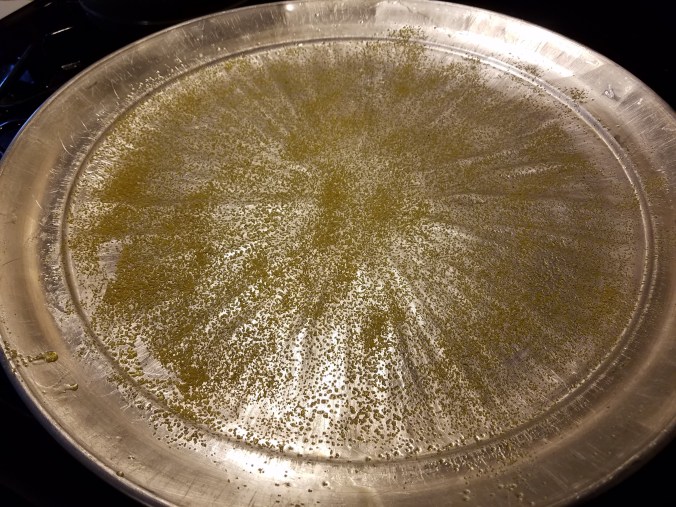
By the way, my oven takes 15 minutes to heat to 425 degrees, so I would turn it on about now.
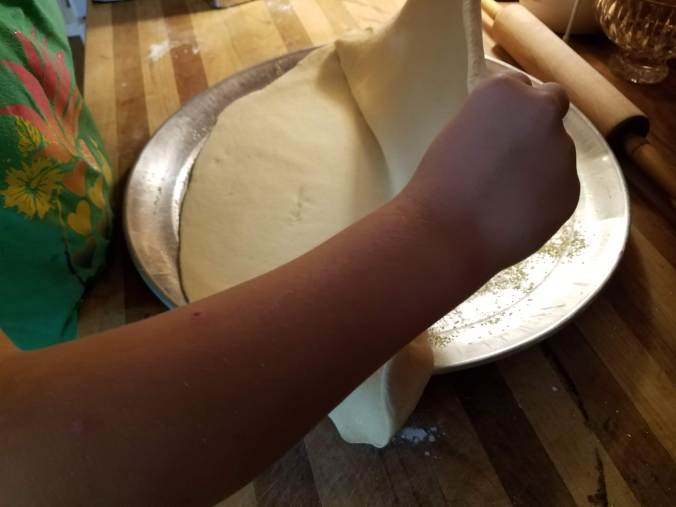
Kaileena folded the dough in half and lifted it carefully to place it on the pan.
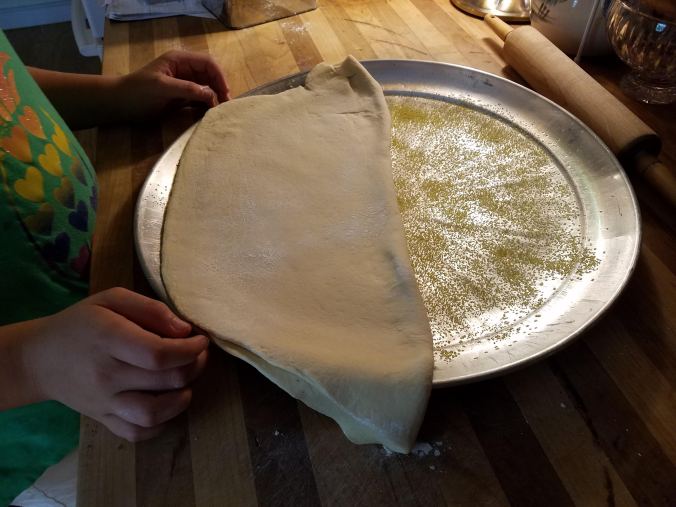
She unfolded it to cover the pan and curled up the edges that hung over the sides.
Then we put half of that can of Don Pepino pizza sauce on the dough. I used to use the little 8-oz cans of tomato sauce, but one time last year we went to make pizza and had none of that in the house. Mom was here at that time, in transition from one house to another, and had stored a few bags of groceries in my basement. “I think there’s a can of pizza sauce in one of those bags,” she said. She had Don Pepino. Samuel deemed it the ingredient that moved homemade pizza to another level. I agree it was an enormous difference. We ordered a case from amazon.
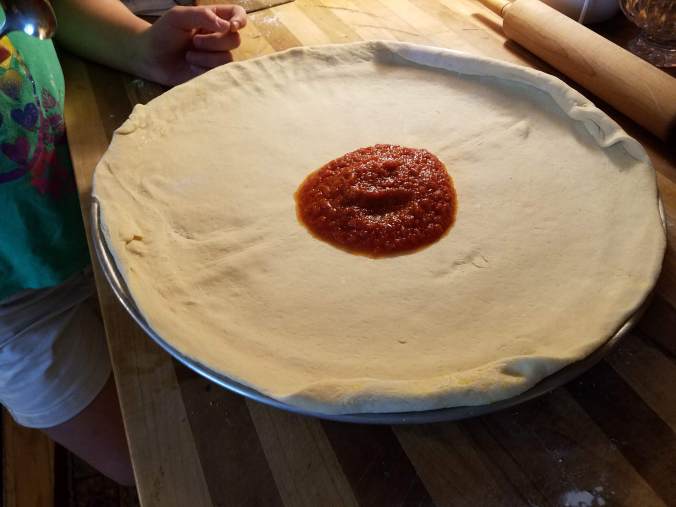
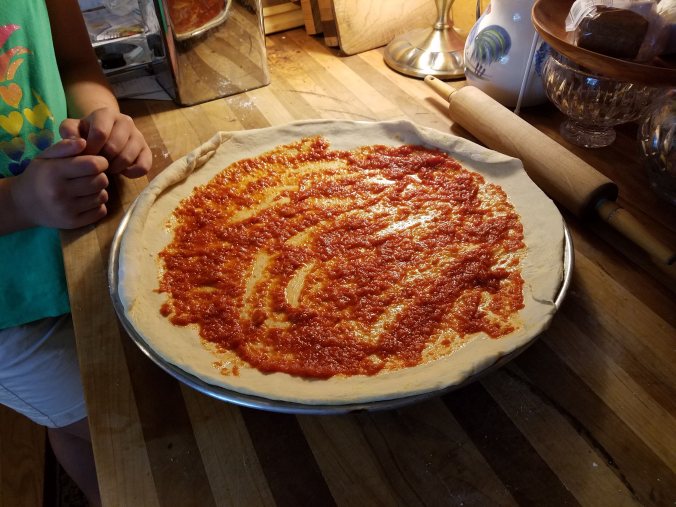
Kaileena spread the sauce. If you have the least bit of an artistic bent in you, this part is quite fun. A little like fingerpainting, only you do it with the back of a spoon.
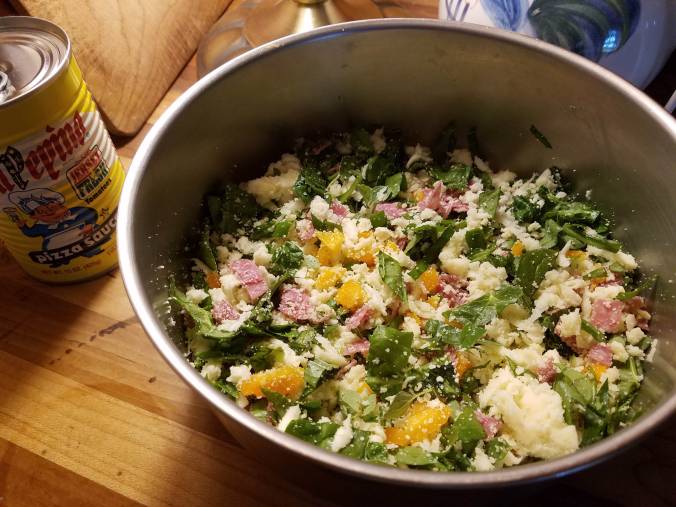
Out from the fridge came the bowl of mixed-up cheeses, herbs and toppings. When you unload the bowl onto the pizza dough and sauce, you are looking at a PILE. You knew I would show you: Pizza Pile, get it? 🙂
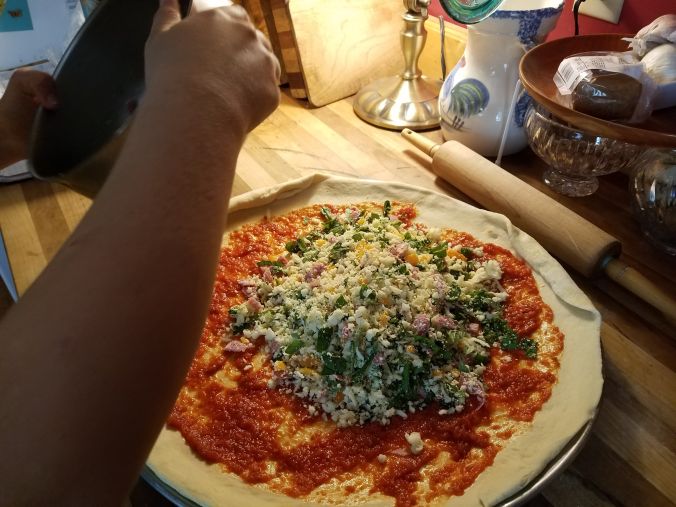
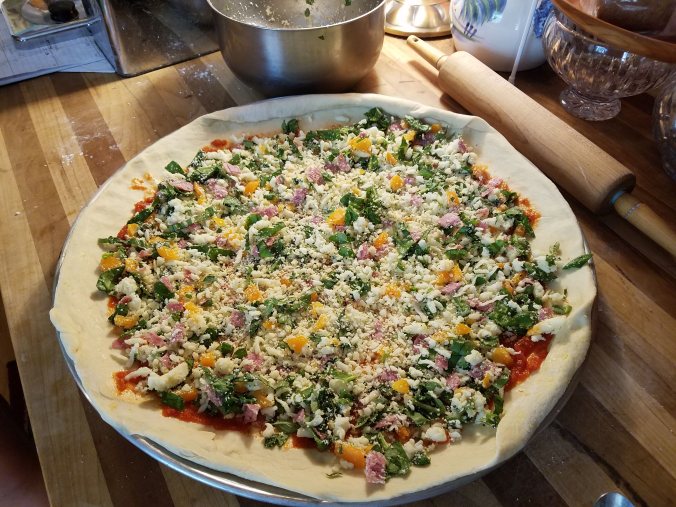
None of this “first the basil, then the oregano, then the …..” Just empty the bowl on top and spread it out. Done! Oven ready in no time!
To get a good bottom crust, I slide the pizza right onto the bottom oven rack when it is set but not yet brown. This crisps it up and in five minutes or so I can slide it right back onto the pan. A spatula helps.
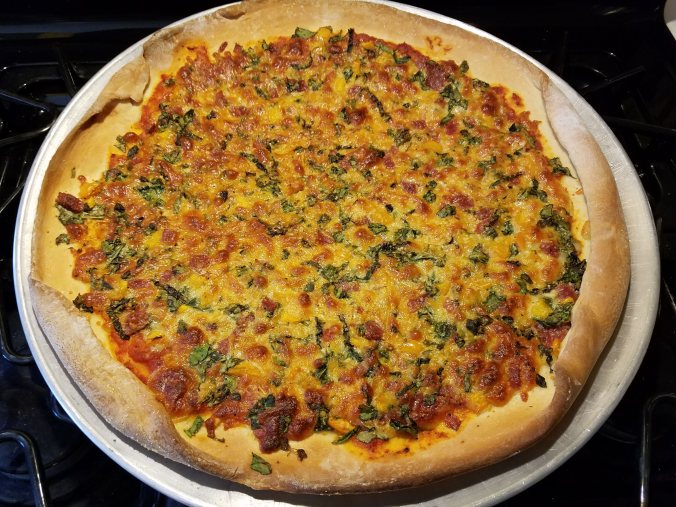
Voila!

I wish you weren’t so wishy washy, First Sergeant!😊
LikeLike
You make pizza look easy 🙂
LikeLike
I had the fun and privilege of making a pizza with Patricia using the pile method. Not only was it easier to make the pie this way it took care of the problem of which slice has more pepperoni on it. Best of all, it was delicious.
LikeLike
I’m coming to eat with you!! Looks delicious and I know you girls had fun.
LikeLike
Makes me hungry. Now wouldn’t that be a great page for a cookbook for children?! Think about it.
LikeLike
Great cooking class!
LikeLike