For 22 years I lived in Vermont – made my own bread, homeschooled my kids, wore Birkenstocks year-round. I was a Granola Mom and proud of it. As you would doubtless expect, I also made my own granola. At some point my friend Bobbe gave me her recipe, and I made it and tweaked it and gave it away many times since. For a few years I even got to serve it to runners and walkers (along with little yogurts) at the annual 5K fundraising event our local hospice organization held at Keswick Golf Club.
Hospice of the Piedmont in Charlottesville, Virginia, has all my admiration for the outstanding job it does of ensuring that no one in this community dies alone or in pain, and that the families of those with terminal illnesses get the help they need too. I loved helping with the 5K every spring. Four or five years ago, thinking of my granola, I suggested that at a 5K, we should have food that the runners will remember. You want them to come back, to choose your race instead of some other race. Every event like this has banana halves and orange smiles, and lots of them have donated waters and bagels. But who has yogurt and homemade granola? It worked! The runners loved it!
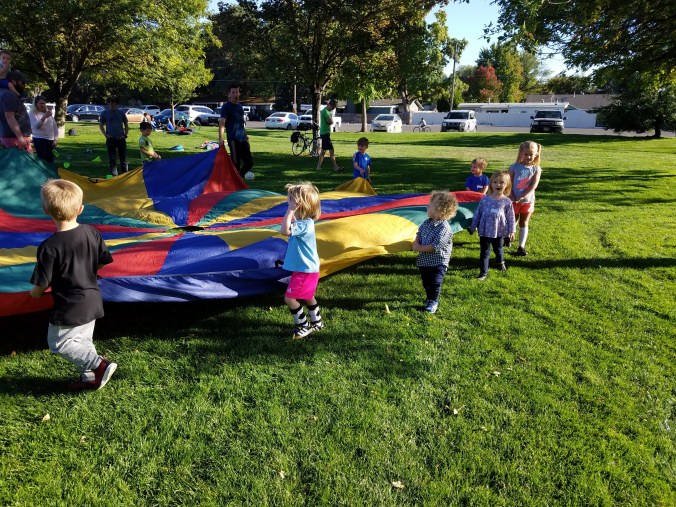
Last year this amazing group of women, led by rock star Melba Campbell on the far right (who, for those of you who see the balloons, was also the birthday girl that day), raised more than $176,000 through this event that included just over 300 runners and walkers – a phenomenal ratio of dollars to runners. Every single volunteer contributed heart and soul, and I could not be prouder to have worked alongside them.

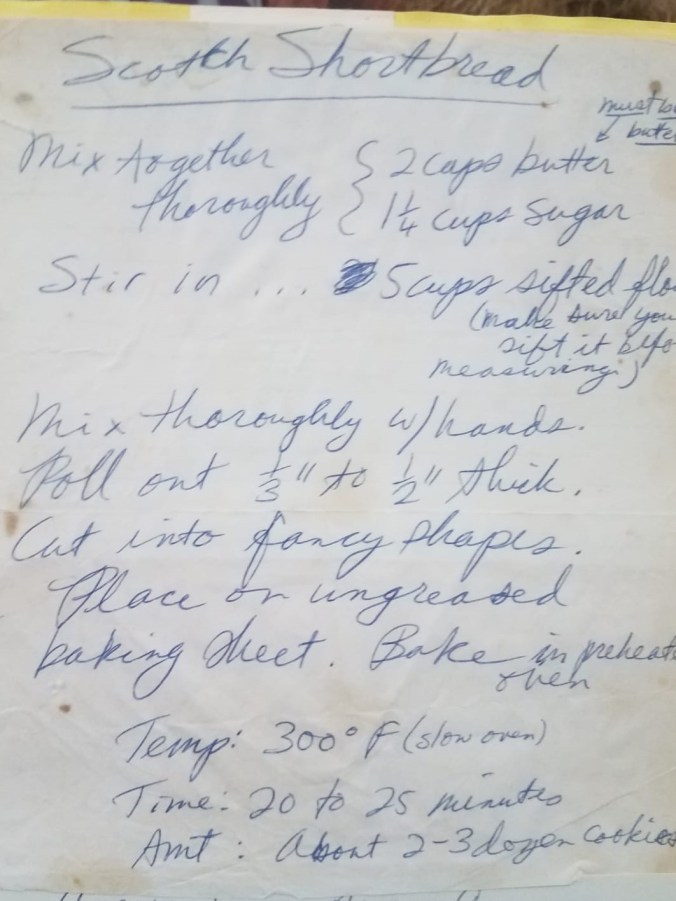
But a funny thing happened this morning. I took out my cookbook to look at the original recipe, you know, just in case it was in Bobbe’s handwriting, which would have been very cool, but instead the handwriting was mine. She must have dictated it to me. Too bad, a missing piece of authenticity. Nonetheless, I laughed to see, right there in blue ink on an old index card, the very technique I thought I had “discovered” only a few years ago, the critical step, the “secret” to making the granola crunchy but not overcooked! Yes, it was a piece of humble pie for breakfast. How did that happen?!
It happens when you have made a thing many times, so many times that after a while you don’t look at the recipe because the ingredients and steps are all in your head. You begin to feel comfortable with eyeballing the quantity of, let’s say, the cinnamon, you use a different kind of wheat germ instead of the kind you always used, you decide you like it a little darker so you leave it in the oven longer – that sort of thing.
One time a few years ago, while working long days at the hotel, the glass, gallon-size jar that I keep my granola in was empty and I didn’t want to delay making a new batch any longer. Because of my schedule, I made it late that night. By the time it was done and I had turned the oven off, I was super tired. Eh, I’ll finish it in the morning (meaning I’d take it off the pans then and put it away). And off I went to bed. The next morning as I positioned the spatula at the edge of the pan to begin the process of breaking it up for transfer to said jar…

… I heard a different sound, a sound like crunch.
Words are great and they come in very handy for a lot of communication. Pictures add tremendously to the understanding of anything. But sounds! Sounds have their own benefit. When something has sounded a certain way all along, and then suddenly it sounds different, you pay attention. I deduced, from the sound that morning that sounded like crunchy, that the overnight stay my granola had had in my oven had pulled more of the moisture out of it than if you take it out of the oven after it’s cooked and let it cool on the counter. It was drier, crispier, crunchier. I loved it! I was elated!
This was a breakthrough, and I had my crazy work schedule to thank for it. The granola was better in yogurt, better in milk, just plain better. When Lori Woods, one of the exceedingly competent and dedicated hospice workers, asked me for the recipe last year, I included in it:
Bake at 375 until the tops get brownish, which takes about 25 minutes. I happen to like mine a little on the darker side, but the shade of brown is up to you. When you have decided it’s right, turn off the oven but leave the pans in there. I found out by accident that leaving the pans in the oven overnight to cool slowly allows the residual heat to pull any excess moisture from the granola and gives it (and allows it to keep) a wonderful crunch if stored without fruit in it.
See that part: I found out by accident…? I did! At least I think I did! But maybe I didn’t. Maybe the very clear instruction on the original recipe came out of deep storage in my brain, came right up to the front and presented itself anew. Here it is, see it? Plain as day: Turn oven off & leave in overnight.

Now I know you think the moral of this story is: Every now and then you should look at the recipe! Yes, that’s part of it. But something else interesting happened this morning. When I took my pans out of the oven, having baked the granola last night and left it to dry overnight, as I pushed the edge of the spatula along the bottom of the pan to loosen it up, I did not hear the crunchy sound as usual. It sounded, well, softer. This story is NOT unfolding as it is supposed to!
Food is funny that way. It does not always cooperate the way you expect it to. Boxed cake mixes used to have alternate instructions for people who live at high altitudes (probably they still do, I haven’t bought one in a long time). This is because, for one thing, the air pressure is lower and foods take longer to cook. I never lived at a high altitude but if you did, it would make sense to pay attention to that.
I have never seen alternate instructions for hurricanes or other weird weather situations, but I think maybe, just maybe, the excessive humidity in the air right now because of Florence affected my granola, even inside the oven. Could it be? For several years now, I’ve done the overnight method. Why this time is it different? Lucky me: I have another batch to compare with mine.
Mom wanted to make some too because Jerry is a big fan of this granola and he was running low. (Poor man, must keep him well supplied.) She made it herself a few weeks ago and it didn’t come out right, so I made a batch together with her yesterday morning and then a batch of my own when I got home. This was great not only because I could spend some fun time with Mom, but also because I could see the process through the eyes of someone who was new at it.
Start with these ingredients.
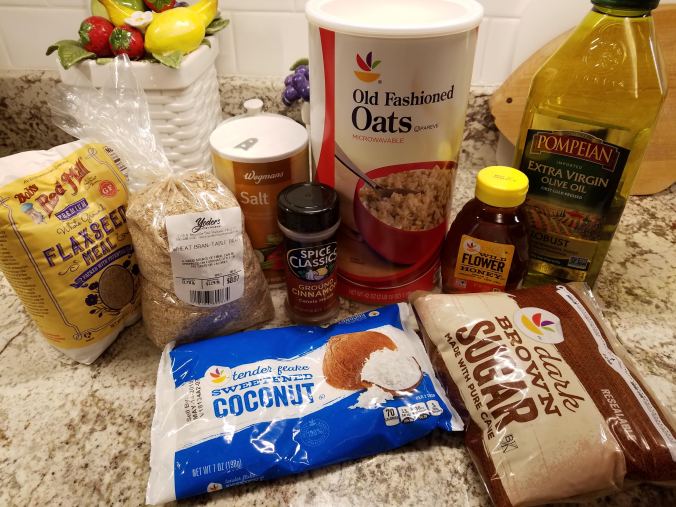
Specifically,
1 large round container old fashioned oats (42oz, 1.2kg, which is 15 8oz measuring cups full in case you buy your oats in bulk packaging)
1 ½ cups shredded coconut (this 7oz bag was a little more than that, I used the whole thing)
1 cup wheat germ
½ cup flax seed meal (optional)
1 cup brown sugar, light or dark
2 tablespoons cinnamon
1 teaspoon salt
Several points to note.
- Old fashioned oats are better than quick oats for this.
- You might like your granola sweeter or not as sweet. You can add some more brown sugar, or use less. You can use unsweetened coconut.
- Your wheat germ might be toasted or some other variety. Fine.
- I use flax seed only when I have it. Mom had it and wanted to use it.
- There are no nuts in this list. There are two reasons for this. One, I do not eat nuts. Two, if you eat nuts and want to add them, it is best to do them after the granola is baked and cooled.
- There is no dried fruit in this list. If you add the dried fruit before baking, you will end up with fruit that is hard as rocks and hard to chew. Put it in later.
My 8-quart, 14” dough bowl works well for this amount of ingredients. I brought mine to Mom’s because she doesn’t have that big a bowl. She said to add to these instructions that you might want to either use a big pot as a big bowl or cut the recipe in half so that you can use a smaller bowl.
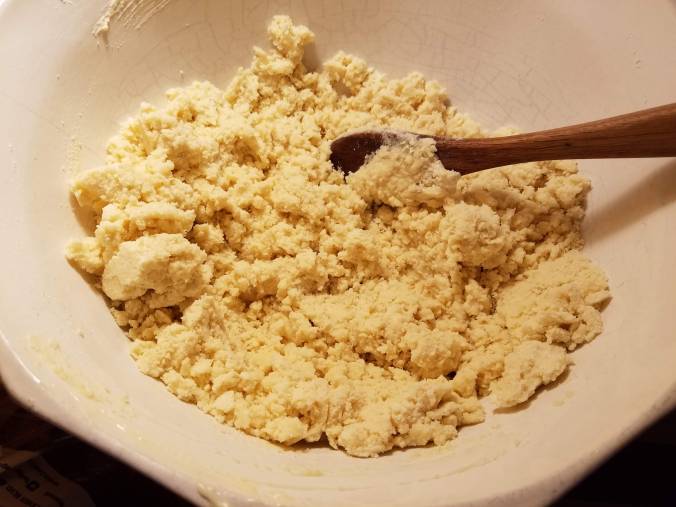
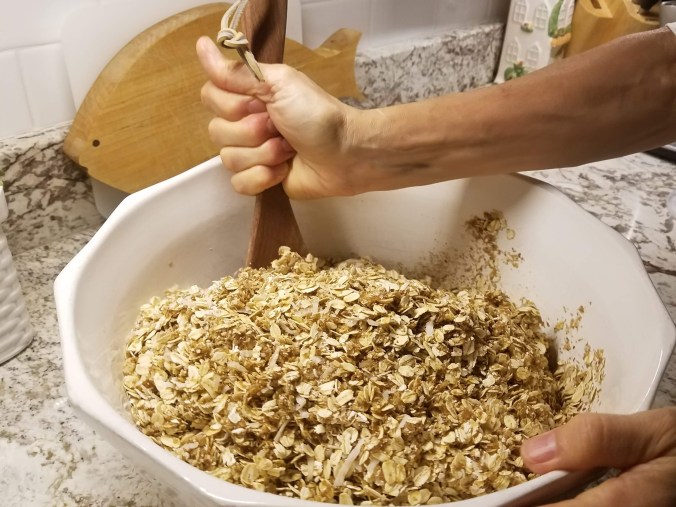
Mix all of this together well in a very large bowl. Make sure you break down any brown sugar or coconut clumps at this time. Fingers or the back of the spoon work well.
Once the dry ingredients are mixed together, add 1 ¼ cup extra virgin olive oil (or whatever cooking oil you prefer) and then 1 cup honey (local is best, you know what they say about it being good for you). Measuring the oil first, then the honey in the same measuring cup, helps your honey not stick so much to the inside of the measuring cup. When you have added both, stir it up carefully.
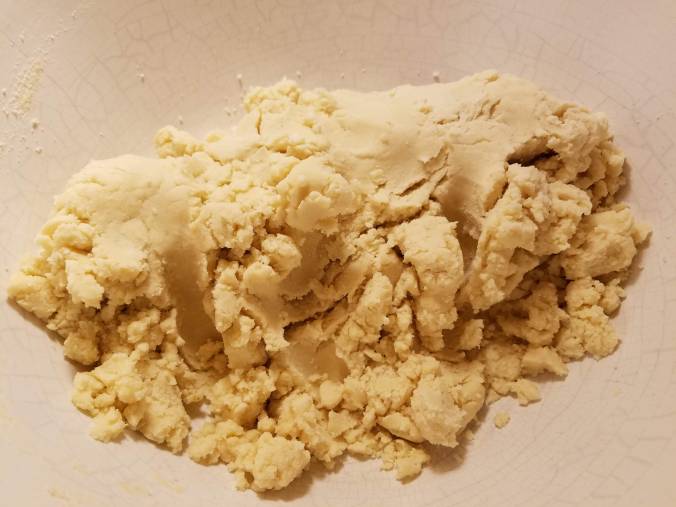
I loved stirring it all up using this beautiful hardwood spoon that my son Bradley made for Mom years ago. The very tools we cook with evoke good emotions sometimes!
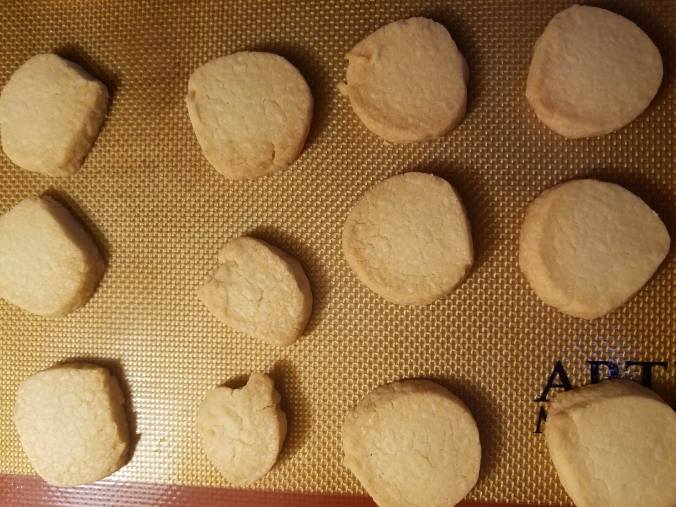
Once the mixture looks well mixed, which is to say de-clumped, divide it between two 12×18” pans or the equivalent. These have a nice standing-up edge and that’s important against spillage. The silicone mats are underneath, but you can’t see them. Bradley made that fish cutting board too, by the way.
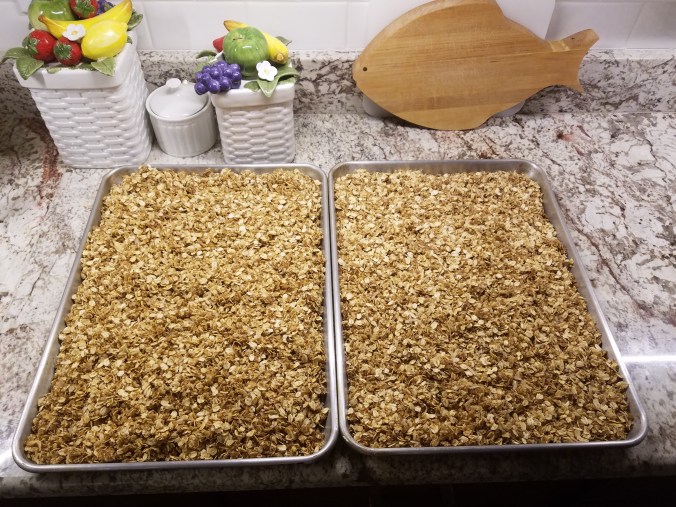
We preheated Mom’s oven to 375 and left the pans in there for 25 minutes. The top pan got browner than the bottom pan.

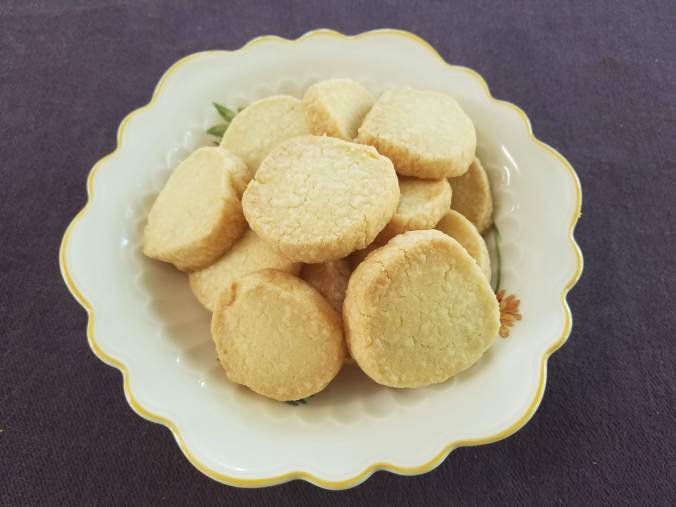
Both are acceptable. You make it however dark you like. The original recipe does say a 300 degree oven, oops, I also see today. Maybe I got impatient somewhere along the line and upped the temp. Either way, it bakes, and you decide how brown you want it.
Do note that brown corresponds directly to crunch. The browner, the crunchier, regardless of residual oven heat. Getting back to the humidity question, Mom’s granola turned out crunchier than mine despite the humidity and I think this is because hers stayed in the hot oven longer. She mixed up the darker and the lighter before putting it away and got a very acceptable result. SO… maybe it’s the combination of length of time in the oven (how much it cooks in the first place) plus length of time in the residual heat plus the (random, uncontrollable amount of) humidity in the air.
All right, so you mixed up the dry, stirred in the oil and honey, de-clumped, spread in pans, baked for 20-25 mins, turned the oven off and let it sit overnight in your oven. The next morning, use a spatula to loosen the granola from the pan and use your fingers to break up the larger pieces. Now either put it directly into jars or tins to store without dried fruit and/or nuts, OR combine with the fruit and/or nuts now and then put away for storage. I store mine without fruit. IF you store your homemade granola with the dried fruit mixed into it, the dried fruit will put some of the moisture back in it and your granola will be softer. Adding nuts before storing the granola should not affect the moisture the way fruit does, but I cannot be sure about this. The 5K race day fruit was dried cranberries, cherries, cut up apricots and golden raisins; use whatever you like and quantities you think are appropriate. Almonds, walnuts or pecans are good I’m told, but I cannot be sure about this either.
My favorite combo in a cereal bowl is equal parts granola and Grape-Nuts (which contains neither grapes nor nuts, but that’s another story) with some dried cranberries on top (dried cherries on special occasions or to treat myself). I use the Grape-Nuts because the flavors and textures combine well and it helps to stretch out the batch of granola, meaning I don’t need to make it as often (which was super important back when I was working ten or so hours a day at the hotel). Mixing some granola into plain yogurt with a little bit of strawberry jam is also very nice…
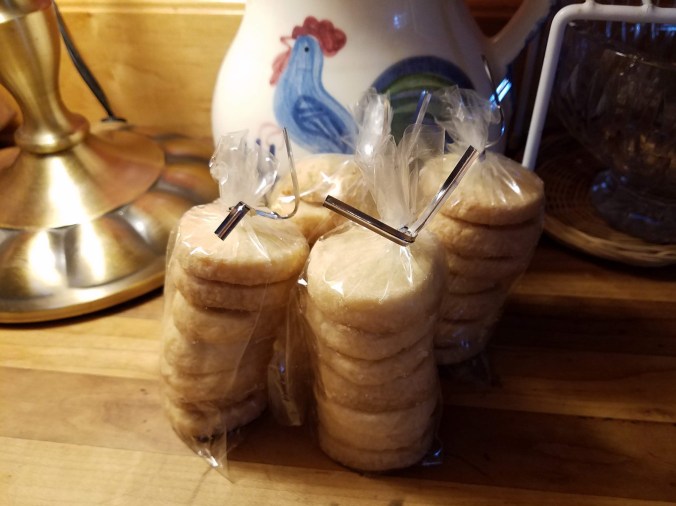
Granola makes a great gift because it keeps well and looks nice in a tin or a mason jar or a clear plastic bag tied up with a bow.