Simple Shortbread Cookies Better Than Any in a Tin

“Patricia, there’s a mouse in my bed.” I had been asleep when my friend Eileen gently shook me awake with these very calm words in her very sweet voice one night many years ago when she came to visit us in Vermont. A mouse? How could there be a mouse?

I am not disturbed by mice, but one early experience – it’s vague, but it includes my mother up on a chair all in a flutter because of a mouse somewhere in her room – taught me that some people don’t like them. I followed Eileen downstairs to where she had been asleep and then awakened by said mouse. Sure enough, a small rodent was nestled among her sheets.

“This is not a mouse, Eileen,” I said, somehow thinking this would improve the situation. “This is a hamster. How on earth did it get out of its cage?” I never did learn the answer to that question, but perhaps should have expected such things to happen. After all, I’m the one who allowed the kids to have hamsters as pets. The first one died when Bradley decided to give it a bath in the bathroom sink (surprise, surprise). I was never sure exactly what aspect of that experience sealed the furry little thing’s fate, but I allowed another and another until I even allowed a rat they called Templeton, for which I always thought I should get extra credit as a mom. Thankfully these things do not live forever, bath or no bath.

Eileen didn’t hold the hamster incident against us – though now that I think of it, perhaps this is why she hasn’t come to visit since…

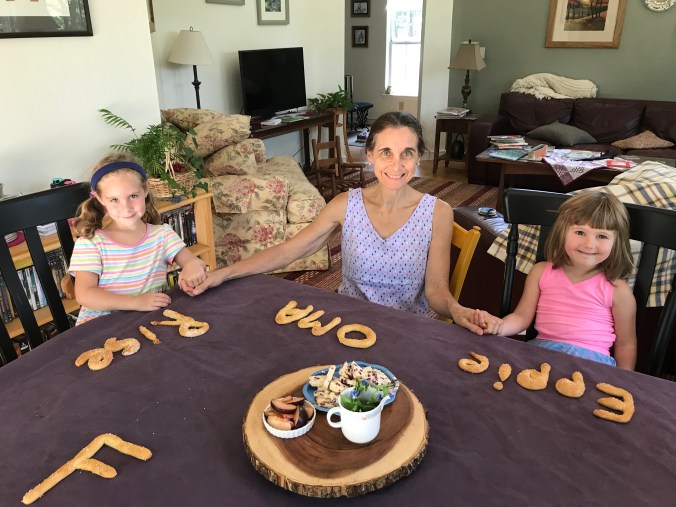
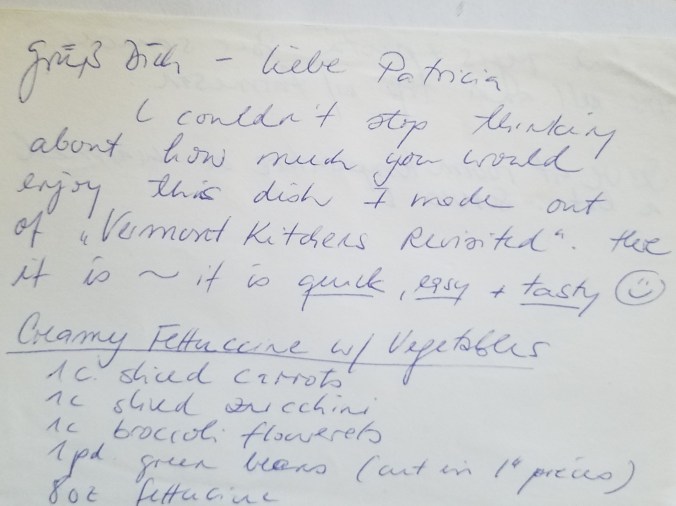
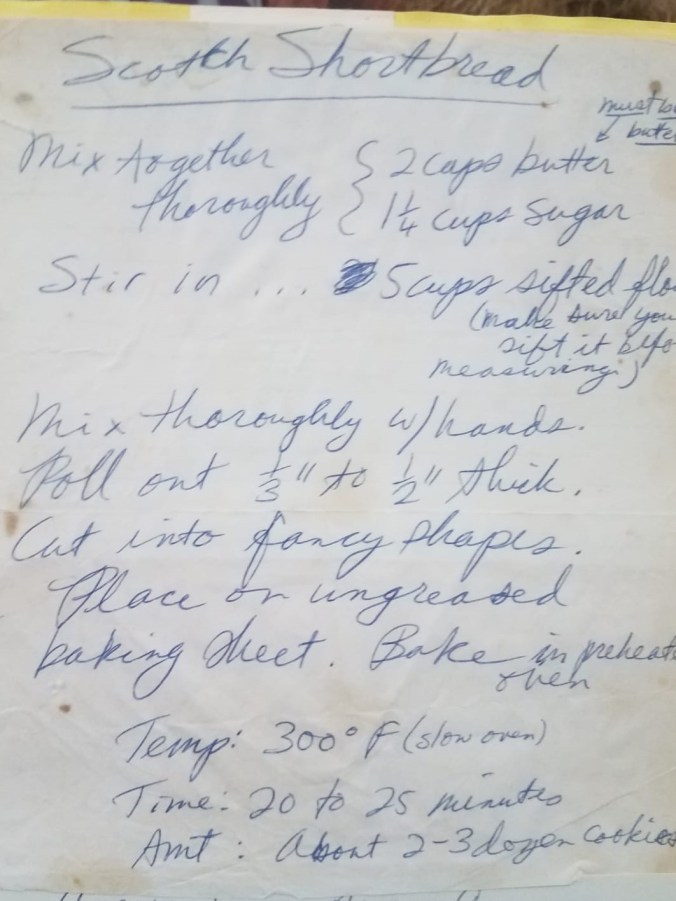
Ironically, Eileen lives in New Jersey with her dear cat. She will forever be associated in my mind not only with the small-rodent-in-the-bed experience, but also with the shortbread cookies I make for my cottage guests. She gave me the recipe years ago. I can’t look at its determined handwriting and explicit instructions without recalling the intelligent woman who wrote such succinct instructions as “must be butter” and “Cut in fancy shapes” and left it at that.

This is Eileen’s recipe.

recipe2 (2)

These are tasty, easy and simple. You don’t have to wonder if someone likes nuts or raisins or chocolate (though I know only one person on the face of the earth who doesn’t like chocolate!). If you like a simple, buttery, crisp, non-foo-foo cookie, you’ll like these. My son Drew tells me that when I send them to him, they last only a few hours and then are gone. (Last night, in a moment of supreme delight, I handed him a little sleeve of them face to face here in San Francisco!)

I know you will appreciate how exact Eileen is about the measurements. All that is good. And you are welcome to follow her instructions on the rolling out and cutting out of the cookies as well. But I have a much quicker way once the dough is together.

Three ingredients: butter, sugar, flour. Mix together, form into logs, wrap and refrigerate, and then, when you are ready, slice and bake. Bake as many as you want that day or the next week. The reason this works well for cottage guests is that I can make the dough, keep it chilled, and bake fresh as many as I need just before they arrive.

Start with a pound of butter, that wonderful dairy product that makes so many foods so much better. (When Tracy came for dinner on Wednesday I put a few pats into drained, boiled potatoes along with some chopped, fresh parsley – oh yum! Oh, did I get distracted there? Back to cookies!)

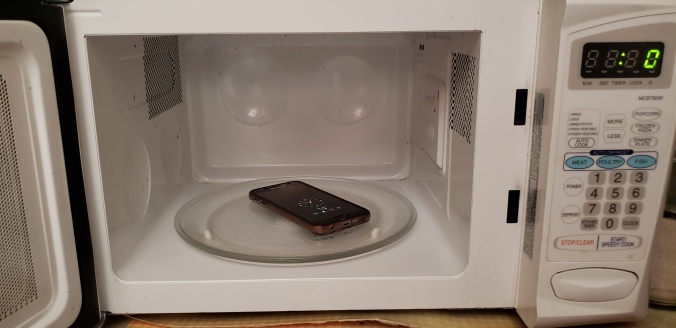
Take the butter out hours before you want to make the cookies so that it is as soft as it can get at room temperature. If you are in a hurry and want to soften the butter in the microwave, that’s fine, but watch it carefully. You want it soft, not melted.

Add the 1 ¼ cups of sugar and stir up until creamy. This should not take long if your butter is properly soft. Then add the five cups of flour. Eileen’s recipe says be sure to sift before measuring. You can do this, but pre-sifted flour has worked fine for me. Your call.

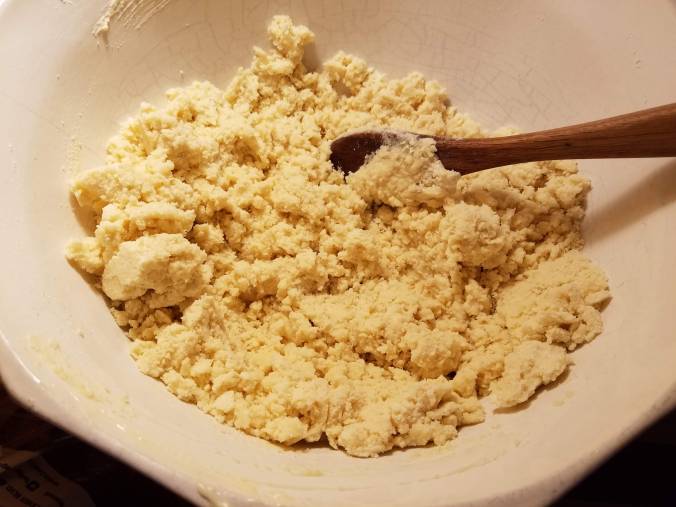
The mixed-up butter-sugar-flour will look like this in the bowl.

dough loose in bowl

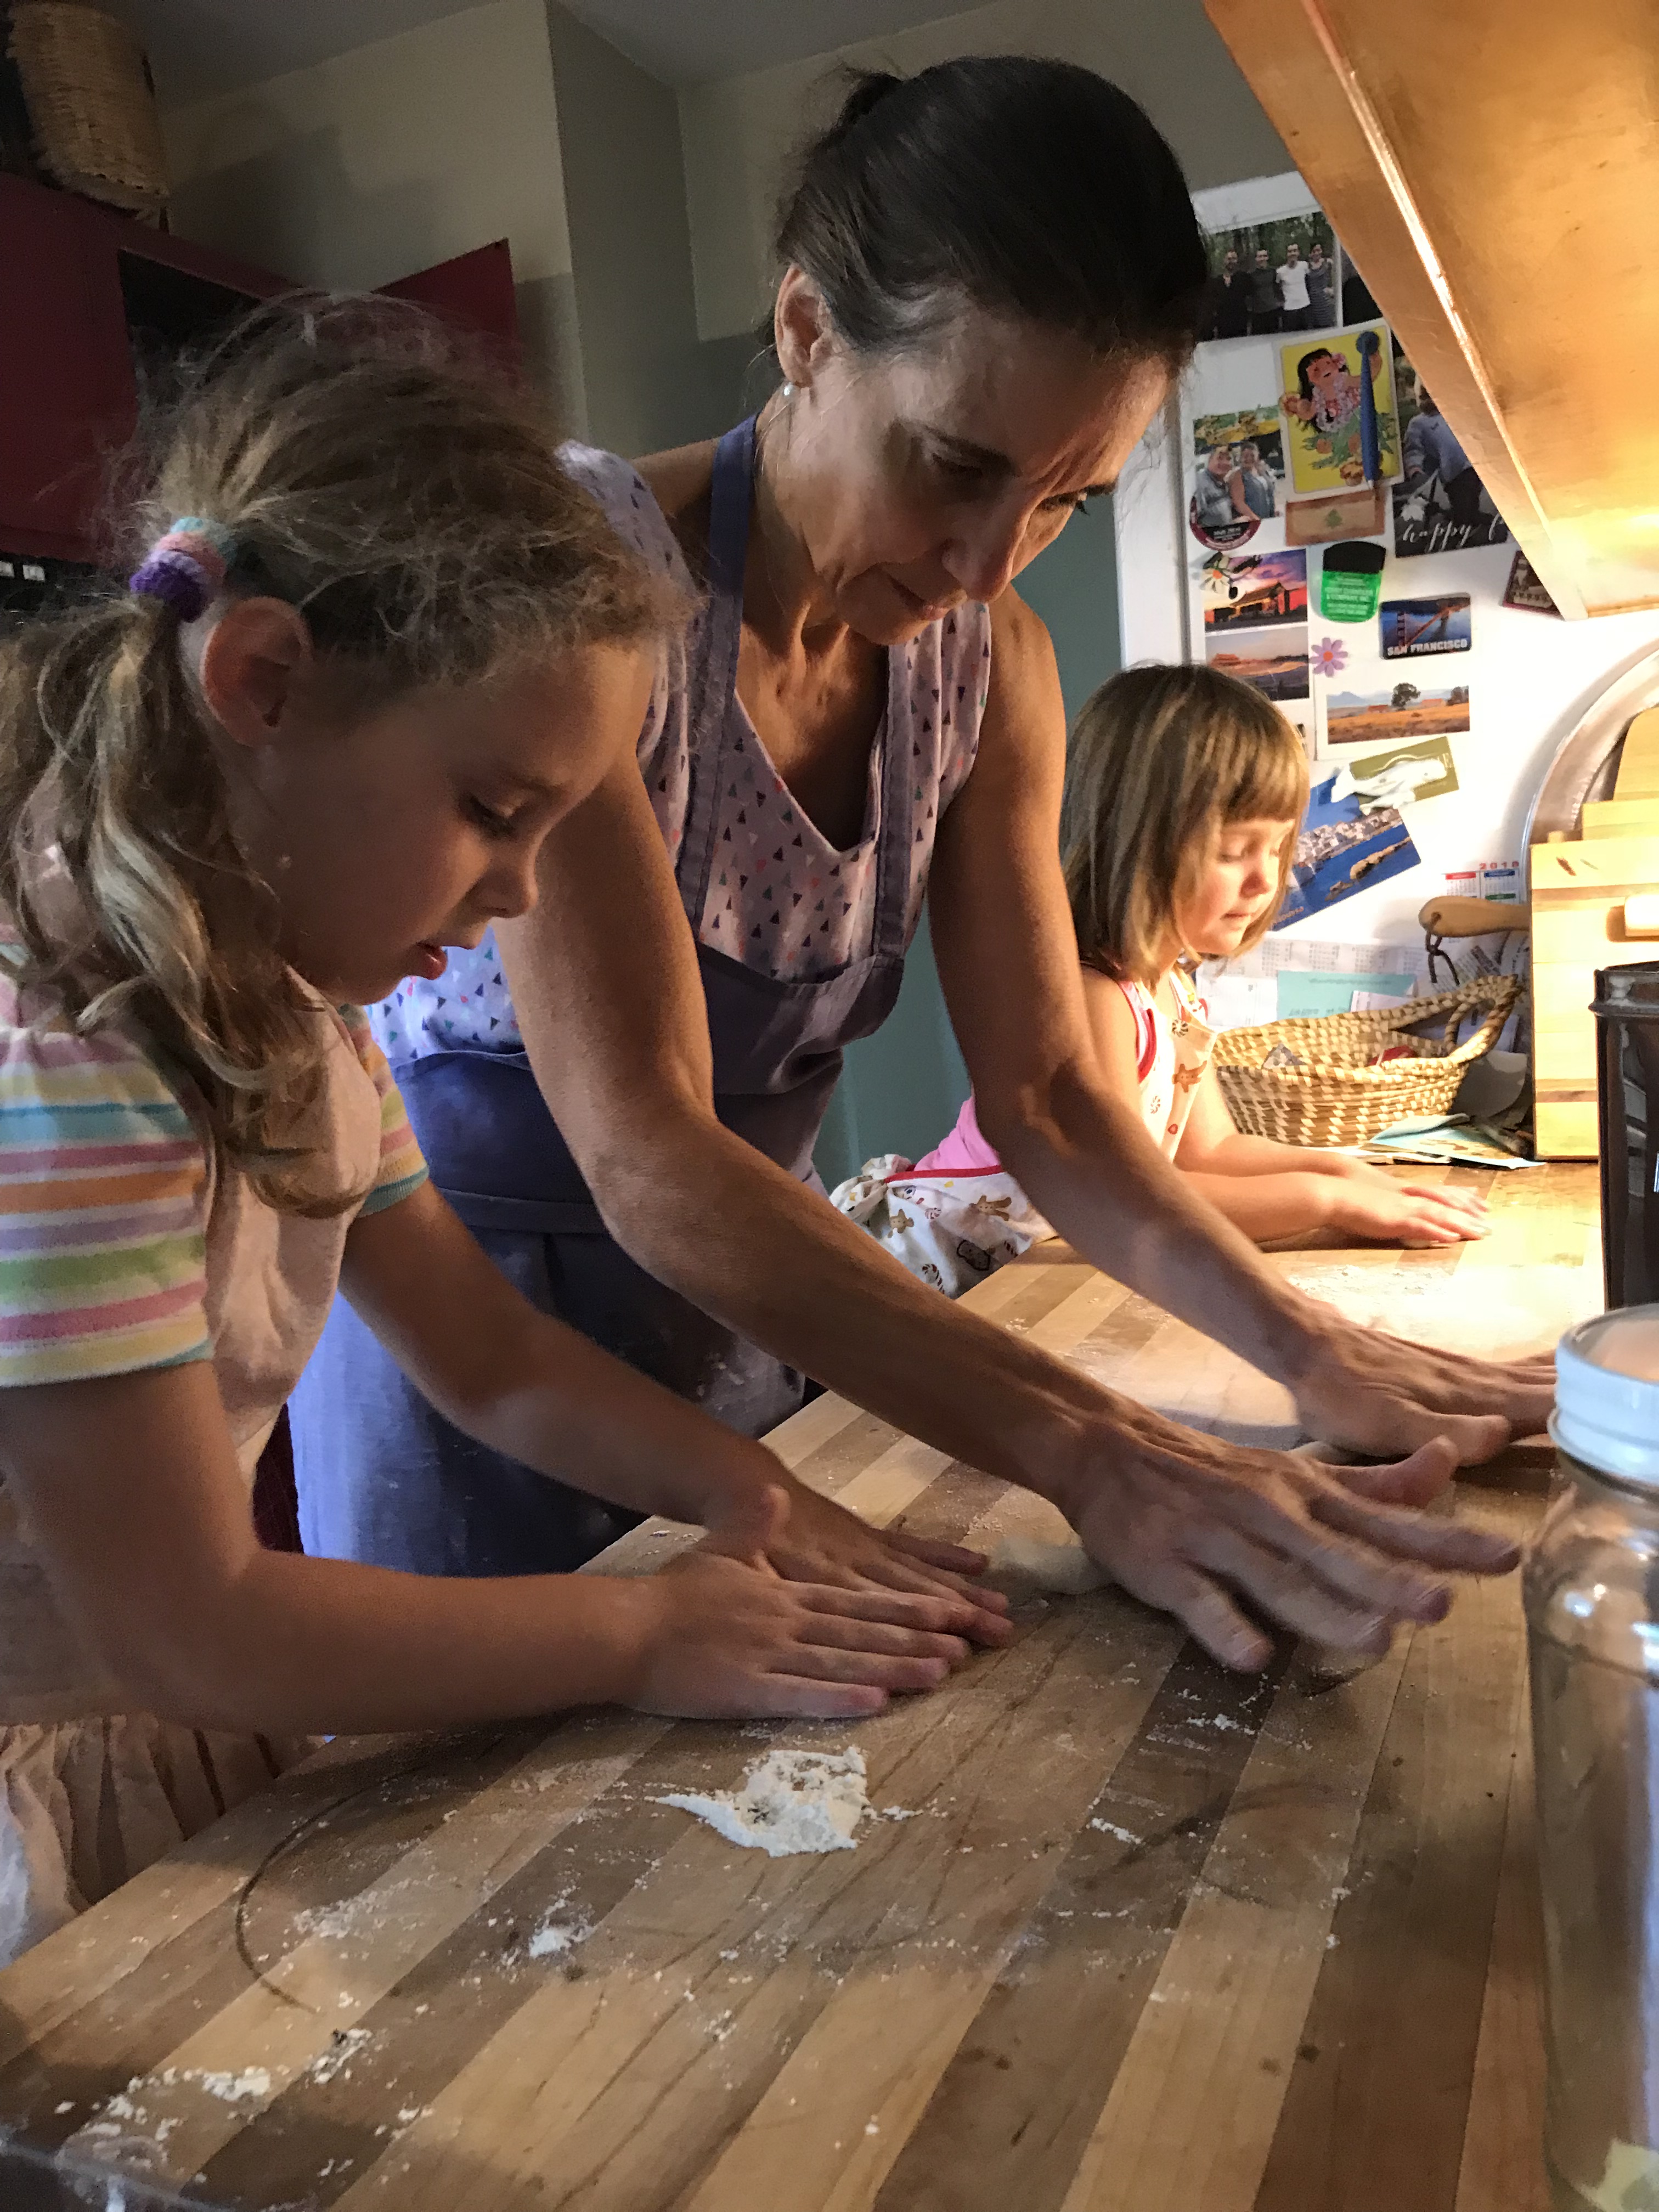
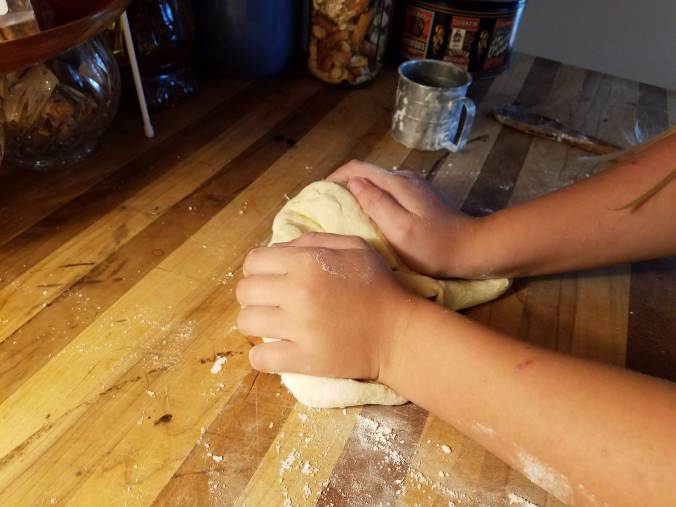
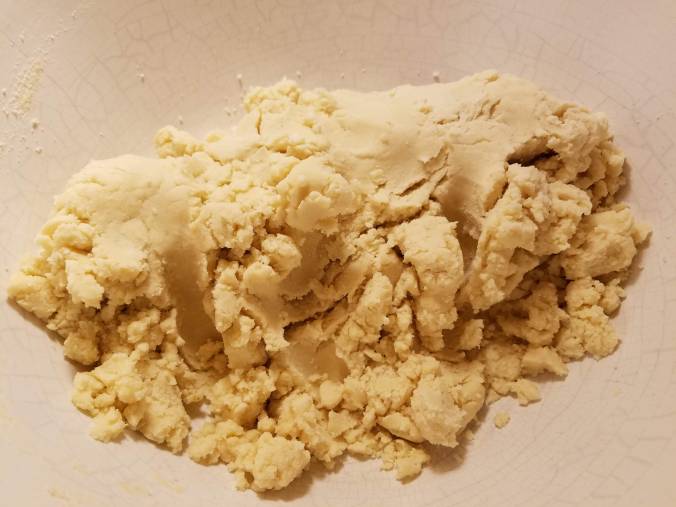
Now use your hands to smoosh that dough together, like this.

dough together in bowl

I don’t mind the hands-in-dough aspect of this process, in fact it is a pleasure like none other, but you will get a better result if, for the next part, you enlist the help of waxed paper.

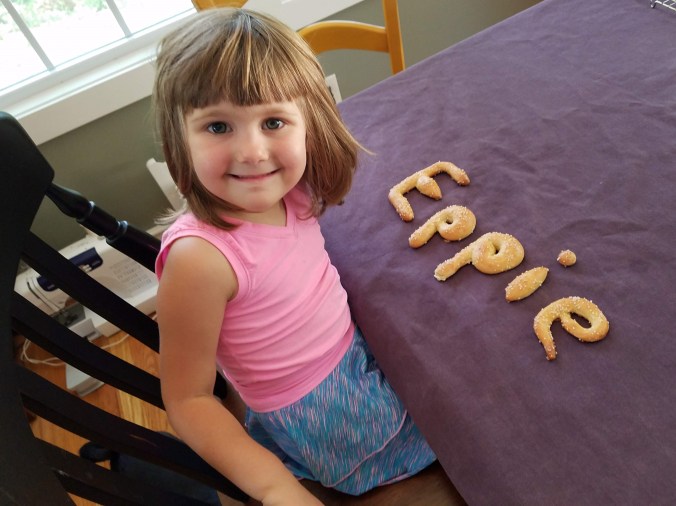
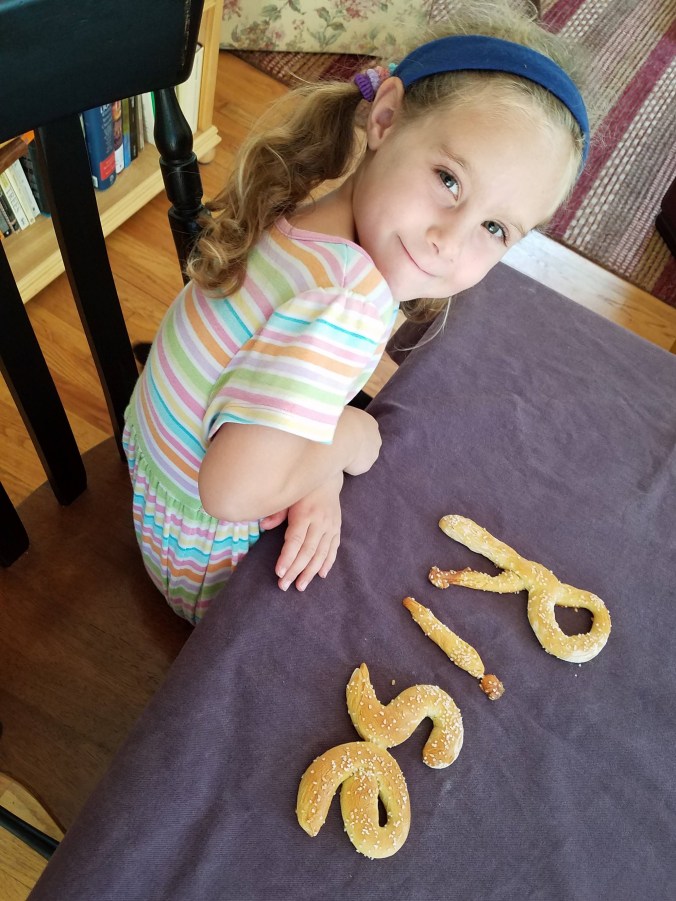
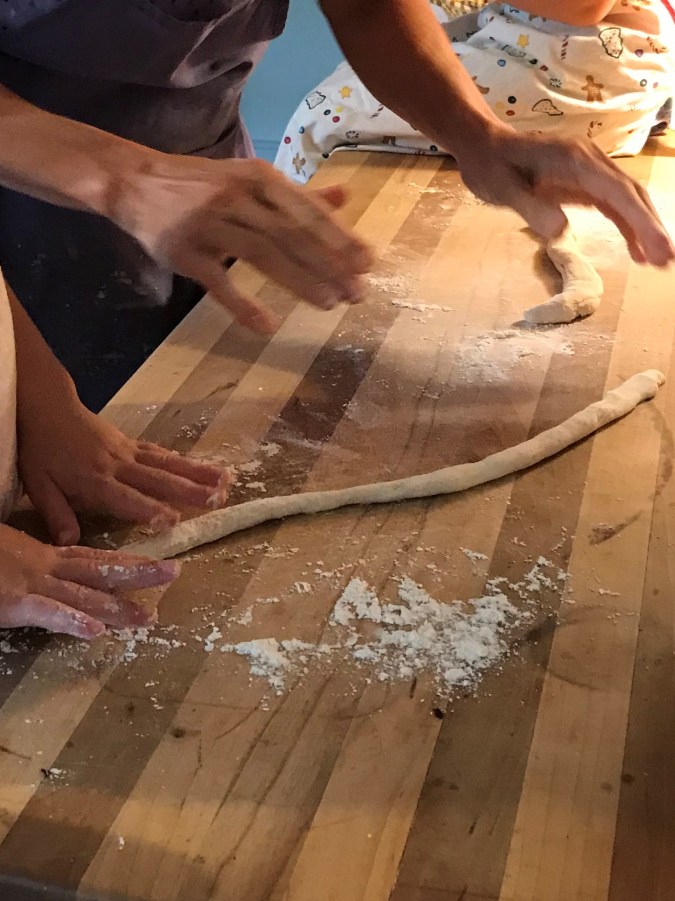
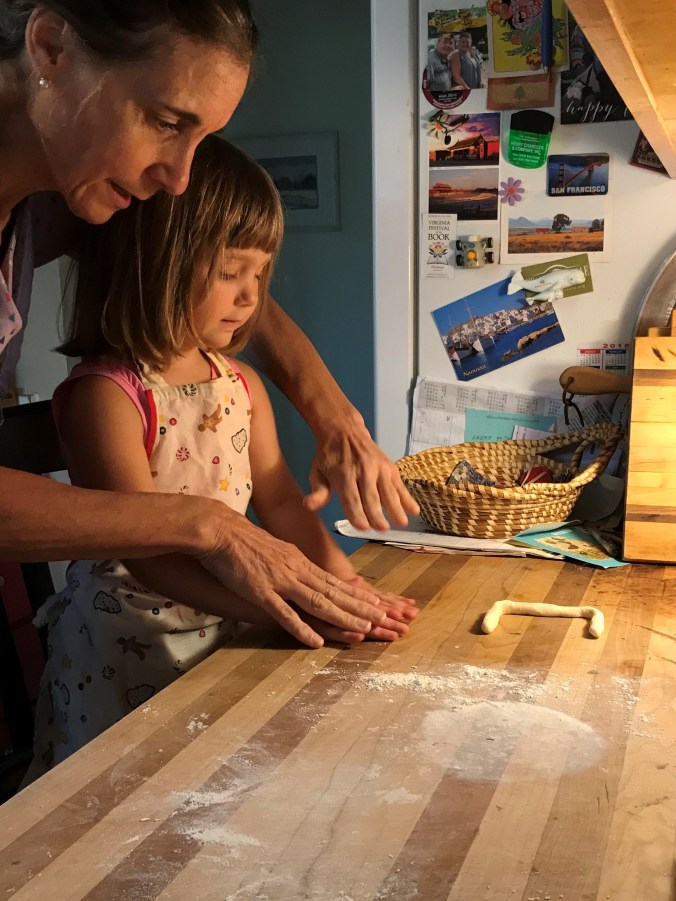
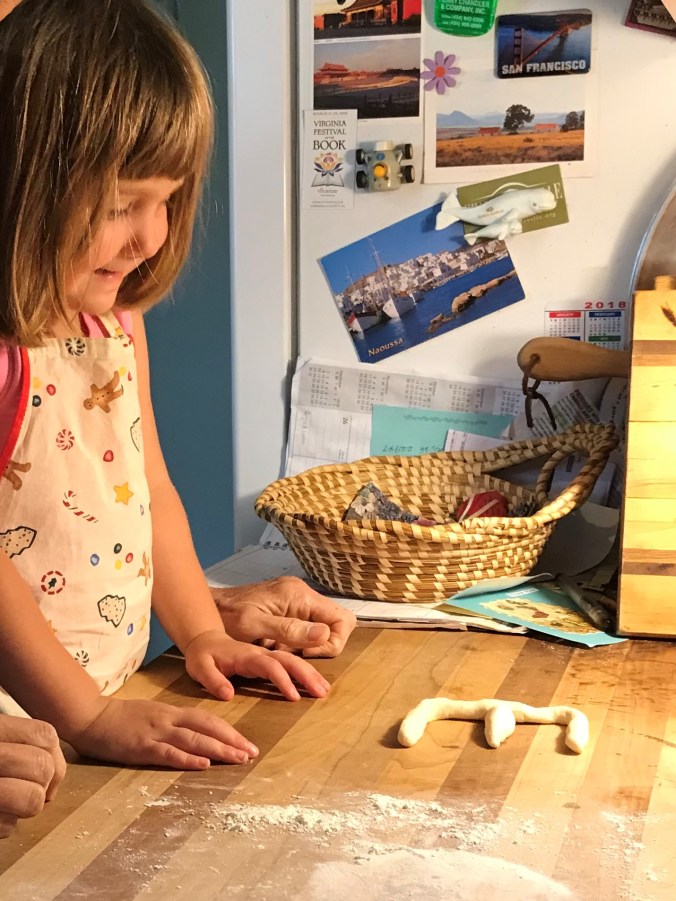
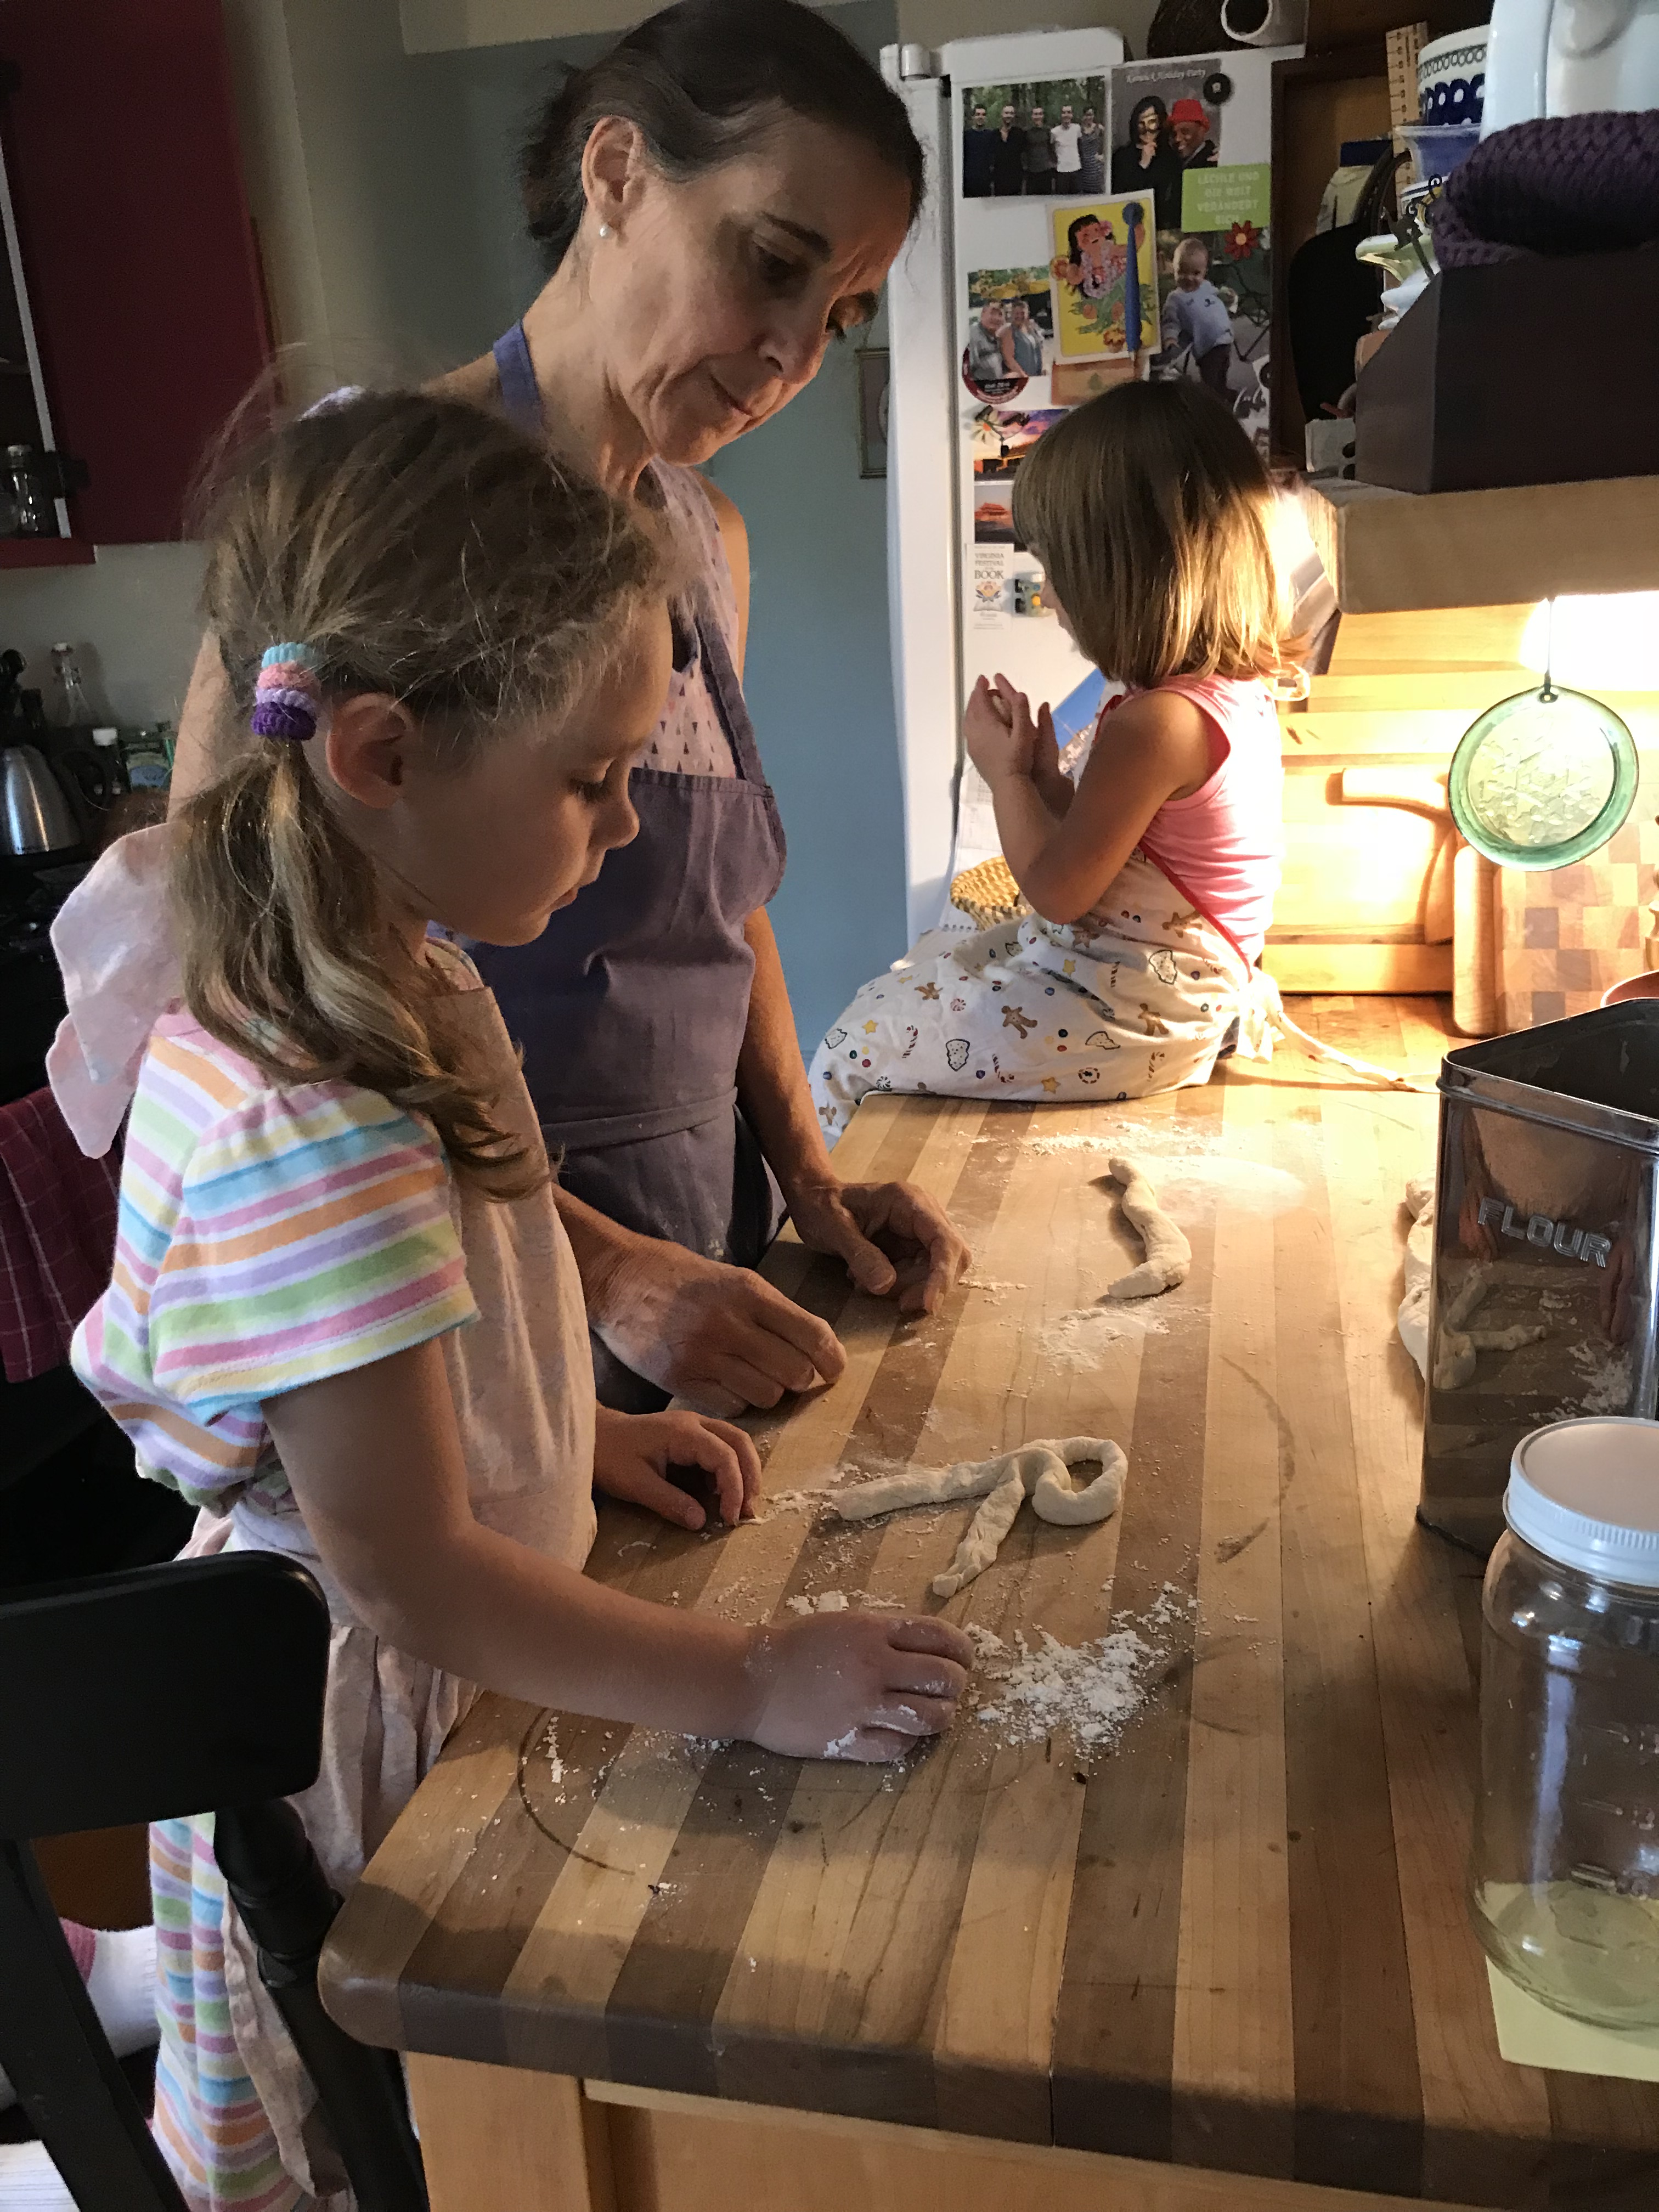
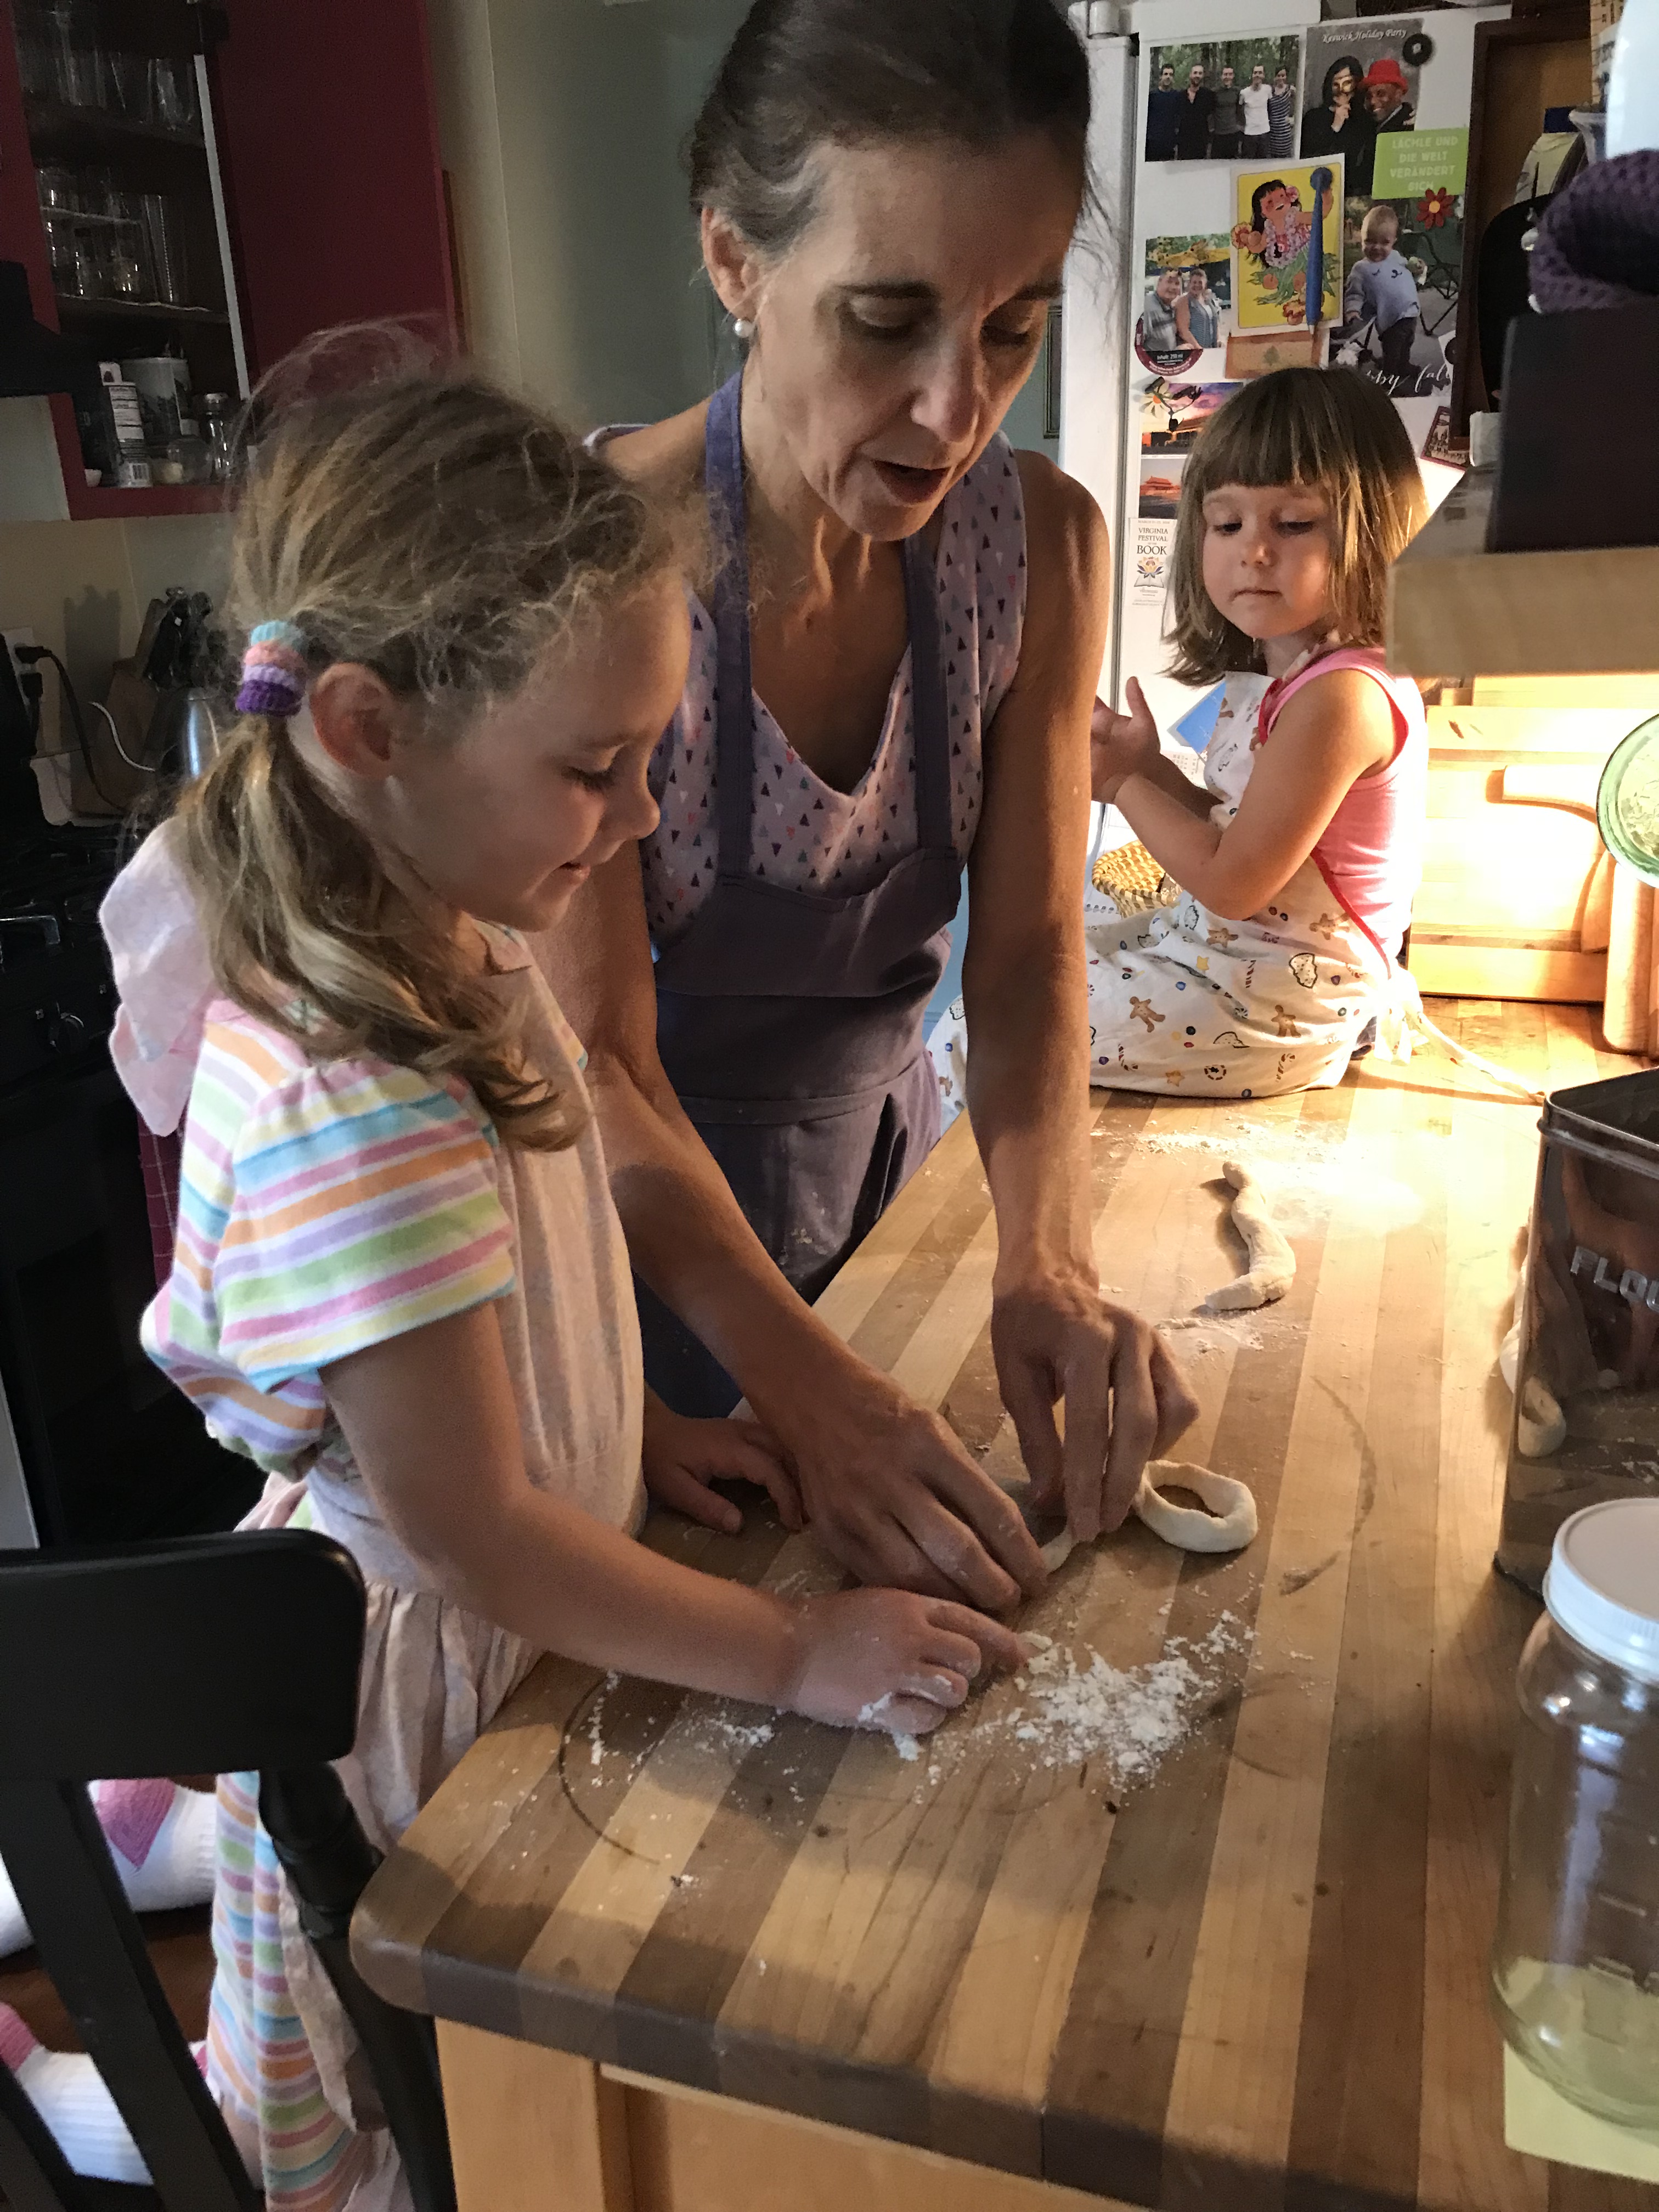
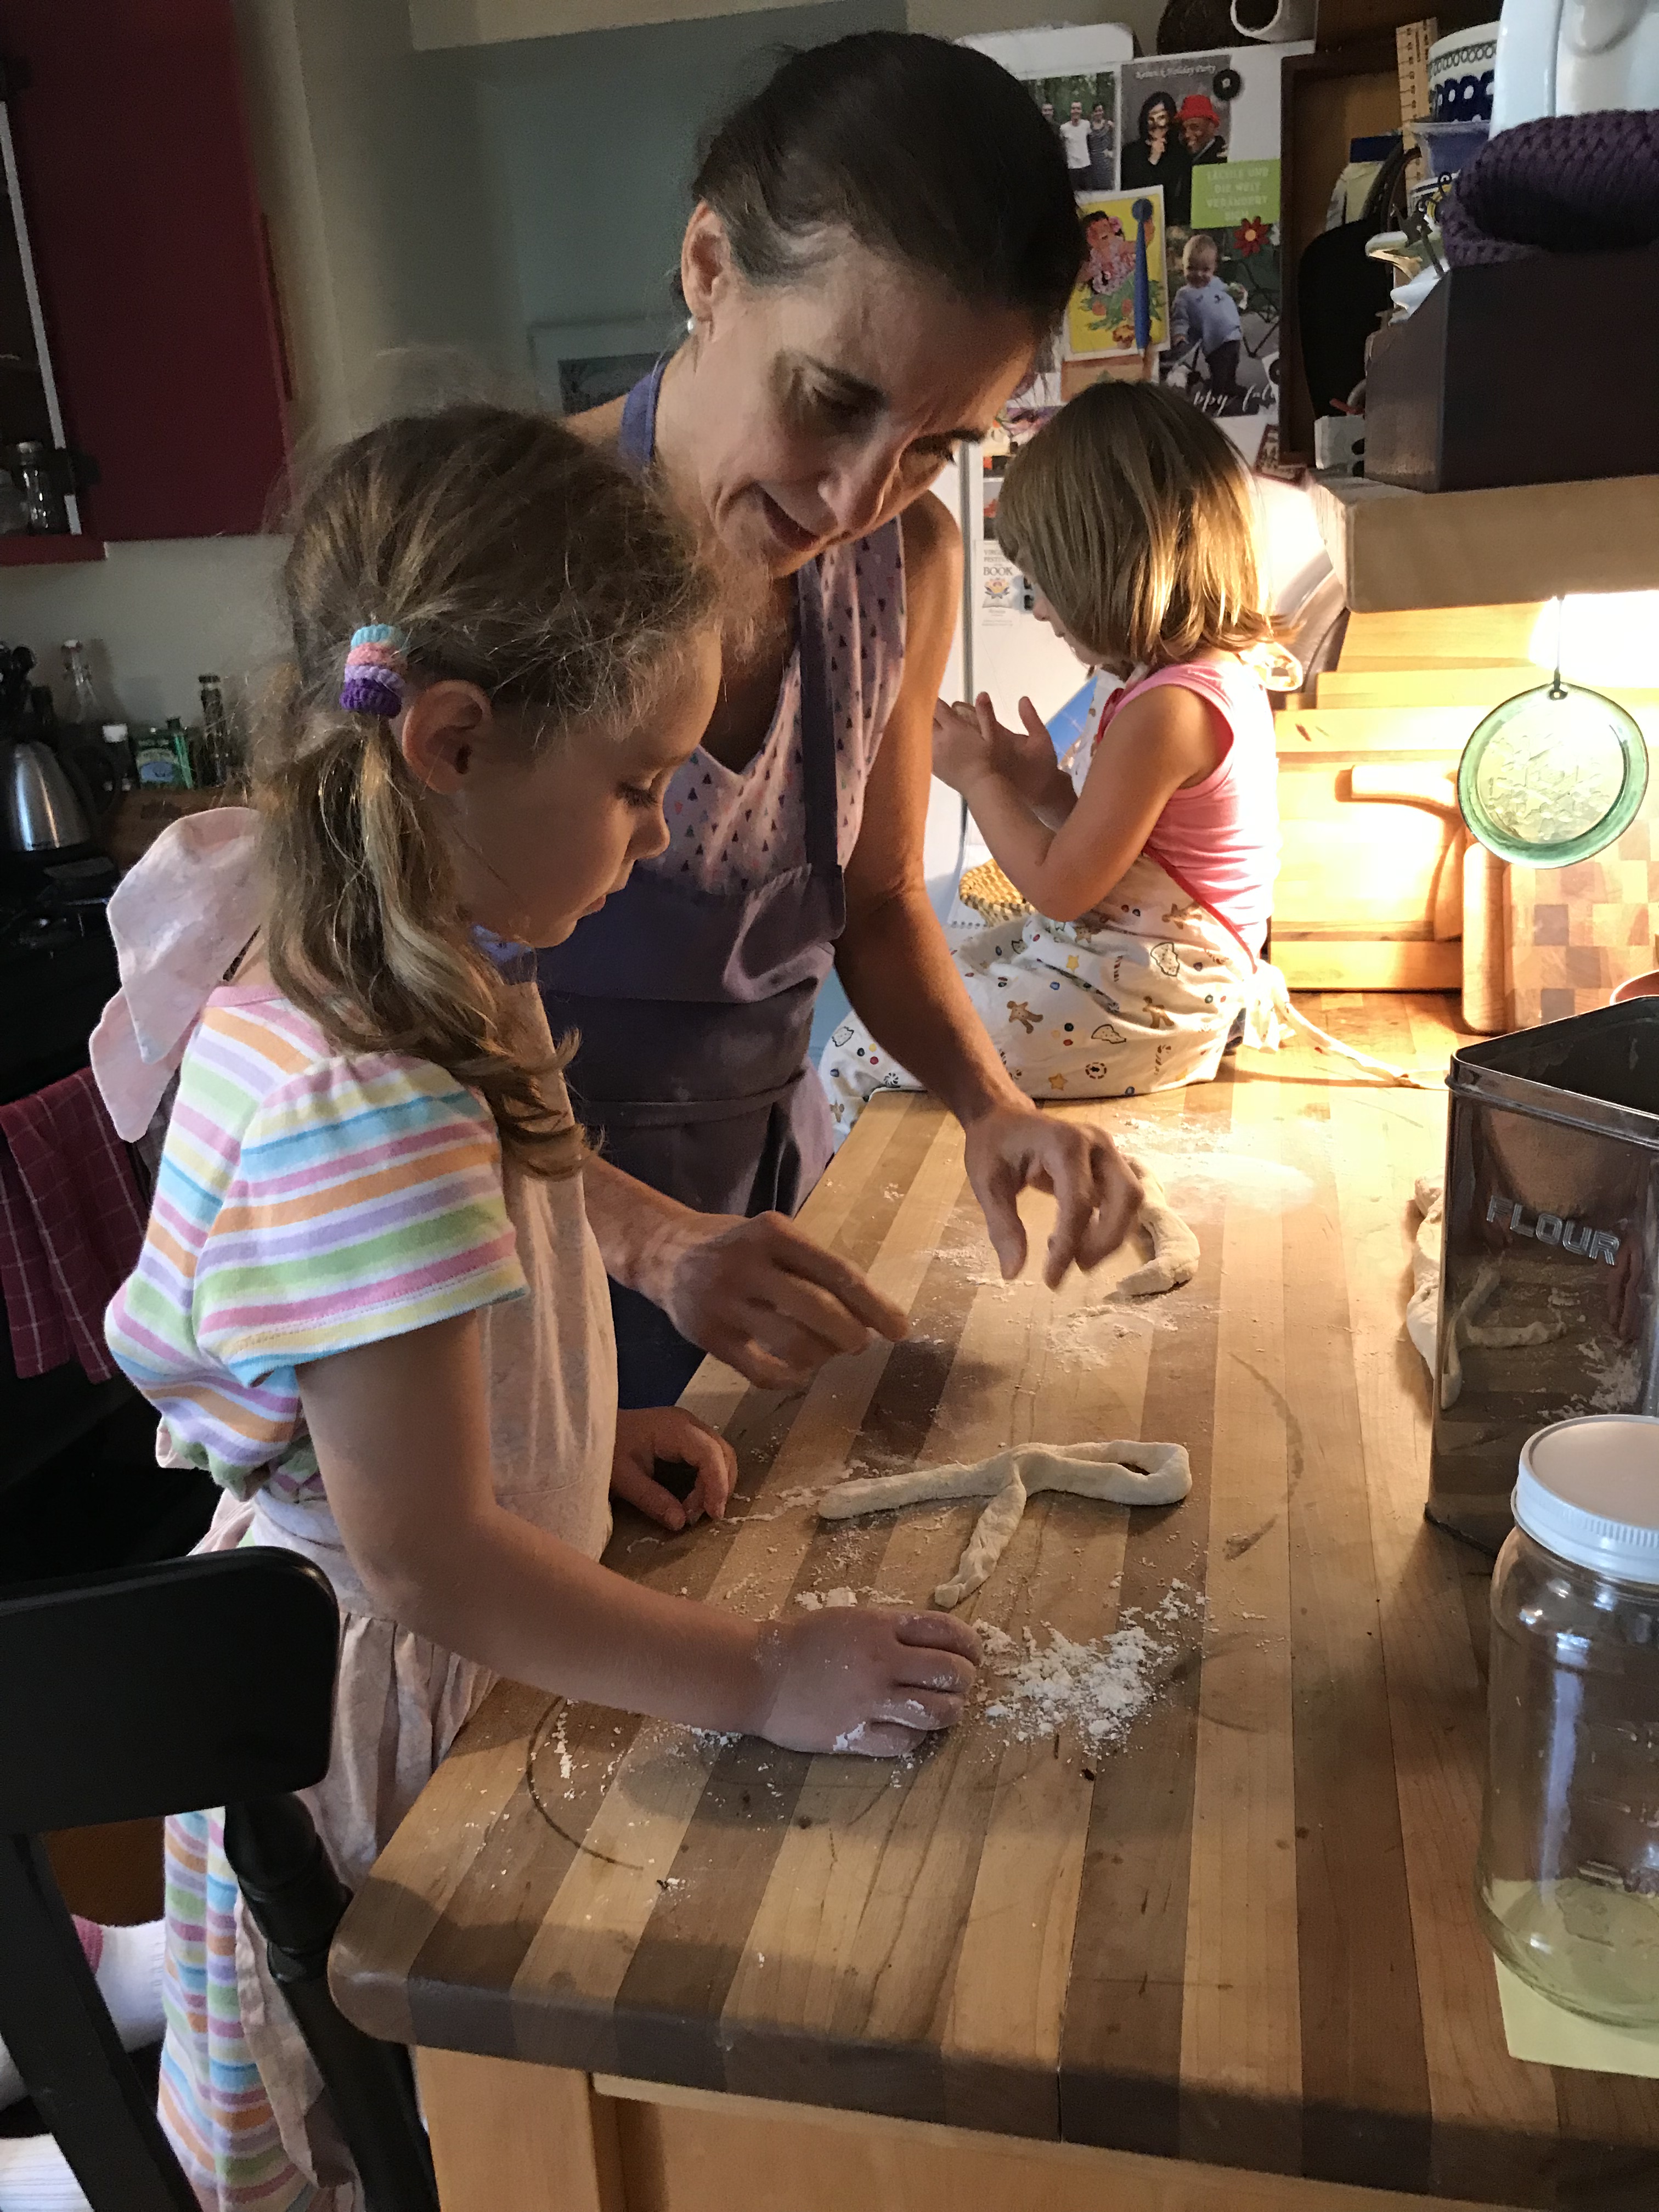
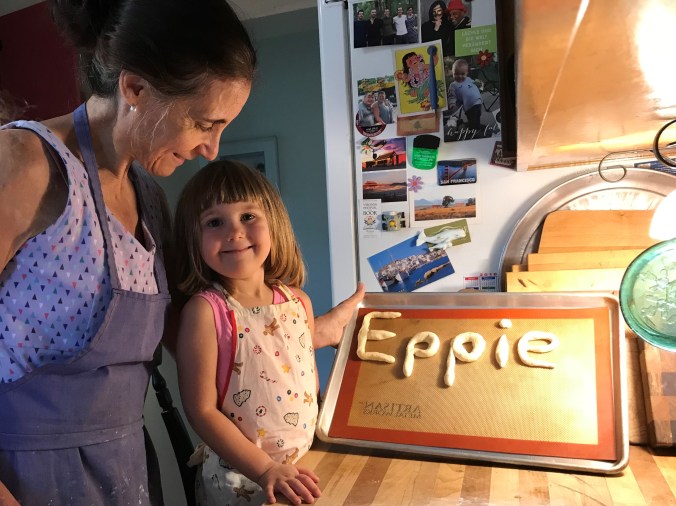
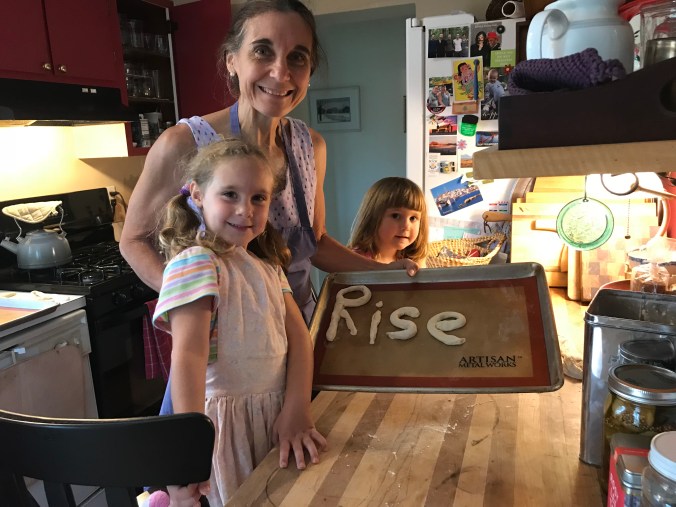
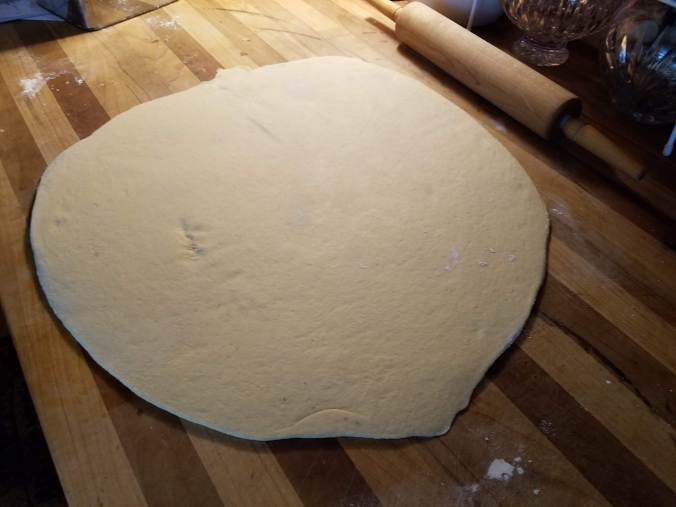
This is where Eileen and I part ways. I was right there with her with “Mix thoroughly w/hands.” But the rolling out and cutting into fancy shapes I do only when my granddaughters are around or it’s a holiday and we want to make hearts or stars or dogbone shapes. Normally I cut four pieces of waxed paper about 18” long. Divide the dough roughly in quarters, form a rough “log” on each sheet and elongate it by hand, like this.

elongated by hand

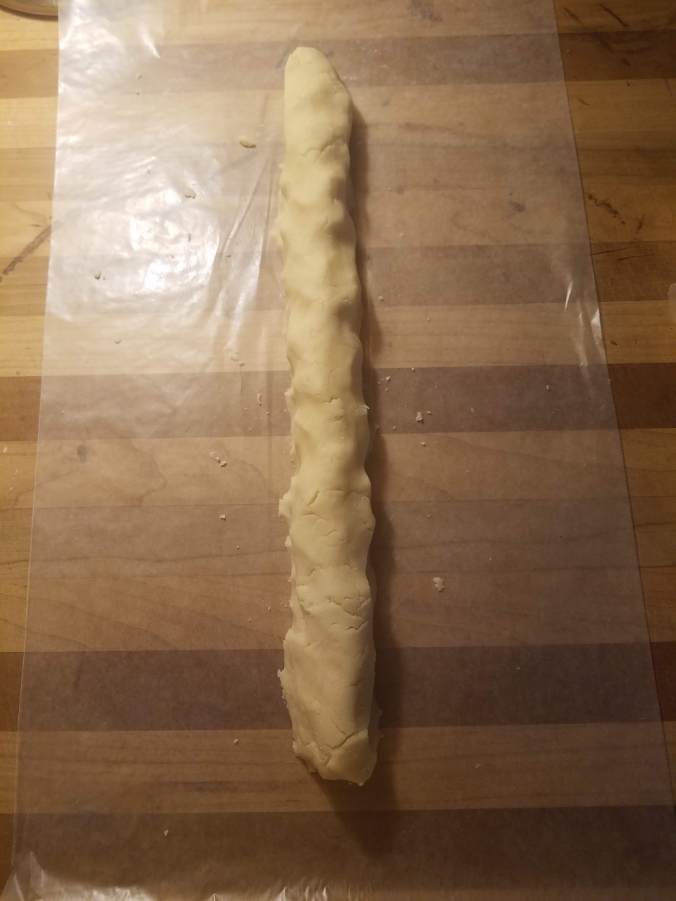
Then use the paper to help you form a smoother log. Be gentle with the paper or it will tear. Your logs will look like this.

rolling with paper

This amount of dough, when rolled into logs about 1 1/4” in diameter, makes about 52 linear inches total. Mine looked like this, wrapped up and ready for the refrigerator.

wrapped

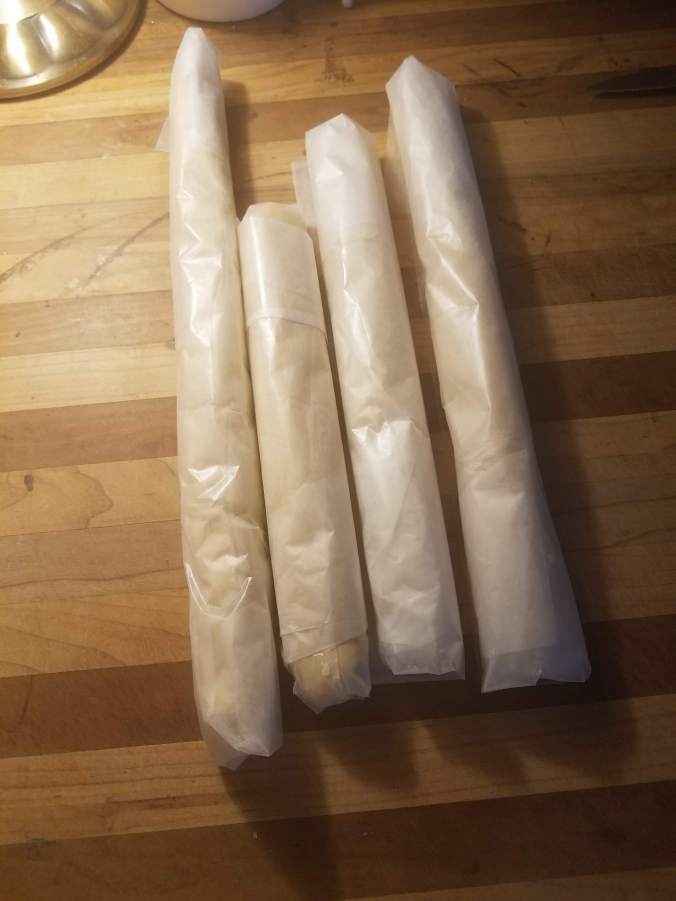
I put the logs in a plastic bag closed up tight and leave them there at least an hour, sometimes days or even a couple weeks, and slice them for baking when I am ready. Of course, you can slice off and bake only as many as you need. I seldom make this many at once, but I was going to be traveling and taking some with me.

sliced

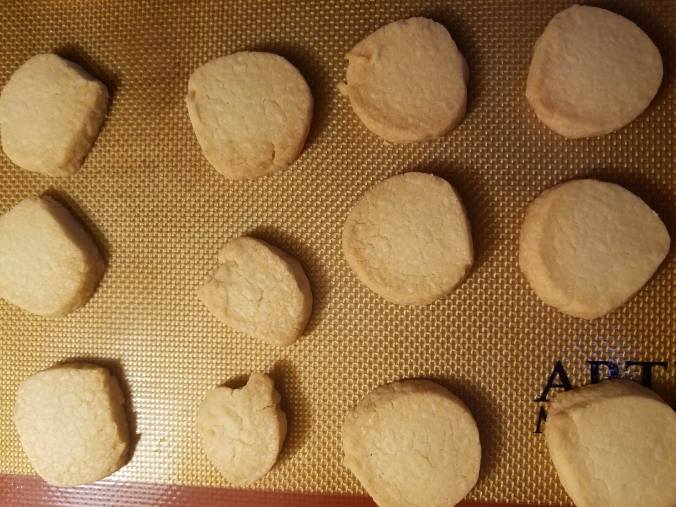
Place them on the pans about this distance apart.

on pans unbaked

The shapes are not perfect as you can see. To me this is part of their beauty, their individuality, their authenticity. Make them perfect if you prefer 😊 The dough is easy to work with.

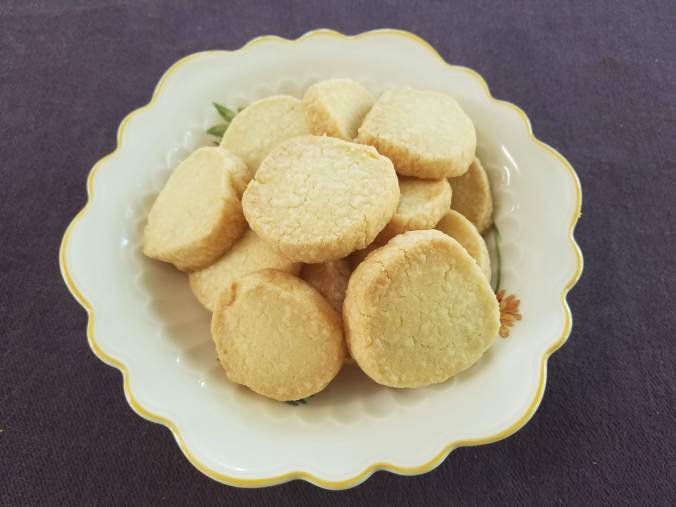
Bake them to about this color. Eileen’s recipe says 300 degrees for 20-25 minutes. I always found that with such a slow oven, they took much longer than that. No harm ever came in my kitchen from upping the temp to 350 and just keeping a close eye on them. In my experience, 350 degrees for 20-25 minutes is more like it.

on pan baked2

To serve to guests, pick a pretty plate or shallow bowl and make it nice.

in bowl to serve

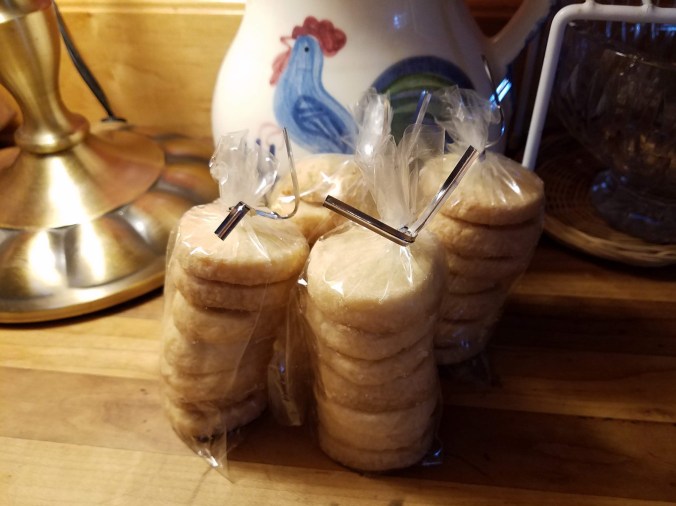
Or put them in plastic sleeves (the kind you can get at a craft store like AC Moore or Michael’s). They travel well this way. Cut the recipe in half if you want fewer cookies, but why would you do that? These make great gifts!

in sleeves (2)

Lasagna Pizza Galette

Oh, look, ricotta. What can I do with that?

I came home from being away for a few days and opened the fridge to see what might be possible for dinner, and there was a container of ricotta, front and center, staring at me, practically begging. You know you want to use me. I did, not only because I had an idea brewing, but because it had been in there almost too long.

Two experiences contributed to the new concoction I made tonight. New for me anyway.

  1. While in D.C. this past weekend, we stopped for a bite to eat at a pizza place and were intrigued with the one that had pickles on it! That’s right, pickles along with ham, pulled pork, feta cheese and a bit of mustard. They call this a pizza, and I’ll play along. It has a crust like a pizza, is round like a pizza, and has creamy, melted cheese on it like a pizza. The rest is a stretch, but it didn’t matter because it was totally delicious. The server described it as an “open sandwich.” Put whatever you want on a pizza crust. Hmmm.
  2. Claudia and I had a conversation about pie vs. galette. I think of galette as the free form version of pie, I said. To me pie has more fruit than galette, she said. Deeper maybe, ok, fair, I said. Look at us, she said. 🙂 Claudia made a plum pie. The sticky dough made with gobs of butter was hard to work with, hard to make pretty, but oh how amazing it must have tasted. I could only dream about it because she lives in Germany. I’m sure it’s long gone.

Claudia's plum galette.jpg

So here I was thinking free form and wanting to do something with my must-be-used ricotta when I saw it in the fridge. That’s all there was at first.

Okay. Start with a pizza dough, which we have discussed in my pizza pile post https://anunboringpath.com/2018/07/31/pizza-pile/. While the dough was resting I gathered basil and oregano from the garden (oh, how glorious basil and oregano are in August!!) and cut it up, took out the ricotta, looked for mozzarella but didn’t happen to have any so settled on a small chunk of asiago (it’s a stronger cheese – don’t need too much, but the flavor works), grated that, chopped up a red pepper and a couple handfuls of spinach, defrosted the half a can of Don Pepino pizza sauce I had put in a jar the last time we made pizza, and took out the jar of grated parmesan that I keep ready to go in the fridge. I oiled the pan with olive oil and sprinkled cornmeal on it. I’m hungry, worked fast.

Ready. I rolled out the rested dough bigger than my pizza pan by about 4” all around. Truth be told, that’s just how big it rolled out. Looked good to me. Not overly picky when I am hungry. I set the pan on the first thing that caught my eye on the counter that would raise it up high enough for the dough to hang down, which happened to be my teapot without its lid waiting by the sink to be rinsed, which you cannot see in this photo, but trust me, the teapot is under the pan and the dough is hanging down the sides.

True confession: I was just making dinner for me and Samuel. That’s all. This is the point where I realized the idea might work and it might be yummy and I ought to be taking some pictures so I could share it!

Here it is with the pizza sauce, then the spinach, basil and oregano, then the red pepper, then small blobs of ricotta.

1.jpg

Next came the salt and pepper and parmesan.

2.jpg

Then the grated asiago. I began flipping the sides up. This is the part that reminds me of a galette. Wherever it lands, it lands. After it’s done, the whole thing is fabulous, but the part encased in the dough all around the edges is extra fabulous. But I am getting ahead of myself. And I know I’m being terribly UN-EXACT this time. So sorry. Been away. Hungry. Slacker!

3.jpg

When all the sides are flipped up, it looked like this.

4.jpg

And when it has cooked until it’s almost done, it looks like this.

cooked 1.jpg

I like mine a little darker and the bottom crust a little crisper, so I slid it off the pan right onto the oven rack and in five more minutes ended up with this.

cooked 2.jpg

Seems to be a combination of pizza, Stromboli, calzone, lasagna and galette.

  • Round, thin crust, creamy cheese on top like a pizza.
  • Crust enveloping cheese like a Stromboli or calzone.
  • Ricotta to remind me of lasagna or calzone.
  • All in a free form that still reminds me of a galette.

I have no idea what to call this! But it was divine. Note past tense verb was.

piece on a plate.jpg

Fun with Names

People can tell you that they love the sound of waves crashing on the shore or birds singing in the trees, but common sense tells you (and studies have shown) that the sound people love more than any other is the sound of their own name. “How can I help you, Mr. Jones?” is so different than “How can I help you?”

When I was directing the training program at a high-end resort, we had a set of “behavioral standards” that helped staff to know, in general, the expectations for their interactions with guests. These were not the technical directives such as the wait staff offering to refill the guest’s coffee cup within three minutes of them finishing the cup they have or the housekeeping staff remaking the bed “tightly and attractively” during daily service. Behavioral standards were the basics like smiling, being polite and maintaining eye contact. Use the guest’s name, we told them. Do not underestimate the power of using someone’s name. Use it discreetly, but use it.

Using someone’s name builds good relations, makes people feel respected, shows attention to detail, is the ultimate personalization. There are good reasons why, when you sign in to a web page such as your email or credit card statement, you invariably see some form of “Hello, ______[your name]______” or “Welcome back, ______[your name]______.” These companies know the power of using your name and work hard to make it seem natural, as if you are being spoken to personally.

Plus it’s fun, especially if you have names like Eppie and Rise. And we should have fun wherever and whenever we can! This past week my granddaughters and I did something we have done twice before on previous visits (does this make it a tradition yet?). We made name pretzels! They may be only four and five, but they know their names!

eppie at the table (2).jpg

rise at the table (2).jpg

It’s rather tricky to guide a child in dough-rolling and take pictures at the same time, so many thanks to Fred, my friend who was visiting, for the great photos that follow.

For pizza dough and pretzels, I have used King Arthur Flour’s “Easiest Bread You’ll Ever Make” recipe for many years. I grant that all the practice I’ve had makes it easier for me than for someone who is new at it. Nonetheless, this is what I started with when I was new at it, and it has served me well. https://www.kingarthurflour.com/recipes/hearth-bread-recipe

Once the girls have their aprons on and the dough is rising on the counter, it’s time for the real fun to begin. You pinch off a piece of dough and get a snake started, one snake at a time. Applying enough pressure to get the dough to stretch out lengthwise but not so much as to smoosh it is probably the trickiest part of this whole operation.

demonstrating rolling technique.JPG

But after a few of them, you get the idea.

snake (3).JPG

With a four-year-old and a five-year-old, this activity is about working with your hands to make something interesting and yummy. If it’s not perfect, it will be yummy anyway, but the fun for a child – think of it – writing your name using snakes of bread dough! And then getting to eat it!

Let’s start with E for Eppie (which is short for Eponine, in case you wondered).

starting the E (2).JPG

How proud and happy she was to see it take shape.

eppie admiring E (2).JPG

And R for Rise. Do we like it?

R.JPG

R is not so easy as E. A little tweak is in order.

R2.JPG

That’s better. She’s happy. I’m happy. Onward.

making R.JPG

I’m not sure this is strictly for kids either. Can you see yourself with your friends in your kitchen, party-time (!), each of you making your names? Eppie loved seeing hers!

eppie unbaked2 (2).JPG

By the way, those are silicone mats on my baking pans. I love them. Before I had these, I prepared the pans differently. I used to cut brown paper grocery bags to fit the pans and then greased the paper. This technique works beautifully but I prefer the mats. One less step.

Rise was equally proud of her name.

Rise unbaked.JPG

We also made OMA (for me, Oma), an F for Fred, and a J, A and W for Jennifer, Anna Lane and Will, our neighbors who were coming later to play. But before you bake them (at 400 degrees), you first have to paint beaten egg on them and then add salt. The painting is another artistic element for the girls to enjoy.

rise painting egg.JPG

When the time comes for adding salt, you can talk about how different people have different tastes, different preferences, even with something as simple as salt. Some like more, some like less. We put on as much as we wanted to, and in some cases more (oops) than we intended to, though their ability to distribute it carefully and evenly was quite remarkable. If you do put on too much, you can push it off later. We are using coarse salt, umpteen varieties of which are available to choose from.

eppie adding salt.JPG

While waiting for them to bake, the new swing came in very handy. I don’t know about the kids in your life, but these kids LOVE to swing!

swing3.JPG

We didn’t read as many books together this time as we did in March – I wonder why!

When the pretzels are good and browned, take the letters off the baking sheets to cool. Wire racks are perfect for this.

rise on cooling rack.jpg

Add a plate of cheese (this one has dried cranberries in it) and a perfect plum or some other fruit cut up, and you have lunch! A very special lunch!

eppie rise oma at table.JPG

In a Pickle

Some things ask to be done, and it’s best to just do it. I had not planned to make pickles this week, but it’s the middle of the summer and five more cucumbers in the garden were ready to be picked (with more to come!) and there were already nine in the fridge, so it was time.

cukes to start with.jpg

I started with 14 cucumbers, sliced them up and layered them with salt in my big bowl (which is 7” high and 12” across the top). If you want to make these yourself, you let that sit about an hour. You could add sliced onions or green, yellow, red or orange peppers, or cauliflower cut up into florets, but I had so many cukes, I’m stopping there this time.

Part of cooking, part of life, is knowing where to draw the line.

Kenny Rogers doesn’t know it, but he really helped me a few years ago. I had a difficult decision to make and I kept hearing him singing in my head: You got to know when to hold ‘em, know when to fold ‘em, know when to walk away, know when to run… Kenny knew. Sometimes you are just in a pickle about what to do and there are reasons for this choice and reasons for that. Should you hold on or let go? Stay or move? Buck up or give in? Hope for more or settle for what you have?

In the end, back then, I knew it was time to walk away. Not run, not bolt. Just walk. The voice in my head – his voice in my head – guided me not only in what choice to make, but also in the best way to do this thing that had to be done. Funny, the song doesn’t tell you what to do. It just tells you there are choices and you have to pick one. You can’t waffle, and you can’t pick them all. You think it through, you pick a route and you take it. It leads to new scenery and new experiences that you would not have on another route.

I picked the route tonight that included 14 cucumbers and it led me to nine jars of pickles! I made the dog happy too. Within seconds of opening fridge and beginning to bring the cucumbers out, she was out of her sound sleep, off the couch and at my feet. She LOVES cucumbers!

coco better.jpg

Carrots too, in case you’re wondering, and the heel of the romaine lettuce head, and peppers (the guts or the outside part with skin that we eat), and watermelon!

But we are on pickle-making now: Here are my cut-up cukes, resting, sweating (the salt will cause them to do that, really), relishing (hehe) their final unpickled moments.  cut up and salted.jpg

As soon as I am not being distracted by how many cucumber chips a small black pug can eat, or watching her adorable begging, I go get my jars. Everyone has a cabinet with jars in it, right? Mine contains the ones I’ve been saving because they are just too pretty to put in the recycle bin. Or too potentially useful down the road. If you have not been doing this, you might have to buy mason jars, which are great also, but if you had been saving jars all along…

You laugh, but jars come in very handy. You just ask the 35 or 40 jars in my basement how useful they have been, how many times they have been called to action, how integral to the operation they are, how versatile, how easy to clean, how good looking – the list goes on. If jars had feelings, mine would feel good!

Make sure your jars are clean, inside and out, and that the lids are good. By good I mean they have that rubbery ring along the inside edge which provides the seal. I keep my pickles in the fridge, and I give them away, so I am content with this kind of seal. The yummy pickles are not going to last that long.

While the cukes are sitting with the salt, and once you have your jars clean and ready, you can prepare the brine. I like a sweet-sour taste, also called bread and butter pickles. The brine is basically vinegar and sugar and spices. You can put together your own combination of spices (recipes abound) or buy something called “pickling spice.” The one I got at Yoder’s includes mustard, allspice, coriander, cassia, ginger, peppercorns, cloves and bay leaves. I am happy with this one, but you might have particular flavors that you like or don’t like or want to include more of. That is the joy of cooking – you make it the way you like it!

The basic method is

  • Cut up the cukes/other veggies
  • Layer with salt and let sit an hour
  • Prepare jars
  • Prepare brine
  • Pack salted cukes in jars
  • Pour brine over top
  • Close up jars and refrigerate

The basic proportion is for every 3 cups of cukes/veggies, make a brine with 1 cup sugar, 1 ½ cups vinegar and about a teaspoon of pickling spice. Figure out how many cucumbers you have and do the math. I find the easiest thing is to let the cukes sit in the salt for an hour or so, then stuff them into the jars. Put as many as you can fit in there. That tells you how many cups of cukes you have, so it’s easier to do the math. Then measure out your vinegar, sugar and spices into the pot and turn on the flame.in jars waiting.jpg

If you don’t have a garden or access to a farmer’s market, you can use cucumbers from the store just as well. I would use the European cukes because they simply wrap them in plastic instead of putting a waxy whatever on their skins. You don’t want that waxy stuff.

You can use brown or white sugar. A combination is good. With this batch I used up a bag of brown sugar that had gotten too hard. It dissolved in the vinegar over a flame just fine, but the proportion of brown to white sugar made my pickle brine darker than usual. If the amount of sugar seems too much for you, use less. The pickles will just be more sour and less sweet. It’s up to you. You can use white or cider or rice vinegar or a combination. The flavor you get — just like the scenery you see and the experiences you have! — comes from the choices you make. Have fun! Every time you make pickles, make them a little different. Why not?

Combine the sugar, vinegar and spices in a pot and bring it to a full boil (making sure the sugar is dissolved). The slight fuzziness you see in this photo is not blur. It’s steam rising from a fully boiling brine.

full boil.jpg

Use a 2-cup or 4-cup glass measuring cup that has a pour spout to get the brine from the pot …

dipping.jpg

into the jars filled with cukes. Be careful. The jars are so full of sliced cucumbers, it could make a splashy mess otherwise, and still might.

pouring.jpg

Oops. It did make a mess. I poured too fast. Bother.

mess.jpg

You can see that the pickling spice likes to collect at the top of the liquid. If you end up with a lot of the mustard seeds or whatever sitting on the topmost cucumber in the jar, you can spoon some of that off. You don’t want your pickles that spicy. Or maybe you do?

As each jar is filled, use a damp cloth to clean the outside of the jar and around the rim where the lid will seal against the glass. Put the lid on and set aside. Keep going until you have filled and closed up all your jars. Set the jars in a nice place and take a picture of your collection to show your friends! When they are cool, put them in the fridge.

finished.jpg


Pizza Pile

The title does not contain a typo. It is not supposed to say Pizza Pie. I said Pile and I mean Pile. You’ll see.

One day last week – I don’t remember which day except it was the day that included Dog-opoly – Kaileena and I wanted to make pizza. She is ten and so eager about learning to make good food. During the earlier part of the week that she was with me, we had made yeast dough twice, once for cinnamon-swirl bread and once for calzones. Now we would make it for pizza.

Until very recently, I have been making pizza the same way for my entire adult life.

  • Make dough. Let rest.
  • Roll out dough and put on prepared pan.
  • Spread tomato sauce on dough.
  • Sprinkle basil, oregano and garlic powder (one at a time) on sauce. Back in the day all of these came in little jars, dried and broken into very small pieces. Thus the sprinkling. Fresh is much better if you can manage it.
  • Top with grated mozzarella, parmesan and possibly asiago (one at a time).
  • Top with whatever else: spinach, salami, peppers, pepperoni (one at a time).
  • Bake in a hot oven.

In all these years it never once occurred to me to combine ingredients. Here is the way Kaileena and I made a pizza pile together.

First you gather all the ingredients for your pizza other than the crust, which is separate for obvious reasons. We decided to make our pizza with just two cheeses, mozz and parm, and also to use salami, spinach and a half of a yellow pepper that we found in the fridge. Of course you can put whatever you want on your pizza.

pizza ingredients

You see two cheeses (mozz wrapped in plastic and parm in a jar), spinach between them, a few slices of salami next to fresh basil and garlic cloves (we used just one clove), fresh oregano next to the garlic, and a piece of yellow pepper next to the can of all-important Don Pepino pizza sauce.

Kaileena grated the mozzarella while I cut up the rest.

pizza ingredients 2

We are getting closer to the pile. All of this stuff, except the sauce, goes in a bowl. Don’t forget a little salt and pepper. I would say not quite a teaspoon of salt for a pizza this size. But the amount is up to you.

pizza ingredients in bowl

Then you mix it up and either use it right away or put a plate on it and put it in the fridge until later when you want to make the pizza.

pizza ingredients mixed in bowl

Easy peasy.

Normally I would make the dough first, then grate the cheese, cut up the rest and mix it in a bowl while the dough is resting. But we knew we had to go get my mom and had only a little time, so we reversed the normal order. When we came back home with Mom, we made the dough.

First put one cup lukewarm water in a bowl along with a tablespoon of yeast. Stir. Add a cup of flour and a teaspoon of sugar. Stir. It will look like this.

dough

Add another cup of flour and a teaspoon of salt. Add flour about a cup at a time until the dough pulls away from the side of the bowl (about 4-5 cups total I think). Transfer to your countertop and knead about 10 minutes, until smooth and elastic. Kaileena got pretty good at this. In the kneading, you push with the heels of your hands, then pull the dough back toward you. Put some umpf into it. You’ll get a better dough and strengthen your arms at the same time. Who needs a gym when you can knead yeast dough like this?

dough1

After your dough is smooth, let it rest about 20 minutes before you roll it out. Just put a little flour on the counter and let the dough sit there.

dough resting

I swear we did not try to make a smiley face in the dough!

After 20 minutes or so, roll out the dough. Kaileena did this without help of any kind.

dough rolled out

We let that sit while we prepared the pan. Can you tell I’ve used a pizza cutter on that pan a gazillion times? I poured a bit of olive oil on it.

pizza pan oil1

Kaileena spread it around with her hands, not worrying about getting them oily because she was going right back to the dough, and that won’t hurt a thing.

pizza pan oil spread

I then sprinkled a few tablespoons of cornmeal on the pan. It’s not necessary. I just like the added texture.

pizza pan cornmeal

By the way, my oven takes 15 minutes to heat to 425 degrees, so I would turn it on about now.

Kaileena folded the dough in half and lifted it carefully to place it on the pan.

dough on pan in half

She unfolded it to cover the pan and curled up the edges that hung over the sides.

dough on pan opening up

Then we put half of that can of Don Pepino pizza sauce on the dough. I used to use the little 8-oz cans of tomato sauce, but one time last year we went to make pizza and had none of that in the house. Mom was here at that time, in transition from one house to another, and had stored a few bags of groceries in my basement. “I think there’s a can of pizza sauce in one of those bags,” she said. She had Don Pepino. Samuel deemed it the ingredient that moved homemade pizza to another level. I agree it was an enormous difference. We ordered a case from amazon.

pizza pan sauce

Kaileena spread the sauce. If you have the least bit of an artistic bent in you, this part is quite fun. A little like fingerpainting, only you do it with the back of a spoon.

pizza pan sauce spread2

Out from the fridge came the bowl of mixed-up cheeses, herbs and toppings. When you unload the bowl onto the pizza dough and sauce, you are looking at a PILE. You knew I would show you: Pizza Pile, get it? 🙂

pizza pile

None of this “first the basil, then the oregano, then the …..” Just empty the bowl on top and spread it out. Done! Oven ready in no time!

pizza pie oven ready

To get a good bottom crust, I slide the pizza right onto the bottom oven rack when it is set but not yet brown. This crisps it up and in five minutes or so I can slide it right back onto the pan. A spatula helps.

Voila!

pizza pie done

The Story of the Roast

We all fall into traps. One common trap is the Trap of Must. It’s the one that comes into play when something Must be done this way or Must be said that way or Must happen in this sequence. It could also be called the Trap of Habit. Some habits are not good. Some are. I have a habit of putting coleus in the planter boxes that lead to my front porch. I do this because they always do well there and look really pretty.

The coleus are the ones with the colorful leaves closest to the porch.

coleus

This goat has a habit of sticking his head up over the fence of his enclosure.

goat1.jpg

Why is he doing this? Because he wants food. His chances are better that someone visiting Yoder’s will come along and give him some if he sticks his head out and lets everyone see those big eyes. Experience has taught him this.

Coco has a habit of coming to you with her one-legged monkey (one-legged because she tore the other leg off), standing there, staring at you and expecting you to know what to do. Play with her. Just play.

Coco and monkey

The habit of play is good, assuming you make it a habit. Mom came with Jerry yesterday and taught me and Kaileena a new game called Phase 10. Sandy joined us even though he is generally very bad at games and habitually avoids them. (He ended up dominating completely!)

In it you have to put your cards together to make runs and sets such as a run of 4 like 2-3-4-5 (and they don’t even have to be the same colors in this game) or a set like three 10s or four 6s. Sometimes you want to make sets and sometimes you want to make runs, and sometimes a combination. The card on top of the discard pile might be just the one you need, but sometimes someone else takes it because it’s their turn or they put a card on top of it, burying it forever from usefulness. This is maddening of course.

Say you are on the “phase” of the game where you have to make one run of four and one set of four. Until you manage to make this, you cannot proceed to the next phase. As happens in games that involve some skill but mostly luck, you sometimes get stuck. Jerry found himself continually able to make a run of three or a run of four, but his cards did not seem to want to make sets. He cracked us all up when he blurted out (clearly without considering the alternate meaning), “I seem to get the runs easily.”

I plant the coleus because they look pretty, the goat stretches his neck in hopes of food, Coco comes with her monkey because she wants to play, and Jerry gets the runs easily!

playing phase 10

The world is complicated and our lives are full. We go about our days and weeks and years on autopilot sometimes. As long as those planter boxes are there, I will automatically think of coleus when the time comes to plant pretty things every spring. That goat will look longingly at every last visitor to Yoder’s: You have food for me, right? Coco will come to you at least three times a day with the monkey (or the fox or the giraffe or whichever toy she has not yet torn to pieces — and fyi, no matter what they are, they are all called monkey, no point confusing the poor dog). Jerry’s runs, even though they were by chance – to say nothing of hilarious – did happen over and over and somehow got me to thinking about habits, which is how I got to this topic.

Every once in a while, it is good to think about why we do what we do. Autopilot has its merits. We do a thing because we’ve always done it. We do a thing a certain way because we’ve always done it that way. We have enough to think about, too much to think about, and being able to do some things without really thinking about them is useful.

But not always. Sometimes we do things blindly with no good reason. We just do them because someone said to do it that way or we always just did. Which brings me to The Story of the Roast.

A woman was preparing dinner one day and her daughter watched her cut the end off the piece of meat before putting it in the roasting pan. The girl said, “Mommy, why do you cut the end off the meat like that?”

The woman said, “I don’t know. My mother always did.”

The next time the woman visited her mother, she said, “Mom, a question for you. Why do you cut the end off the meat when you make a roast?”

The mother said, “I don’t know. My mother always did.”

The next time the woman visited her grandmother, she said, “Grandma, a question for you. Why did you always cut the end off the meat when you made a roast?”

Grandma said, “My pan was too small.”

See? Blind habit. Only the first generation had good reason to cut the end off the piece of meat. Subsequent generations had different pans.

There might be very good reason for all of the things you do. There might not. Just think about it.

The Cookbook Comes Out

I grew up in the era of television commercials. One of my favorites was for Almond Joy and Mounds: Sometimes you feel like a nut, sometimes you don’t! I don’t eat nuts at all, and even if you took the almond off the top of the Almond Joy I would not eat it, though I am fairly sure it is exactly the same dark chocolate covered coconut underneath as Mounds is. I would eat Mounds endlessly if only there were not a price to pay for such a delicious indulgence.

I find it’s the same with living in the country. Sometimes you feel like going outside and getting yourself busy with something that is likely to involve wheelbarrows, garden gloves and sweating. Some days I wake up and can hardly wait to get out there. Yesterday I was so anxious to get going (on weeding of all things! It had rained, okay? and I knew the ground was soft, and I had guests coming, and it would get hot later…) that I got dressed in my grubbies before even taking the dog out, then just stayed out there weeding after she did her thing. She stood next to me for that hour with a look on her face that clearly said: This is not the way this works. We get up, we go out, I do my thing, we go back in, you feed me breakfast, then you do whatever else you want. What’s up with messing with the routine? Hungry here! Starving! Wasting away!

Needless to say, she survived the wait. When we went out after breakfast, she came again, this time standing there with the look that said: Yes, great, my belly is full, but do you really expect me to lay down on these stones? I went and got the old pink towel that doubles as a soft outside blanket for her (which of us is well trained!?), put it in the middle of the driveway where she would be near but not underfoot, and watched her lay down and look up at me with her That’s more like it face.

Coco on towel

But sometimes you don’t feel like going outside. Today I had no such drive. It was a pleasant morning just the same as yesterday, cool enough, calm, lovely. I wasn’t put off by the coyotes howling somewhere in the distance. I didn’t feel overly tired or sore. There is plenty to do out there (and there will be for the rest of my days!). But my inner voice said No, today is a good day to bake!

My 10-year-old great niece Kaileena is coming for a visit with her 4-year-old sister Brea, her mom (my niece Erika) and her grandma (my sister Lynn). I was thinking yesterday about what Kaileena and I will do together next week when the others have gone to North Carolina. I was thinking about baking. We will make pizza together for sure, and maybe crackers (some of you might remember my cracker post from a few years ago – I have a hankering for those again!).

But before they come, some baking would be good. Think about how you feel when you go visit a family member or a friend and they have baked for you or prepared yummy food of any kind for you. That’s how I want my friends and family to feel. Besides, good neighbors of mine brought me some scrumptious lemon bars this past Saturday and I want to give the container back, but with something in it. Many years ago, my friend Kim told me that she and her mom had a plate that went back and forth between them a number of times because neither one wanted to give an empty plate back to the other. I always liked this idea, so I will put something yummy in Jen’s container.

Like anyone who is comfortable in the kitchen, I have some old stand-by, tried-and-true recipes for sweet things that time and again I find myself falling back on. Why? Because they are good! Chocolate chip bars, for instance. Strawberry tea cake. Oatmeal cookies. Sour cream coffee cake – oh, with blueberries in it at this time of year! That won’t fit in Jen’s container very well though. And two children are coming…

I settled on chocolate chip bars, which I made countless times over the years, so many times that the recipe was clearly in my head. I said was because I was a little disappointed in myself this morning in that I was slightly unsure of the amount of butter (Rule Number One: Always use real butter). Being unsure meant that I had to take the cookbook out.

THE cookbook.

Back in the day everyone had a cookbook, everyone I knew anyway. Well, some people had a little file box with 5×7 recipe cards in it, but that system never worked for me. You write recipes on a scrap of paper sometimes, or the back of an envelope, and scraps don’t fit well in a file box. Here is one example from my book. Believe it or not, this is a recipe:

scalloped potatoes

Mario Da Silva was the Villa lunch chef at Keswick Hall for years. He verbalized this recipe to me and I scrawled it out (clearly in a hurry!). It says

Scalloped Potatoes (Mario Da Silva)

3 onions

chop fine

4-5 cloves garlic

fine chop

olive oil    saute    S&P

(What is the difference between “chop fine” and “fine chop”? You tell me!)

heavy cream

mozz cheese

when sticky    stop

parsley

set aside

slice potatoes

boil


in pan

spoon of sauce

layer

mozz on top

parsley on top

bake

That makes sense, right? I’ve made these potatoes several times. They are my mother’s favorite.  Mario now works as the Executive Chef at the Holiday Inn in Sarasota, Florida. If you are in Sarasota, go eat there. Trust me. I never saw a chef get more accolades! And he’s cute besides! (Hello, Mario and Mary!)

My cookbook is in a three-ring binder using plastic sleeves. That way, whatever slip of paper or card a recipe is on, I can find a way for it to fit. For the most part, the recipes written in the standard way, with a list of ingredients followed by instructions. The style of Mario’s potato recipe is the exception (you knew that).

I love so many things about my cookbook. Back in the day I had two smaller notebooks instead of one bigger one. I had one for BREADS CAKES / PIES COOKIES and one for EVERYTHING ELSE. Guess you know where my priorities were! I covered the notebooks the way we used to cover our schoolbooks with brown paper bags cut to fit, except I had book cover paper that had been a giveaway at a Ben & Jerry’s stand at the fair one summer in the mid 90s.

The paper was so colorful and fun. We lived in Vermont then and Ben & Jerry’s was still a local business. I loved my cookbooks covered in this paper:

ben and jerry 2

When I made cookbooks for each of my children about ten years ago, I didn’t have any more Ben & Jerry’s paper, so I scanned the last image in The Town Mouse and the Country Mouse, retold and illustrated by Lorinda Bryan Cauley. It is one of my favorite images from when my children were small and I used to read to them (a lot).  I think it made a great cover for a cookbook.

towncountrymouse

The text just prior to this image says: “Then off he went to his snug little home in the fields, whistling a tune and looking forward to a good book by the fire and a mug of hot barley-corn soup.” The cozy chair, the tea kettle on the stove, the cinnamon swirl bread in the oven (just like I made many times!), the soft lighting … I can almost smell that bread!

Inside my cookbook is a collection from many years of trading and finding good recipes. Many are handwritten, which is precious in its own way. One look at the recipe and I know who gave it to me, even if their name is not on it. I see Lyn Boyce’s handwriting, my daughter Marie’s from when she was a teenager, my son Samuel’s, my mom’s, my grandmother’s, my sister Lynn’s, Kim’s, Claudia’s, Anett’s, Crissie’s, Marisa’s, Judy’s, Margaret’s, Eileen’s, and Mario’s (not quite as challenging to follow as my scrawl, but close!).

This is really good soup, by the way. Don’t you love it: “…PLUS 1 GALLON WATER… SALT PEPPER AS YOU WISH. AFTER EVERYTHING IS COOKED, JUST BLEND IT.” You know what that means, right? That means a blender, a few scoopfuls at a time. Did I mention that this is really good soup? And see, not everything in my cookbook has sugar in it!

Mario's yam soup

Handwriting is a reflection of personality and individuality, as unique to every person as their voice or their laugh. How blessed am I to have such a collection! I also see recipes cut from the side of packages or from magazines, printed from emails, hand-copied from other cookbooks, typed on an old typewriter. I see smudges, stains on the paper (from pre-plastic-sleeve days), translations (from some of the German recipes), even notes to me, like these:

Claudia's fettuccini (2)

Marisa's handwriting (2)

There is nothing in the world like the combination of good food together with friends and family. You can make all the amazing dishes you want, but if you don’t share with people you care about, something is missing. Sharing good recipes is not as fun as being with people you love and eating the food that good recipes make, but it’s right up there.

Back to the chocolate chip bars. The recipe (below) says Chocolate Chip Cookies. I haven’t made it as cookies in years. Bars are easier. You put all the dough (no need to grease the pan) in a 9×13 pan. I don’t know why it says 15×10 at the bottom of the recipe – ignore that! Spread it out and bake until golden brown on top, maybe 25-30 minutes, I’m not sure. You tell it’s done by the color, not too dark, not too light. When it has cooled, you cut them up however big you want them.

With bars, you also achieve a more reliable goo-factor — you know, when they are still fresh and the chocolate (which melts together more in bars) is so soft it’s gooey, even kind of a mess. Almost heaven. Almost because, like Mounds, there is a price to pay. Then again, life is short. Every now and then, by all means, pay up.

This recipe is so old, it’s from my pre-must-use-butter days. You see it calls for shortening, which I don’t even have in my cabinet any more. That’s part of the charm of it for me though. I look at the recipe and remember when I kept a cardboard can of white fatty stuff, and I used it! The flavor with butter is so superior, to say nothing of shortening being a mystery food for me, and I like to know what I’m eating: What is that white fatty stuff and what do they have to do to make it? We need to see our own progress sometimes to be reminded of how far we’ve come. It’s like finding some hideous shirt in my closet and thinking I used to wear that?! Then again, sometimes the shirt is hidden for a long time and years later I find it and say, Hey, look at that nice shirt! Maybe I’ll come around to shortening again too.

I always wondered about the half teaspoon of water – could it really make a difference?  What if the eggs are bigger than usual? Might that not be at least half a teaspoon of water difference in the overall amount of liquid going in? But I always put the water in anyway. Some things you just do.

This is the only recipe in my entire book with sections circled and numbered, which I clearly did after the fact. I think I did this in an attempt to tell someone (one of my children maybe?) what order to do it in. Sorry for any confusion. 1. Combine butter, sugars, vanilla and water and beat till smooth. 2. Beat in eggs. 3. Add dry ingredients (I never combine them first any more) and stir them in. 4. Stir in package of chips.

You can add a handful of old fashioned oats if you want. This adds texture and makes them a little easier to justify. A couple shakes of cinnamon is wonderful too. Or add some chopped nuts, let’s say half a cup, if you like nuts. Walnuts might be good, I’m not entirely sure. Nut-eaters could tell you better.

I could type out this recipe, but it wouldn’t be the same.

choc chip bars

Morning Bumbles

I play tennis on Sunday mornings with Scott, Cheryl and Pat. It is possible that we talk as much as we play, but I have never timed the breaks between every other game and every set, so I can’t know for sure. Nobody seems to mind, and we learn a lot about each other and our families, and of course solve the problems of the world every week.

Here we are after this week’s three sets:

20180708_114755.jpg

Pat opened today with a doozy of a story about what happened at her house this morning. She was preparing her morning coffee — feeling a little fuzzy-headed yet, it being so early — at the same time as she was looking for her cell phone. “I can never find my phone,” she said. Bumbling around, still half dazed, her routine is to zap her coffee in the microwave for 30 seconds, which is what she thought she had done. Thirty seconds isn’t very long, but at the end of it, there was a bad smell and she opened the microwave to discover her melted cell phone in there!

This is what NOT to do, even when you don’t want to talk 🙂

cell phone in microwave.jpg

Scott said his morning wasn’t quite that bad, but when he went to get his coffee, which he prepares in the drip maker the night before, he said to himself, “I wonder if I remembered to put the coffee in.” When he got to the kitchen he discovered that he had indeed not remembered to put the coffee in, nor the water (!), which of course did not result in a cup of coffee at his usual time.

I am a tea drinker, and often use a terrific little strainer that my sister Lynn got me. It sits in the cup. You put the loose tea leaves in it and pour the water over the top. Then you can take out the strainer and the leaves come with it. Left behind in your cup is the hot drink that has been my steadiest companion for years.

Only today I poured the hot water into the cup without the strainer in it. Dope. So I got the strainer and the tin of loose tea and put a spoonful of leaves into the hot water in my cup and put the strainer in after that. A lot of good the strainer does if the tea leaves are not in it!

The leaves float to the top, so if the leaves are in the strainer it will not look like this:

20180708_125834.jpg

It will look like this:

20180708_125734.jpg

Cheryl said she went to feed the dog and found herself pouring Cheerios into his bowl!

We told those stories, cracked up and started hitting balls to warm up. The weather was perfect, low 80s, sunny, light breeze. We then played three sets of really good tennis, lots of great shots, close games and good points. We did what people around the world do every single day, and what every sensible person should do: Do not let your morning bumbles get in the way of your fun!

Sauce and cheese

This week I was reminded how words can mean such different things to different people, how easy it is to think someone else knows what we mean, how words are so little yet encompass so much.

Two little words: sauce and cheese. You know what I mean, right? I don’t have to say more. If you would look in my freezer and see a plastic container labeled sauce, you would know what is in that container and what it goes with. You would know how often I make it, how often we eat it and what else would be on the table with that meal. If we were at the table together and I was eating soup and I said This would be really good with cheese, and got up to get it, you would know before I returned to the table what I was getting. You would know what color it is, what has been done to it since it was purchased and how and where it is stored. We would understand each other, right?

When I was growing up, we ate pasta three times a week. We did not call it pasta. We called it macaroni. You boiled the macaroni in a big pot on the stove, and in another smaller pot you heated the sauce. On Wednesdays for dinner (5:00ish) and on Sundays for dinner (1:00ish because you ate Sunday dinner after church) we had our macaroni with a red, meat sauce, a.k.a. sauce. We had it so often that there was no need for modifiers. Seriously we ate this every Wednesday and every Sunday of my childhood. That’s 104 times per year x approximately 18 years, or somewhere around 2000 times. The very same meal.

My mother made sauce (not the sauce, mind you, just sauce) on a regular basis such that we were never out. It would be inconceivable to not have sauce ready to go on Wednesdays and Sundays. I am quite sure my mother would never have let that happen. The basic ingredients were the same every time, but if we had had a pork or lamb roast recently, she added these bones for flavor. Here is the recipe exactly as I wrote it many years ago when I decided it needed to be in my cookbook for reference. I did not need it myself of course. The recipe is etched in my mind’s file. But someone else might need it.

07021608201.jpg

This recipe is perfectly clear to me. You could follow it, right? You would know how many onions and how finely to chop them. You would know what chop meat means and what percentage of fat content was normal. You would know to put these first two ingredients together in a large, heavy pot over a medium flame and cook them together until the onions are clear and the meat is browned. You would know what size the cans of tomatoes are, what brand to buy, and whether they are whole, plum, chopped, diced or pureed. You would know what paste is, and how to get it all out of the can — even the parts that stick stubbornly to the sides — and why you need two cans of water per. You would know to dump all of this over the meat and onions at just the right time and stir it up. You would then know to add just the right amounts of s&p, garlic powder, oregano and basil. Strictly following tradition, it would not occur to you to use fresh garlic, oregano or basil. You would shake these out of jars you bought in the store and you knew the perfect quantities to shake and how big each little pile would need to be as it sat on top of the tomato-meat mixture in the pot. You would stop shaking when each pile was the right diameter and height. If you had leftover bones from a recent roast, you would add them in at this time. Then you would mix it all together and turn it down. You would know how low to turn the flame down, and you would let it cook for a few hours and walk away and do something else. You would know by the smell that it was done. The smell was normal. This was home.  Every Wednesday and every Sunday we had our macaroni with sauce for dinner.

On Fridays for dinner (5:00ish), being Catholic, we had our macaroni with a non-meat sauce, maybe red and maybe not. The non-meat red was called marinara and the non-meat other could be onion or ceci (you know what those are, right?). In my memory we ate all macaroni meals with a salad. We did not additionally (and it never occurred to me until much later that others might) eat long thin loaves of crusty white bread. On Sundays, however, you might also have meatballs (either softened from having been taken from the freezer and heated up in sauce, or crispy from having been freshly fried in oil) or a veal or eggplant parmesan or a roast (beef, lamb or pork) on the side. Thus the leftover bones that might go into the next batch of sauce.

Onto any of these macaroni dishes you put cheese. You put imported, finely grated, sheep’s milk peccorino romano stored in a little glass jar which had little holes in the chrome screw-on lid. This jar was stored in the cabinet, by the way, not the fridge. You turned this jar upside down and shook it, and cheese landed on your macaroni. At some point prior to the meal someone had taken the four-sided stand-up grater out of the cabinet and stood there holding the fist-sized hunk of cheese in one hand and the handle of the grater with the other hand, and with well practiced vertical up-and-down motions, pressing the hunk against the sharply perforated side of the grater, created tiny, slightly curly shavings of this ivory colored, aromatic, aged wonder. I did not think of it as a wonder. It was just cheese. Cheese went on macaroni. Macaroni had sauce.

The conversation about sauce came about because Samuel was fishing around in the freezer and found a container labeled SAUCE. What kind of sauce is this? he asked. What kind of sauce? Is there another kind? I see SAUCE on top of a plastic container in the freezer and I know exactly what is in there. But he doesn’t. Oh.

Can it be that he wouldn’t know what I mean when I use a simple word? I thought everybody knew what that word means.

What about cat?

House?

Party?

Surely he knows what those are. Surely you do.

Words evoke images. Do you have a lithe, grey feline in mind, one that snags large moths and bats them around until they give up? A white clapboard Cape Cod with three dormers set up on a hill with a large stand of maple trees behind it? A lot of well dressed people in a small room, holding fancy drinks and trying to hear one another above the loud music? Or do you imagine a tiger, a brick ranch, and a wild frat house?

This gets harder when the images associated with the words are not so concrete:

Honorable.

Divine.

Patriotic.

It’s no wonder we get tripped up sometimes. I am sure you know what I mean when I use certain words and you are sure I know what you mean. But do we really? John Durham Peters in his Speaking into the Air, says that there are hints and guesses in communication, which “at its best may be a dance in which we sometimes touch.” Thankfully we use lots of words to fill in the mental pictures, and usually manage to understand and be understood. Usually.

At least we are now clear about sauce. After Samuel fished it out of the freezer and I explained it and thought I knew what we were having for dinner, he asked another question: What’s onion sauce? Ah, onion sauce!

Chop three large onions. Saute them slowly (I mean slowly) in butter until they are soft and golden. This will take at least half an hour. Turn on the pot to boil the macaroni in only when the onions are almost done. In the meantime, finely dice that wonderful aged peccorino romano till you have a handful or so. Once the water is boiling, put small macaroni like ditalini in there with some salt and stir to make sure they do not stick to each other. When the macaroni is almost done, put the cheese in with the onions and butter. You don’t want to melt it, just soften it. Some ground black pepper and a little bit of cream in there with that rounds it out nicely. By now your macaroni is done. Put your colander over the bowl you will serve this in. Pour out the pot of boiling water and macaroni so that the water ends up in the bowl and the macaroni ends up in the colander (this makes the bowl hot, which keeps the food hot on the table longer). Dump the water out of your serving bowl, put the macaroni in there, top with the onion mixture and stir it all together. The word for this is divine.