Whenever you venture into anything new, it can’t be all new. You always take yourself into it, and you are not new. You are well established. You know what you like, what you feel comfortable with, how you envision the outcome. You proceed with energy, intelligence and peculiarities as per your age, health condition and background. You work with resources you’ve either earned or been gifted, and with people you know, who in turn have their own well established set of norms. As Carly Simon put it (specific context of that song aside): Nobody does it quite like you!
Or like me. And thank God. Isn’t the unending variety of outcomes unendingly unboring? There’s nothing that says a chicken coop (or anything you make) must be unique — you can buy cookie-cutter chicken coops, and there is a place in the world for those — but I’m glad mine is unlike any other. The unique combination of ideas, skills, time, resources and energy, to say nothing of the site itself, all played into the original design and subsequent creative touches that make it one of a kind. I mean, how many chickens can enter their coop through an egg-shaped door by way of a ladder that looks like this?
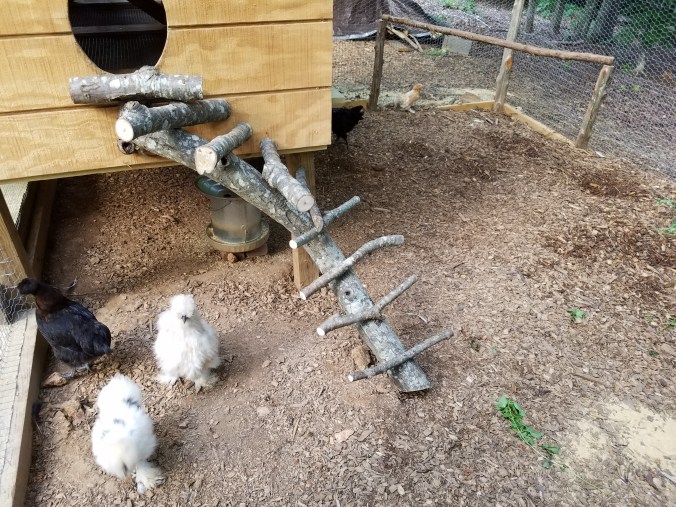
Sandy gets all the credit for the idea, design, retrieval of branches from the woods, angle cuts to make the edges fit against the coop, good cheer throughout (who can’t smile looking at this?). But I am getting ahead of myself.
You start with basics, the basics of construction that other people have done a gazillion times before. The goal here – building a chicken coop – can be accomplished (or at least you can start this way) by doing what many people do when they want to do something and want to get familiar with it: Watch a YouTube video. Well, maybe more than one video. There are some great ideas out there, and no one has to reinvent the wheel. Just as we can do with cooking or exercising or gardening or anything, we take ideas from different people and make our own thing.
We also look at those guys and we say That’s not rocket science. And we gain some confidence and start to play. Besides confidence, we get all kinds of useful info: Trays that slide out for easy cleaning of, you know, chicken poop. Rocks around the outside perimeter as an extra measure against digging predators. Watering and feeding systems. An egg-shaped entrance for the birds!
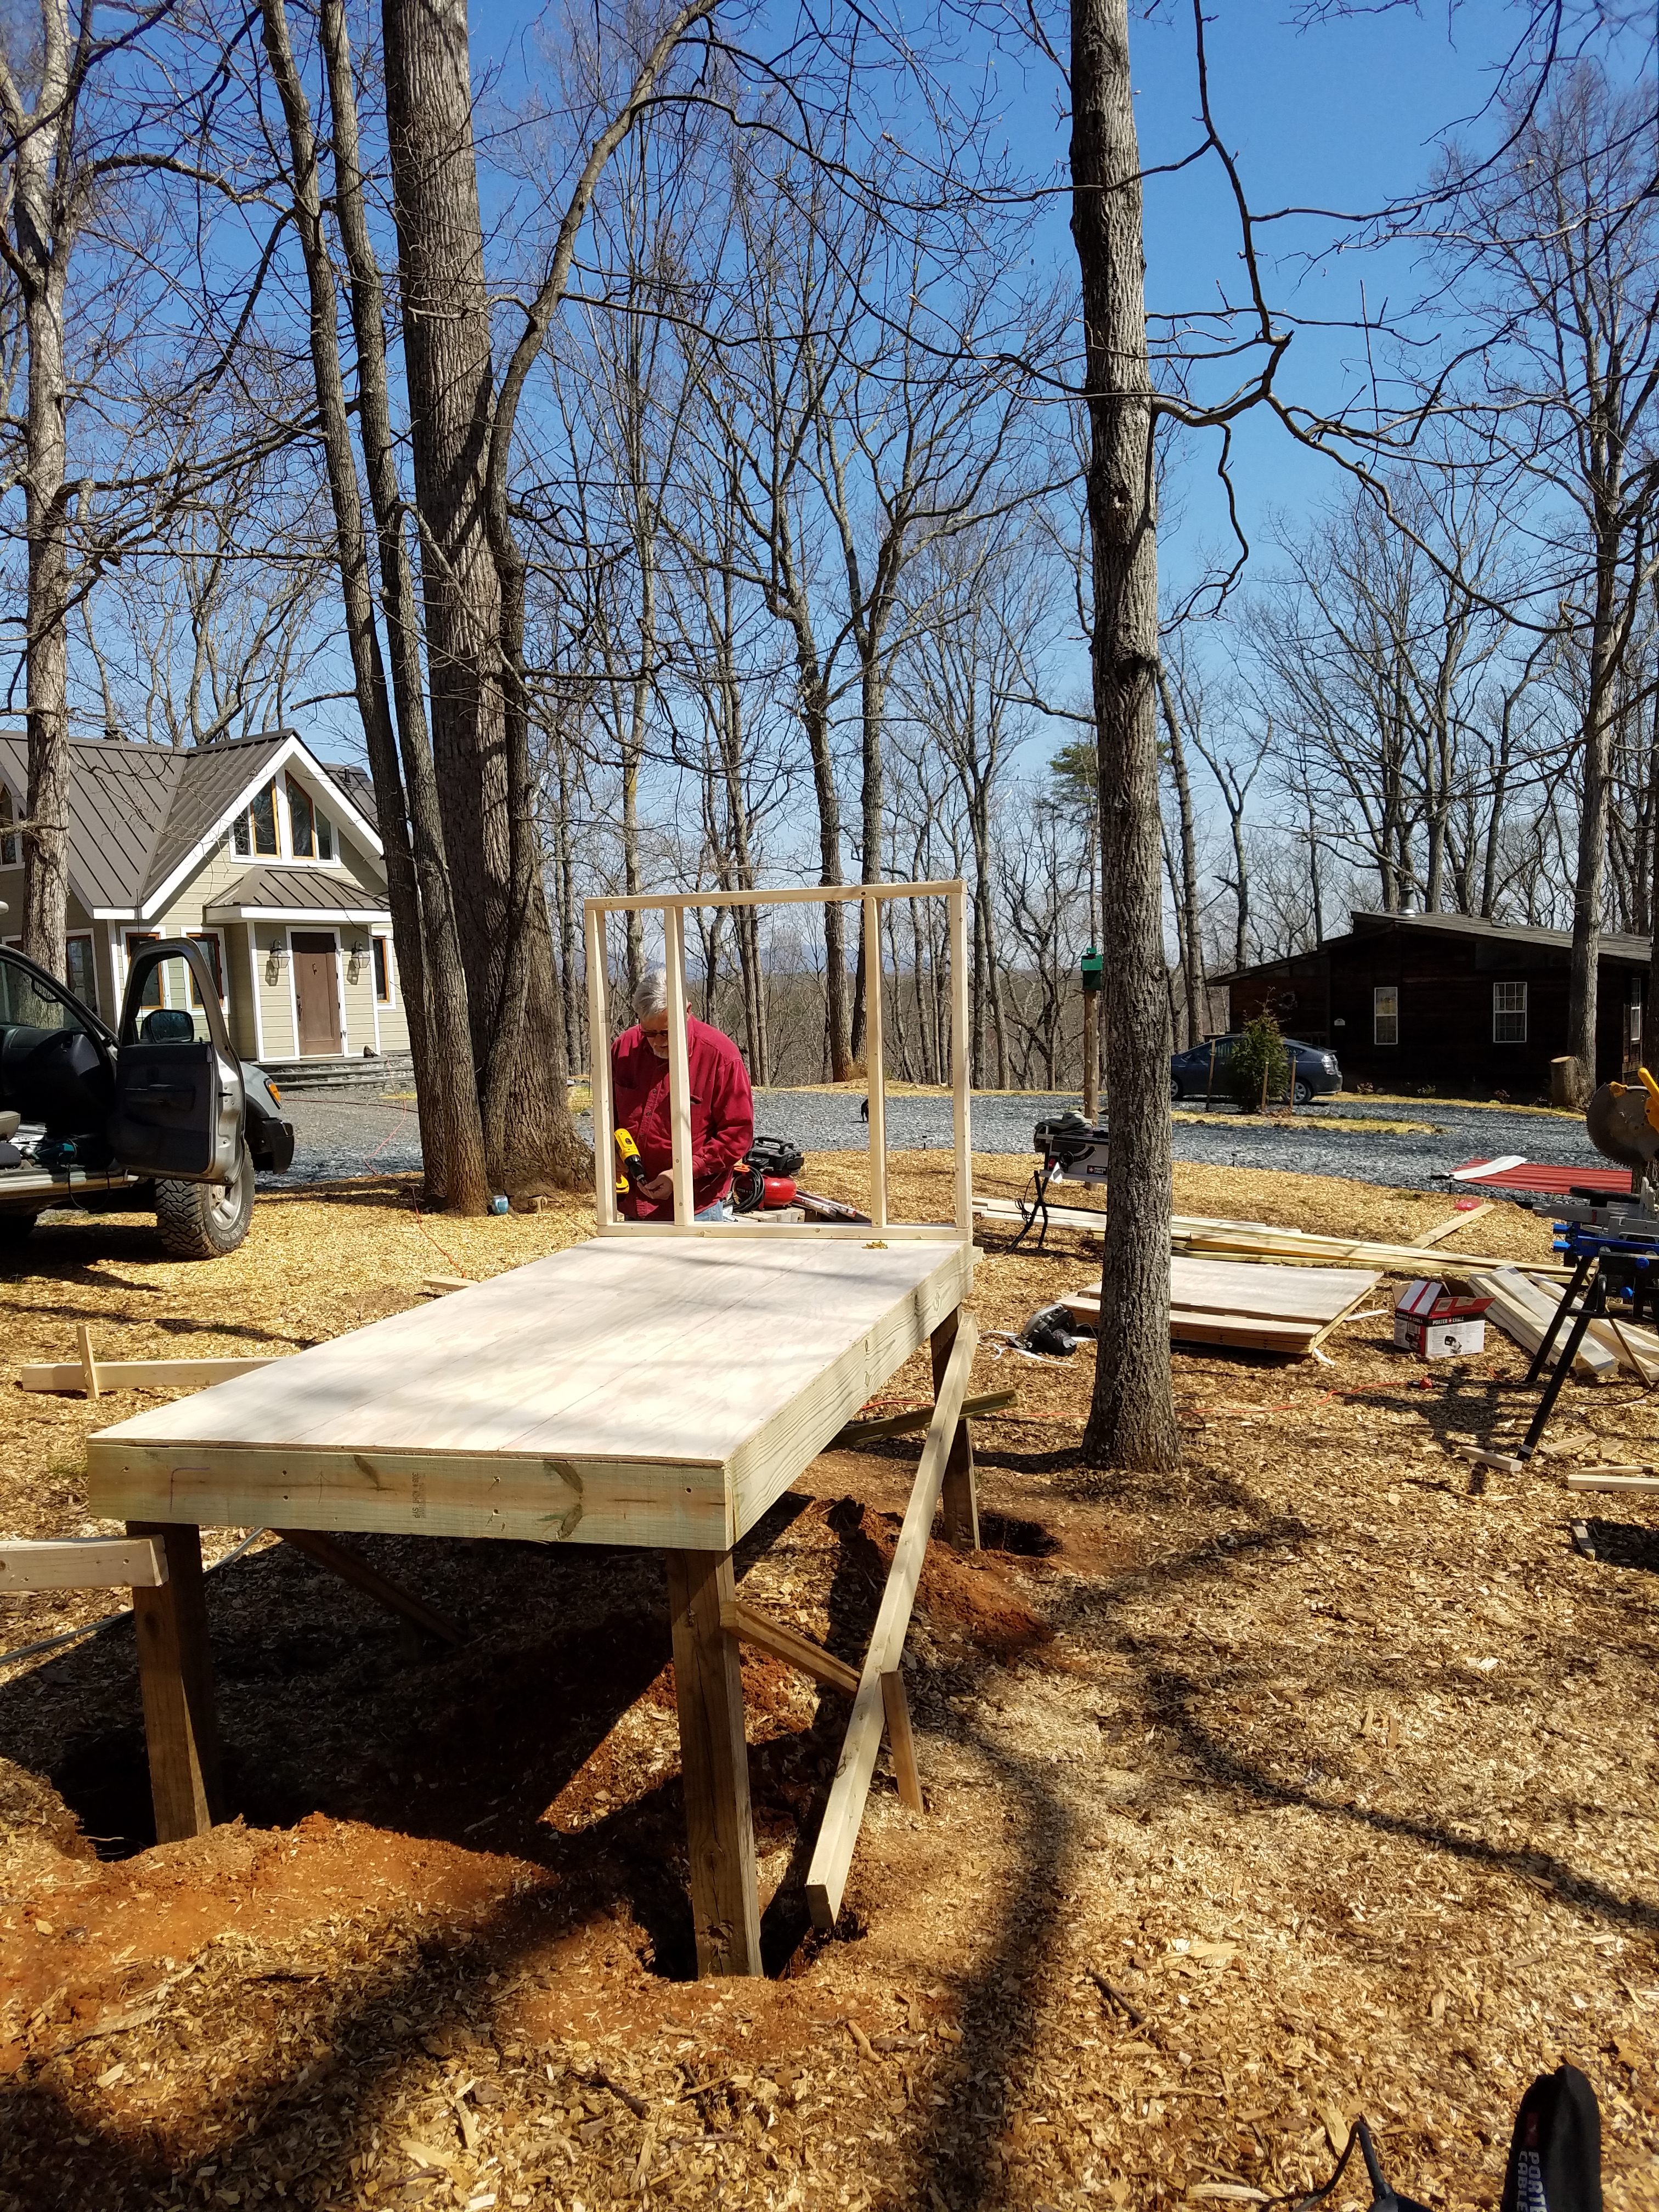
But let’s keep it simple. Plywood comes in 4’x8’ sheets. Seems like a good size for a coop. How we got to 4’x8’3” I am not quite sure, but I think it happened during the initial setting of the posts. I’m here to say that setting four posts in the ground — such that they are correctly positioned (in relation to the existing coop), level, square and plumb – may not be rocket science, but it is harder than it looks. That alone took three of us pretty much all of one day.
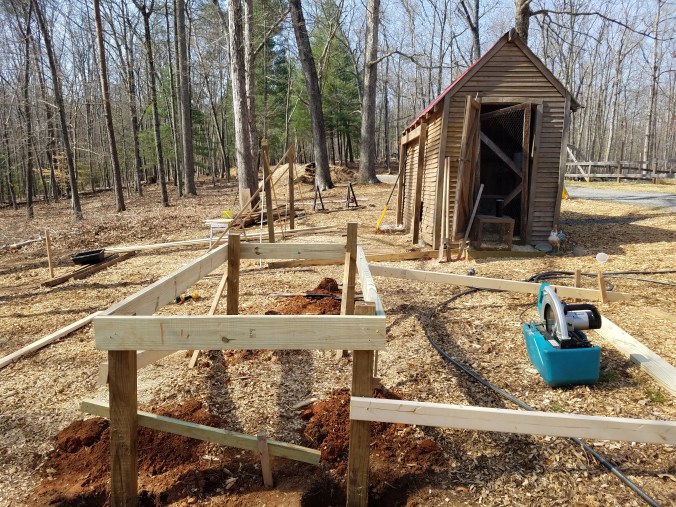
It’s a bit nerve-wracking, but eventually you get it. Once it’s in place, you sure don’t want it to move, so you start mixing cement for the holes and you throw in a bit of prayer! I look at this picture now and I am amazed that 1. I did not get discouraged, and 2. I thought this was a weekend project! (Which is maybe why I didn’t get discouraged – how our inability to see the future serves us well sometimes!) It’s a lot of work, yes. But those chicks were in the basement and getting bigger every day and they had to get out of there, sooner rather than later. Look how big!
One step at a time, as they say. Or in this case one cut at a time, one screw at a time. The number of cuts, the number of screws – not only the permanent ones, but also the temp ones that braced the structure while the cement set – caused me to step back in time to when a person would have to make each cut with a handsaw, screw in each screw in with a screwdriver. Imagine. How good we have it! And onward we go. Plumb, square, level and with joists.
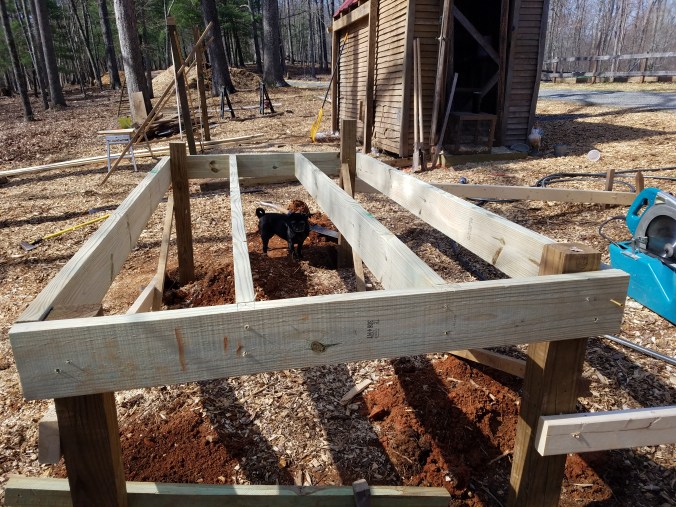
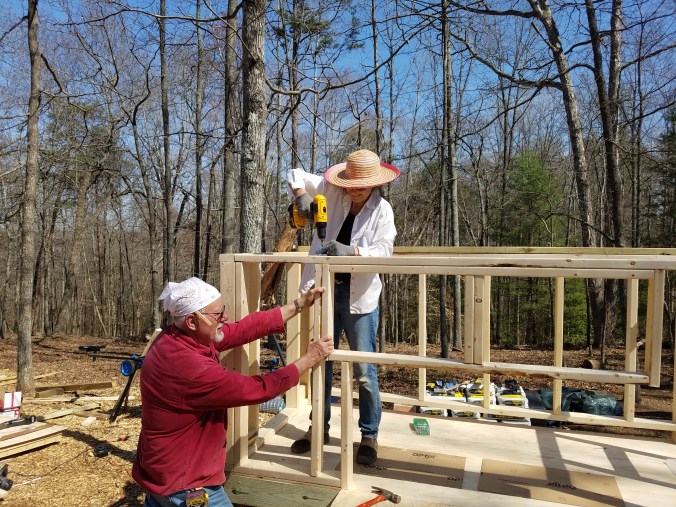
The next time we were all free to work on this, maybe two weeks later, came the platform. Now we can really start to see it. This is Henry putting up the first wall. He’s framing out an access door on that end.
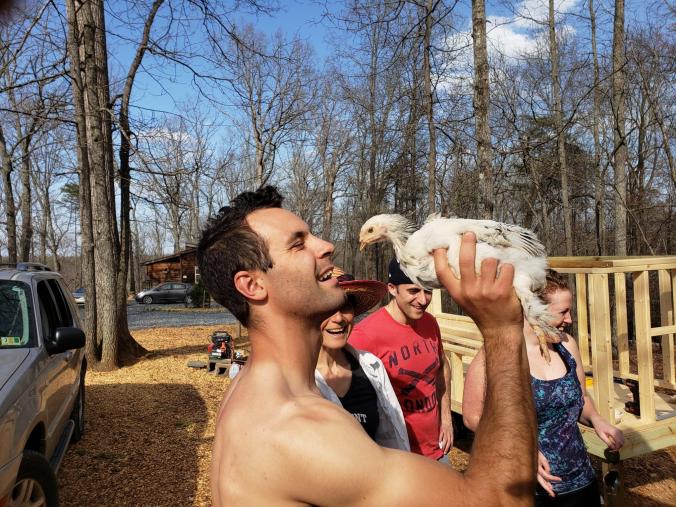
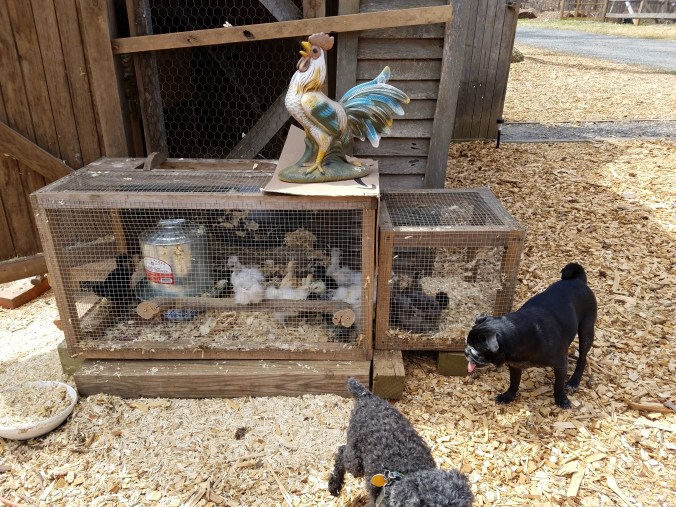
The weather was so nice, perfect for this work (no bugs yet!) but the chicks had been in the basement for over a month now and it was starting to smell, so we decided to bring them outside. The dogs were highly entertained. Who wouldn’t be? What are those fluffy things?
The walls were next. The excitement of seeing it take shape really does keep you going.
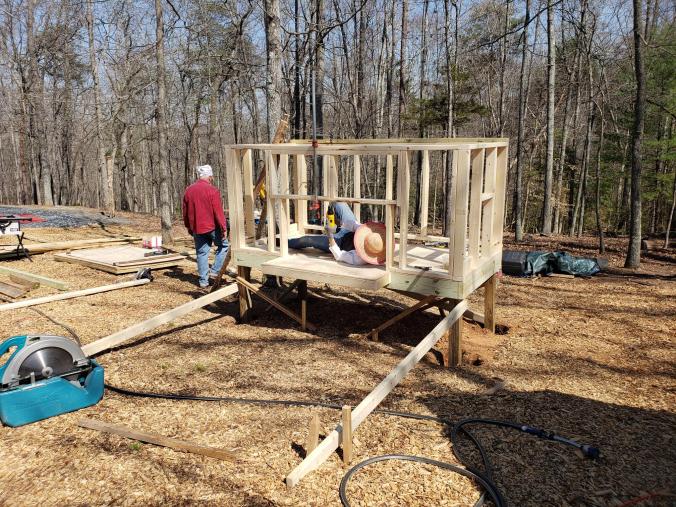
On the front side, where the floor sticks out a bit, will be the brooding boxes for the hens to have their privacy while laying. Centered above that are the openings for two plexiglass windows so that we all can have the pleasure of seeing chickens on the roosting pole inside. (That is, if we can ever get them to go in their luxurious coop!) On the back side, between the platform and the horizontal 2×4 just above it, will be a long, horizontal flap of a door to get to the trays. On the near end will be the egg-shaped door.
Right, it’s not overly comfortable trying to use a heavy (heavy for me) cordless screwdriver when you are in an awkward position. But see, good weather, good friends, good eggs someday…
