I love learning something unexpectedly. Today I helped Ela make a beautiful, sweet, cinnamony, apple bread that is formed in such a cool way!
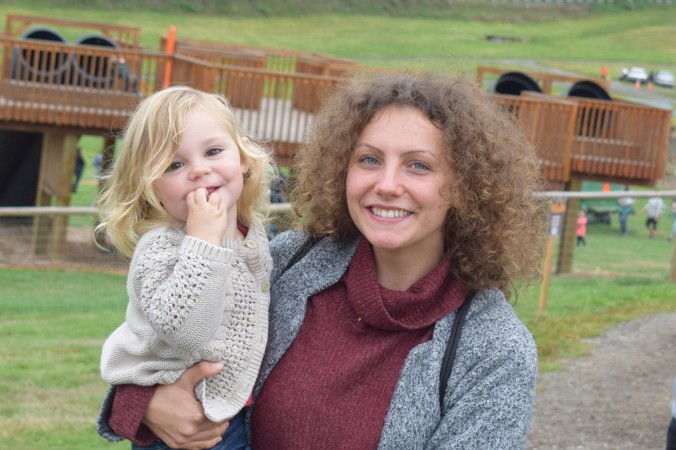
Ela was my granddaughter Piper’s German au pair from the time Piper was a few months old until this past January. It says a lot about their relationship that she would choose to spend her vacation here in Seattle with the family. I was delighted to finally meet her. This is Ela with Piper yesterday when we went to Bob’s Corn and Pumpkin Farm in Snohomish.
Ela is not only Piper’s fun friend, she is a great baker! Her apple star bread was devoured after dinner tonight. We all were anxious to dig in. (It’s a pull-apart bread, thus the forks.)

That shape was so fun to make. I have to show you how it was done. Her recipe might be a little hard to read.
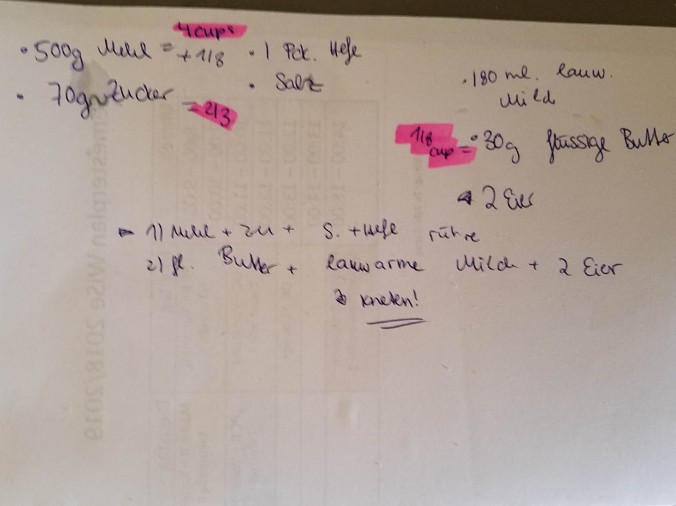
It says to combine 4 cups flour, 2/3 cup sugar, a package of dry yeast and a bit of salt (say half a teaspoon). In a small pan combine ¾ cup milk with 2 tablespoons butter until just warm. Add the milk, butter and 2 eggs to the dry ingredients. Mix and knead. Ela let the beast of a mixing machine that Brad and Beth have on their counter do the kneading.
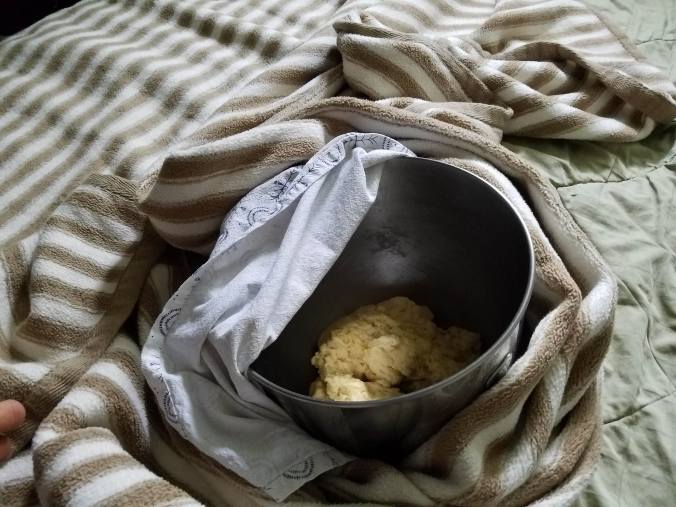
Then, and this is the part she says her grandmother always did, put the dough to rest in bed! You read that right. This lump in the bed is hiding the bowl.
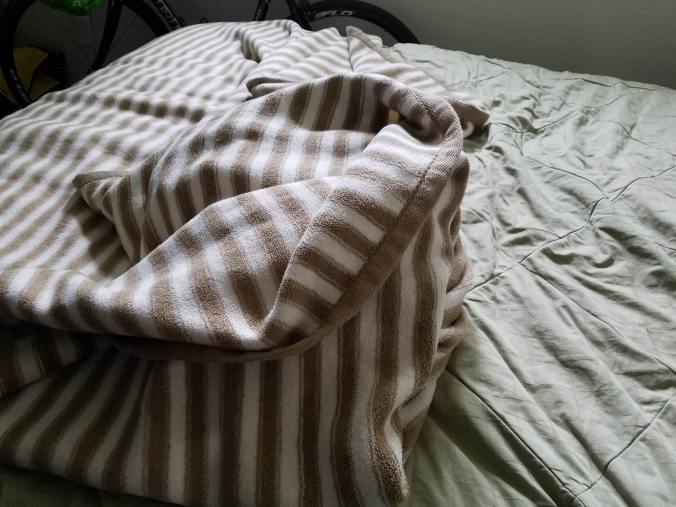
Yes, underneath that lump, deep within the warmth of the bed, is the dough. Ela left it there for a few hours, all covered up.
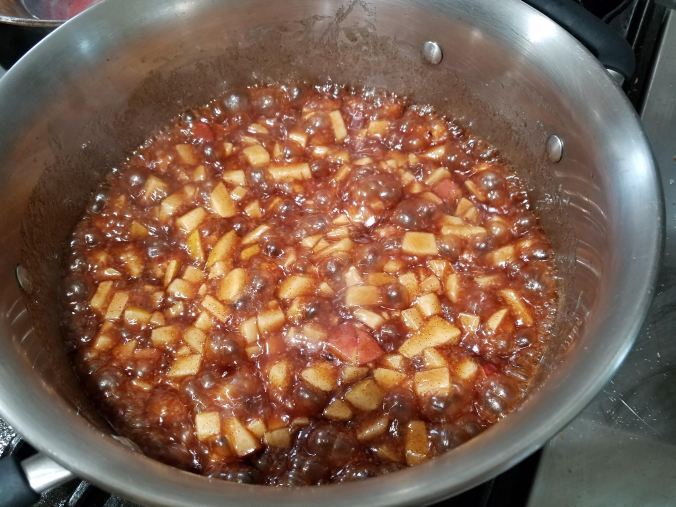
While the dough is resting, cut two apples up in small pieces and put them in a saucepan with two cups of sugar and 1 tablespoon cinnamon. Turn on a medium heat and cook until it’s bubbly, like this.
Cook down until you have a sugar syrup that drips off the spoon like this.
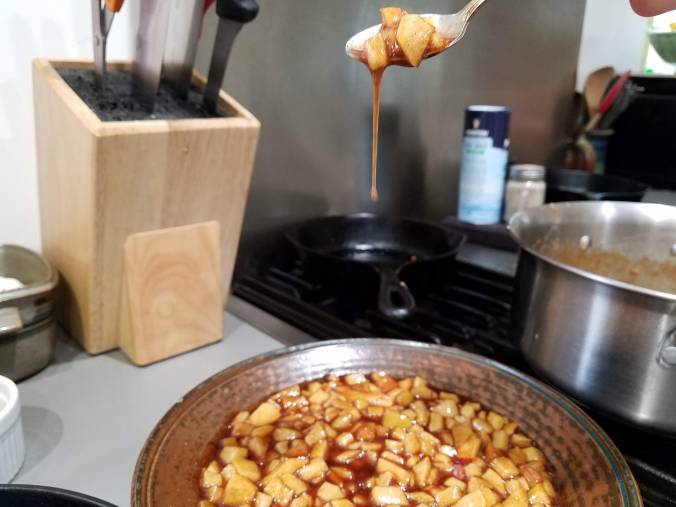
Do you see how it holds its shape in mid-air? It should do this a few seconds before falling. That’s what you want.
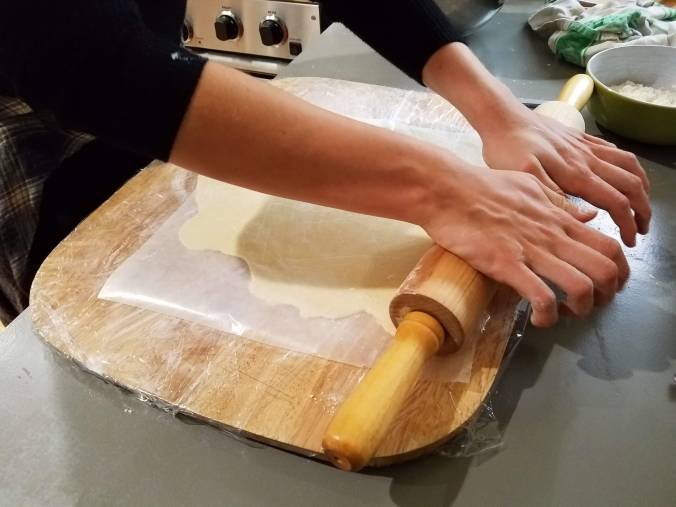
Divide the dough in four parts. One at a time, roll out each quarter of the dough into a circle. Ela put plastic wrap around the board she was rolling on to keep the dough from sticking, then put a piece of waxed paper over it, like this. You want each layer of dough as thin as possible.
Transfer the dough to a large piece of parchment paper, which we didn’t have. Parchment would have been better because you can more easily cut on it, and there is cutting required later. You shouldn’t cut on silicone mats. Ela put two mats together and placed them directly on the oven rack. She cut very carefully when the time came for cutting.
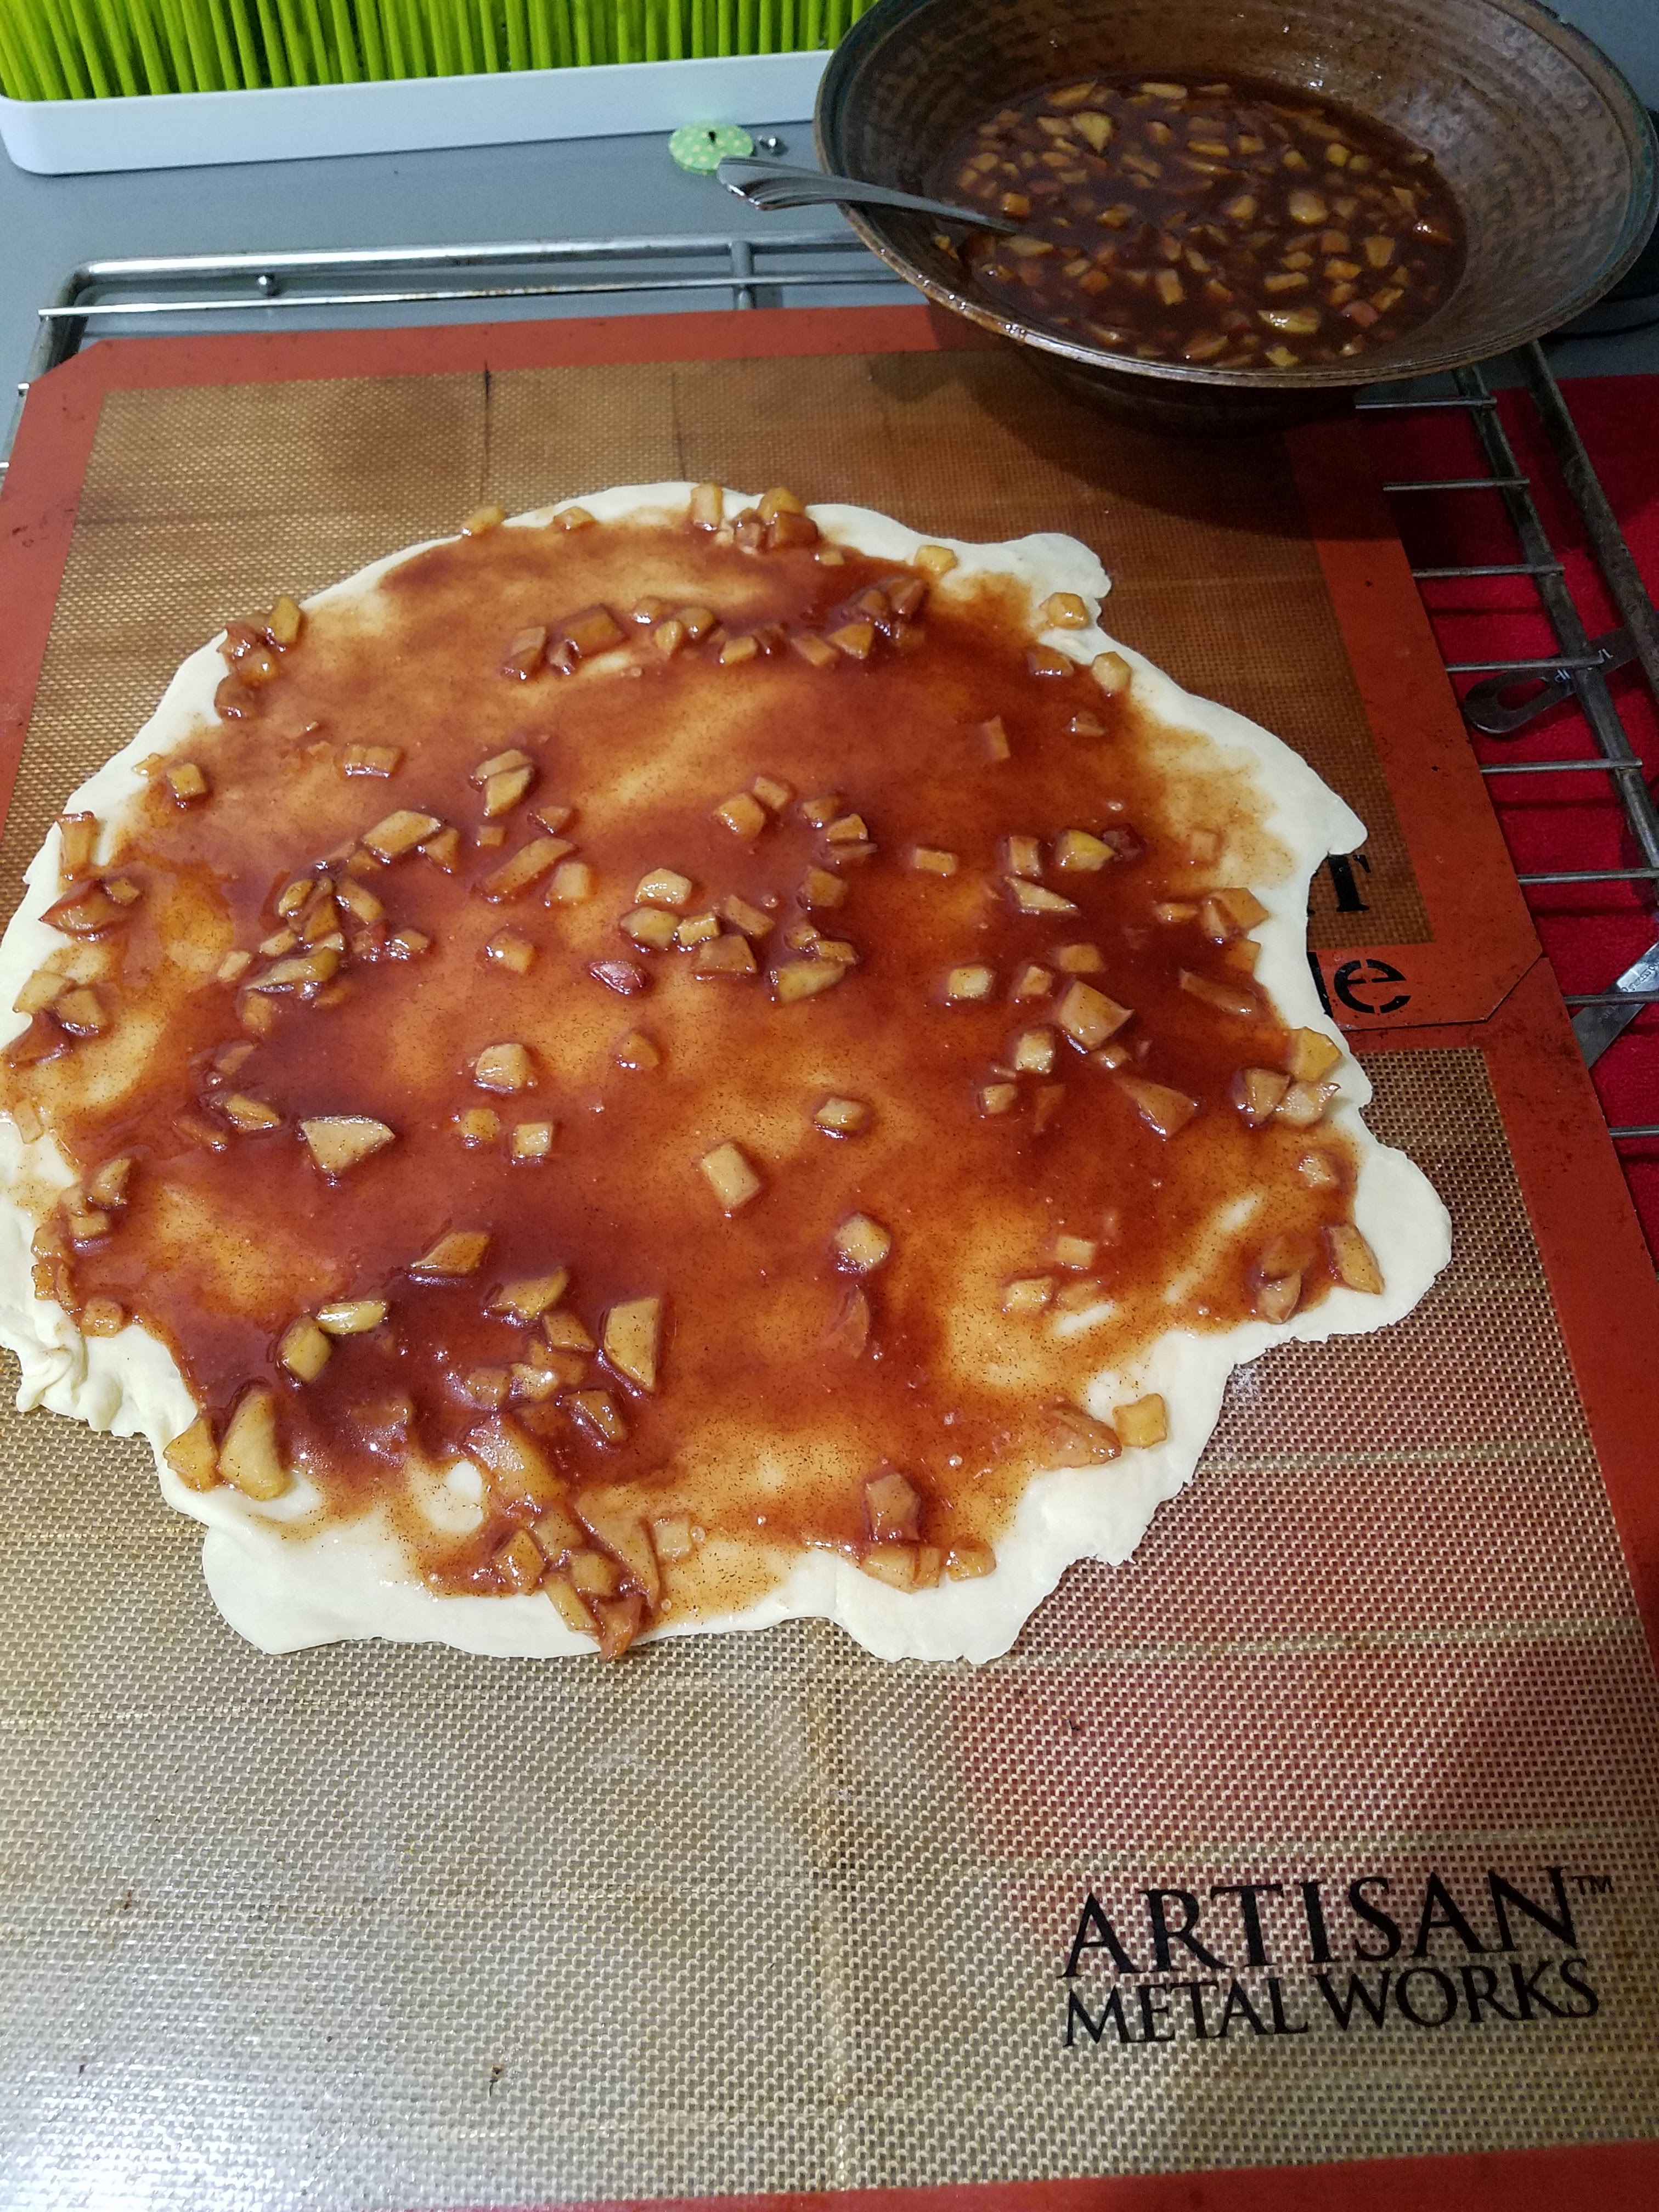
So, first layer, then spread apples.
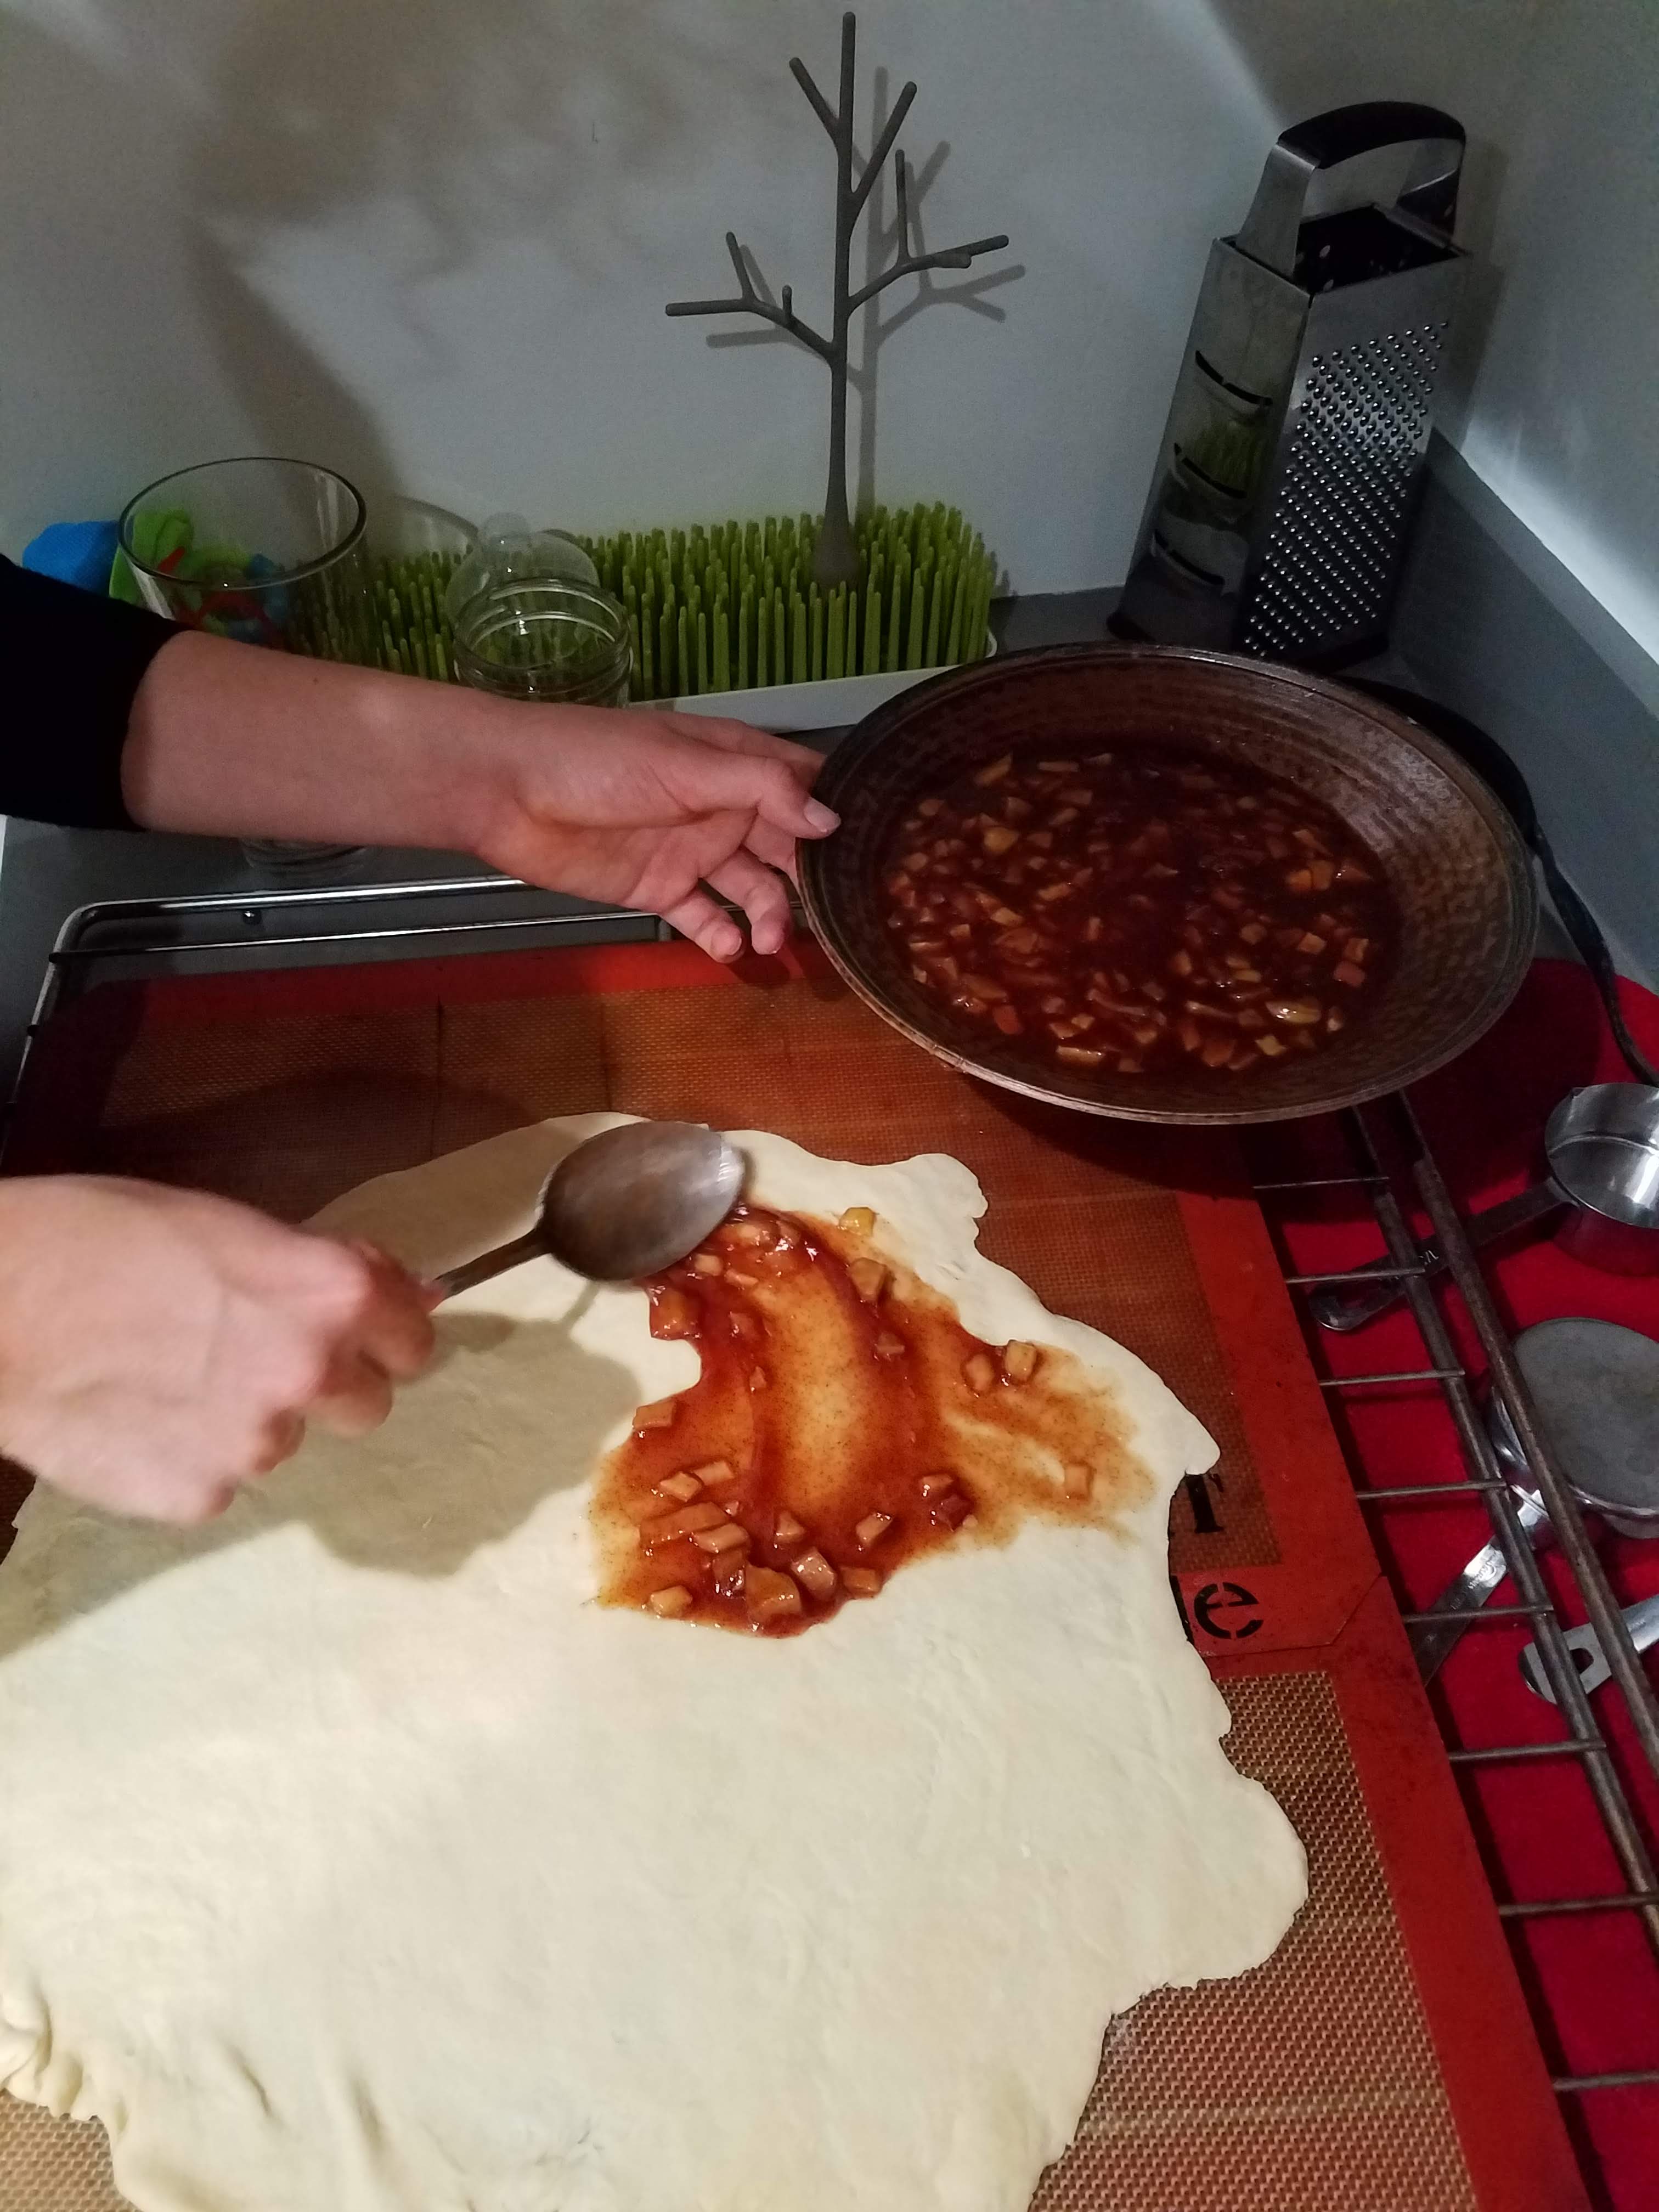
Keep adding spoonfuls of the gooey, sticky apple mixture until the layer is covered.
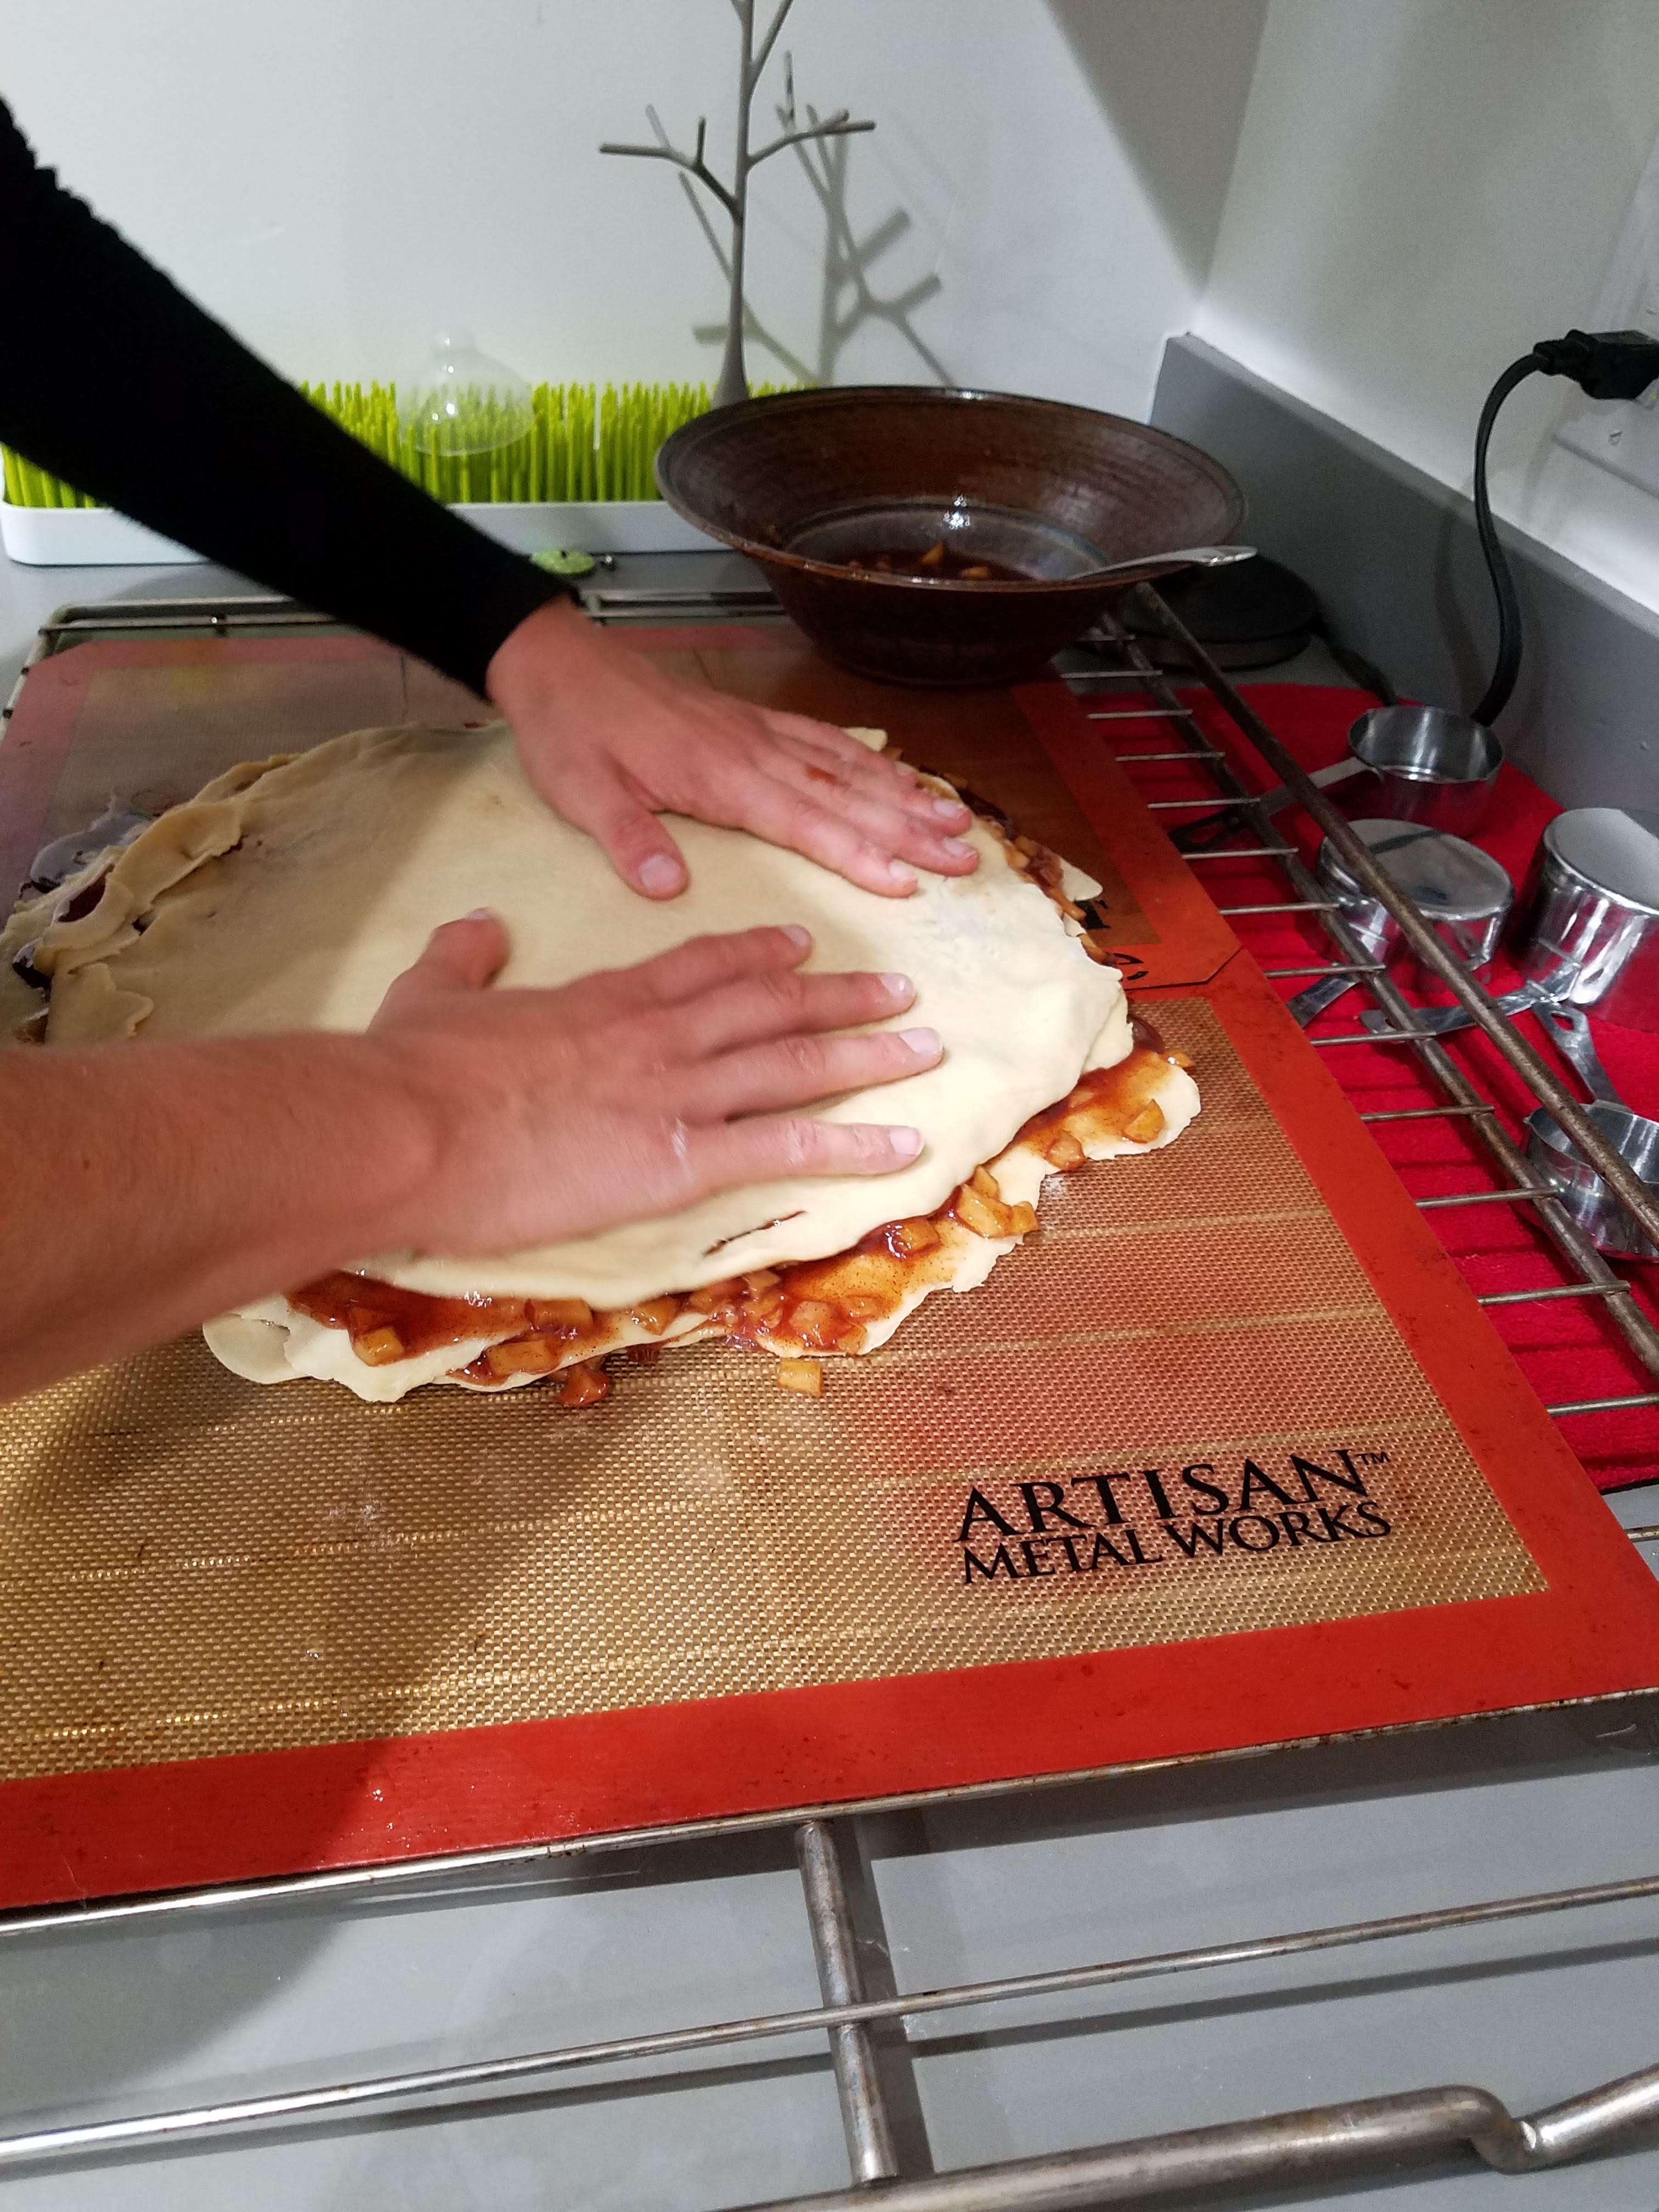
Do layer after layer until you have dough-apples-dough-apples-dough-apples-dough.
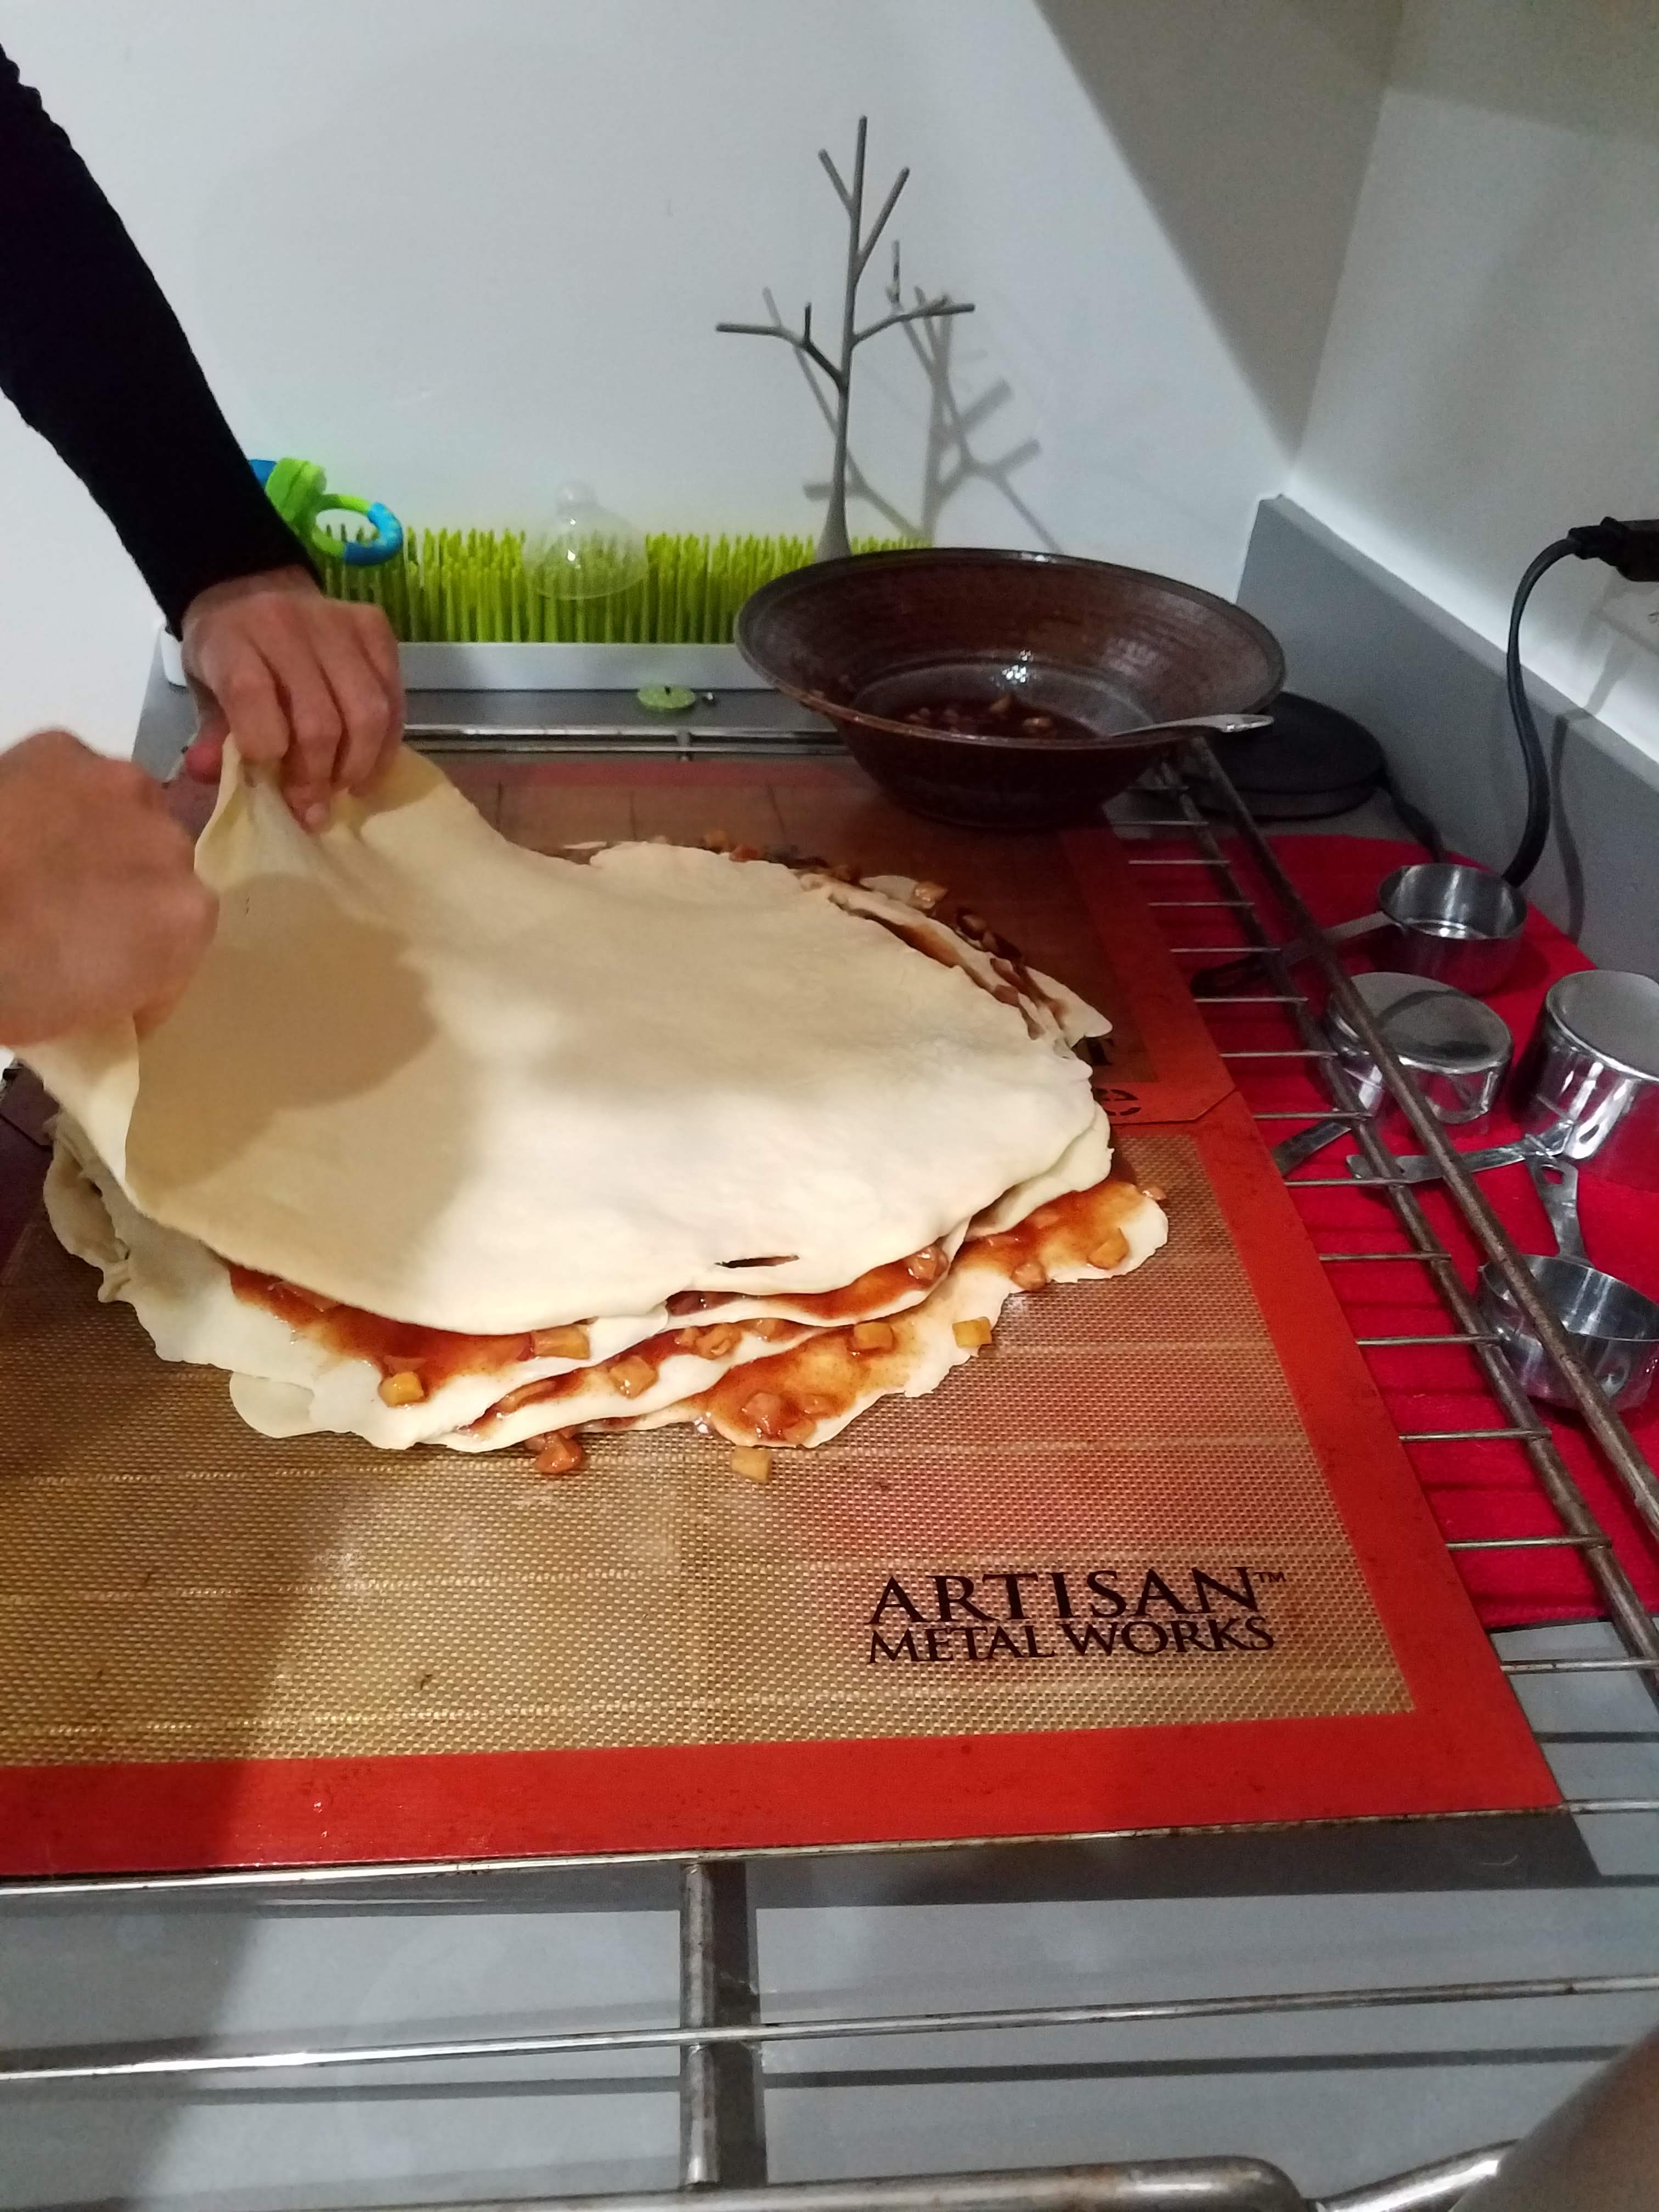
You’ll have to press a bit to get the layers to stretch to the edge.
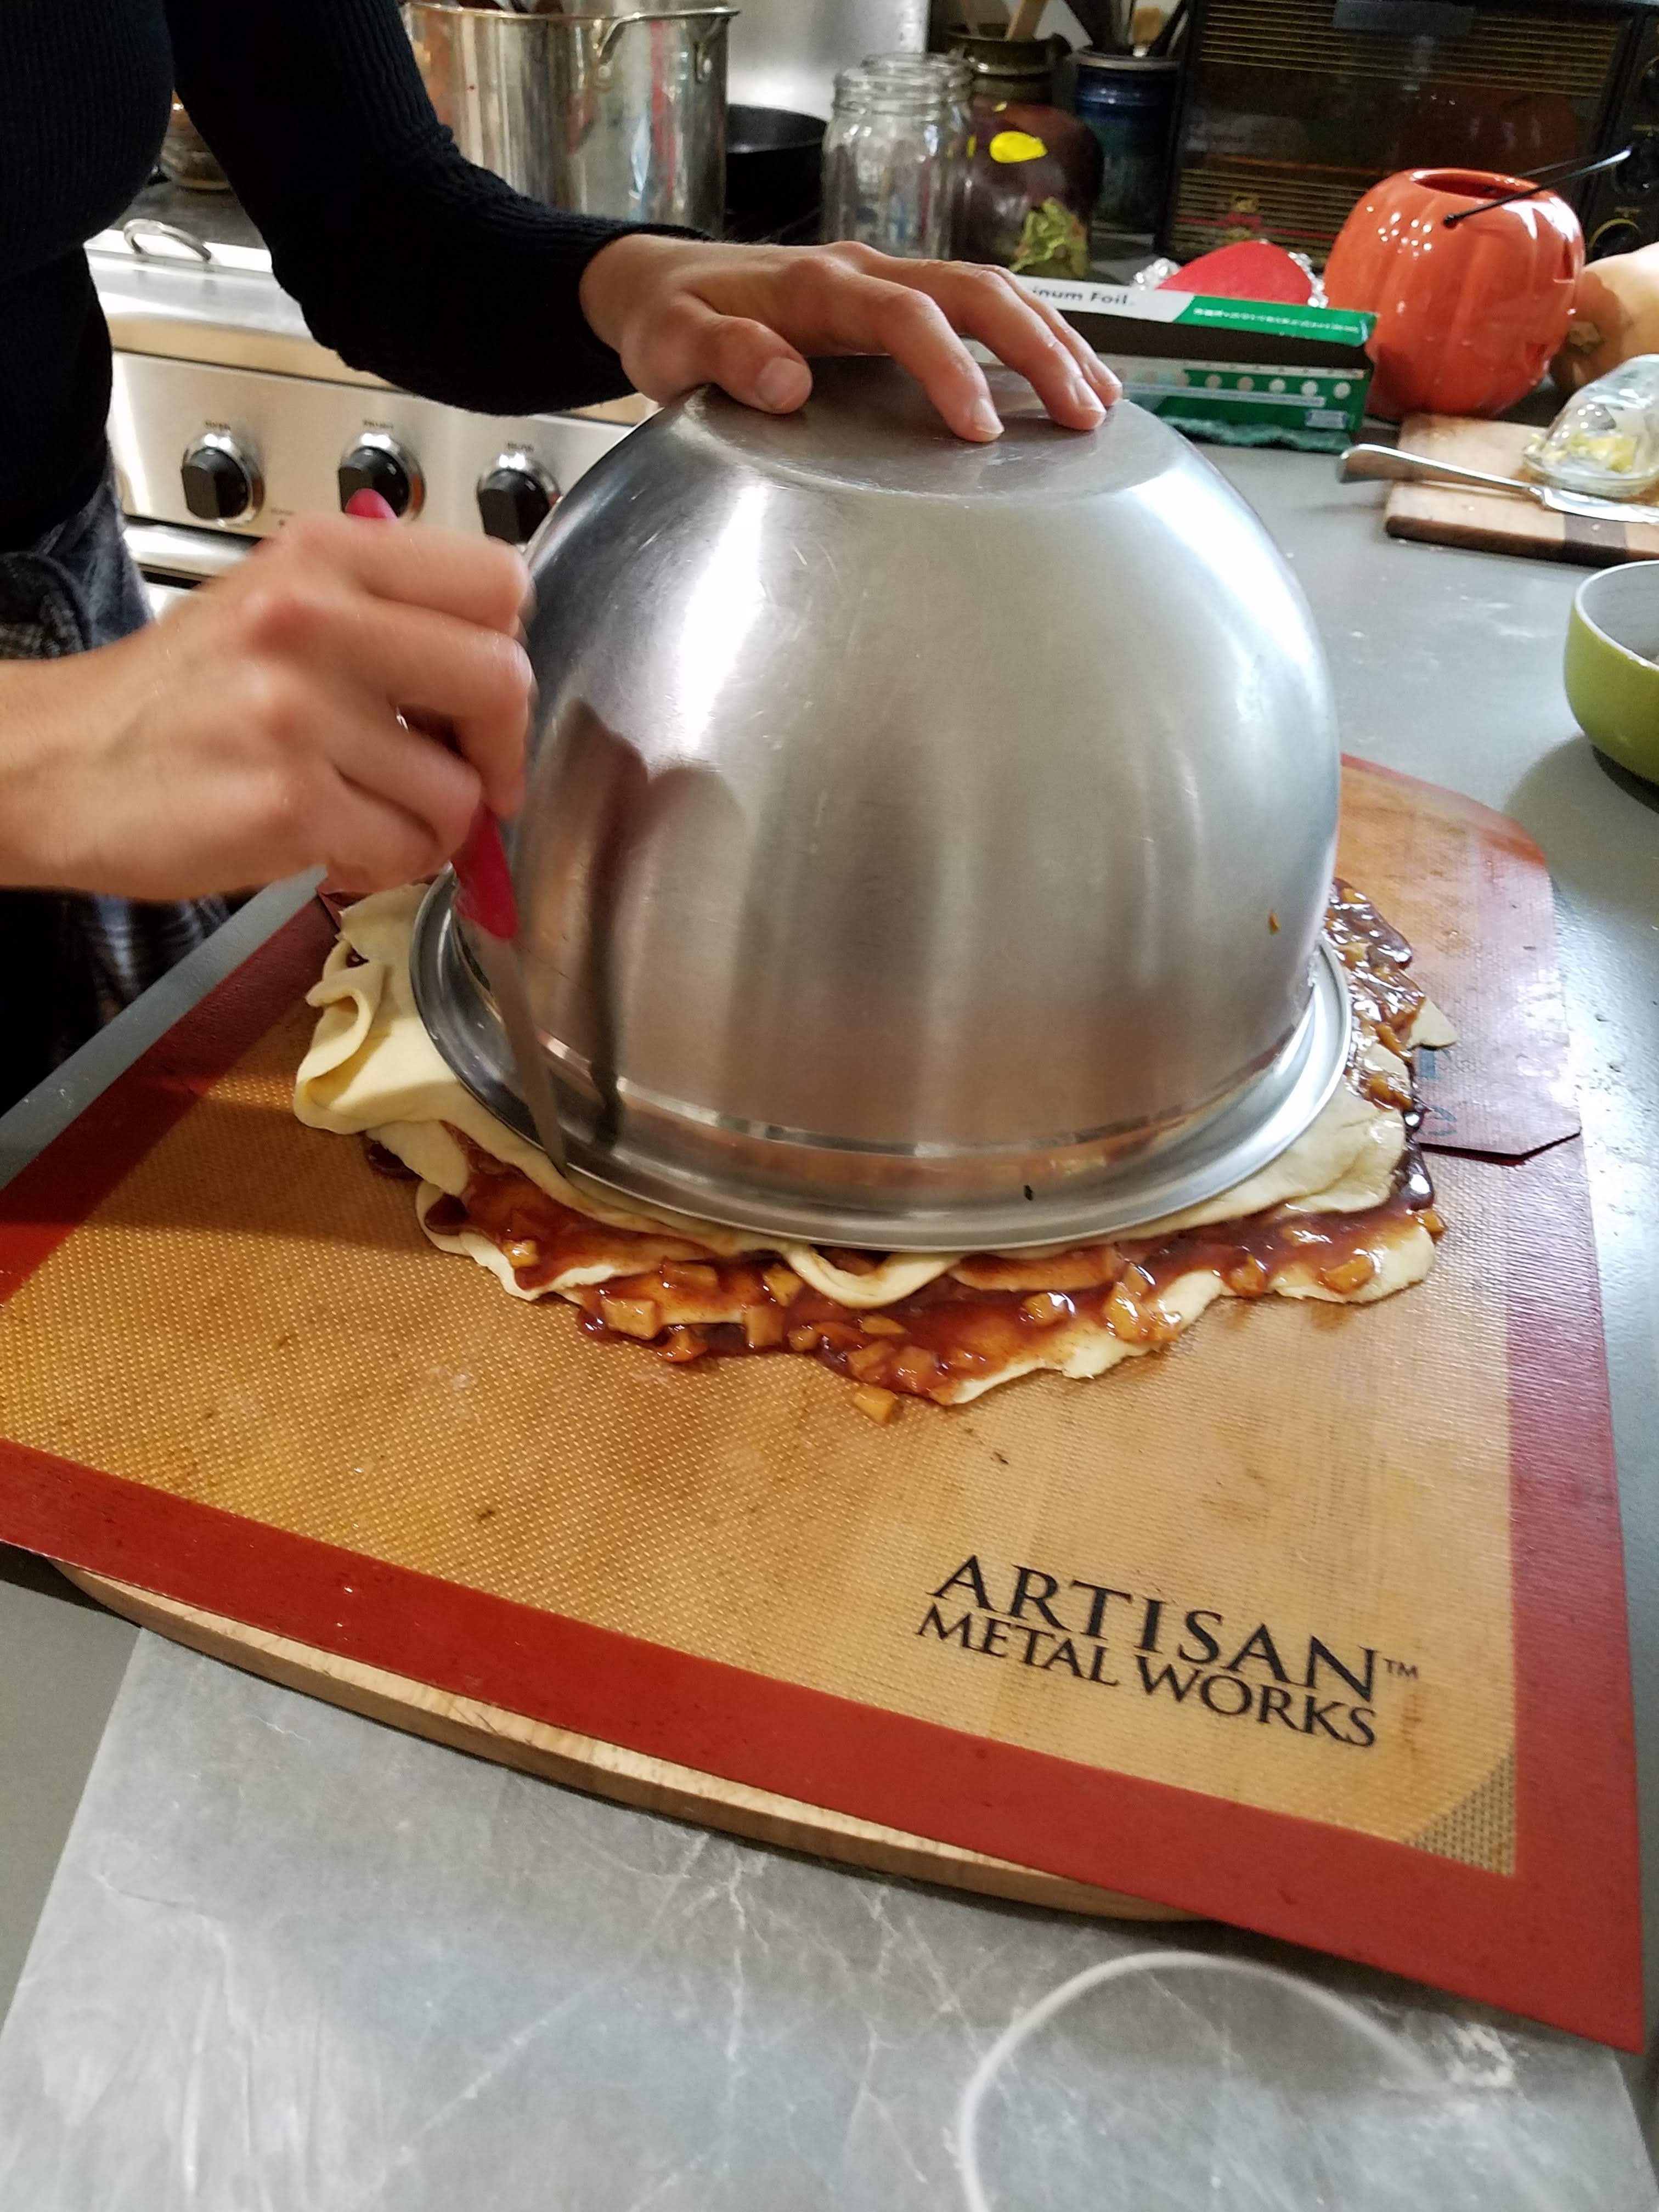
To make it easier for cutting, we carefully slid the ensemble back to the wooden board she rolled the dough on. Ideally, put this in the refrigerator for an hour or so. It would make the cutting part much easier.
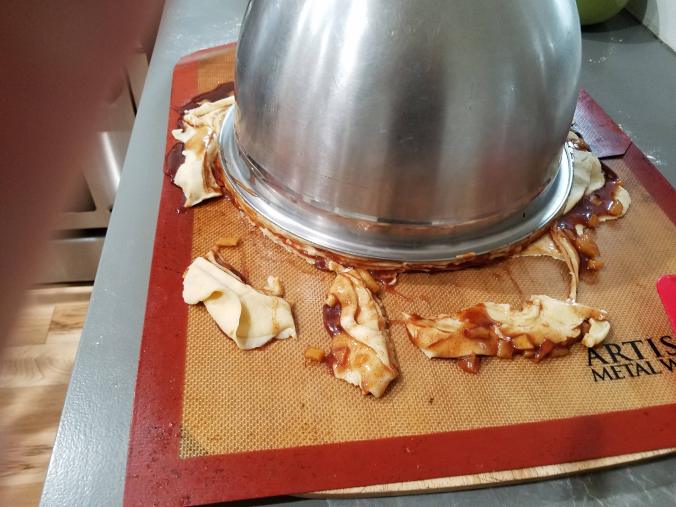
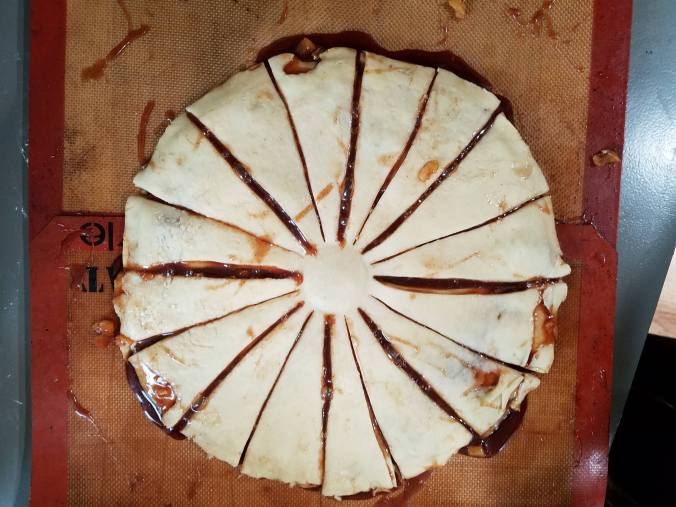
Ela then found a bowl that was as big as the ensemble to give herself a template for cutting a circle. You want as little waste as possible.
She then (carefully!) cut through the layers of dough until she had a circle. You are going to have leftover. These sugary dough bits look a mess, but just put them in muffin tins and let them rise just the same as the bread and they will taste very fine (not altogether different than the monkey bread we made last week!).
Ela then found a small cup (a shot glass is about the right size) for the center.
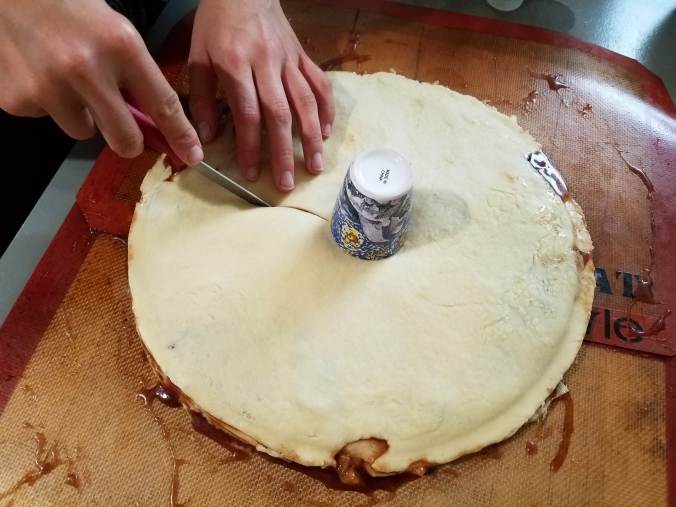
She then started cutting again (carefully!), first four lines, starting at the cup and working outward.
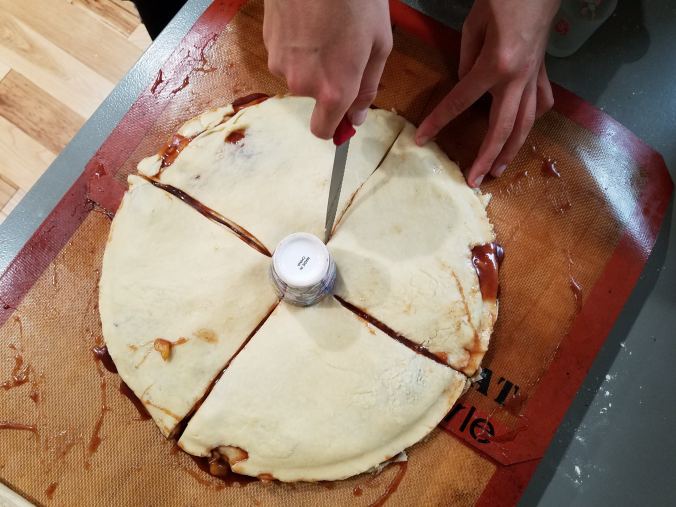
Then eight, rotating the board to make it easier.
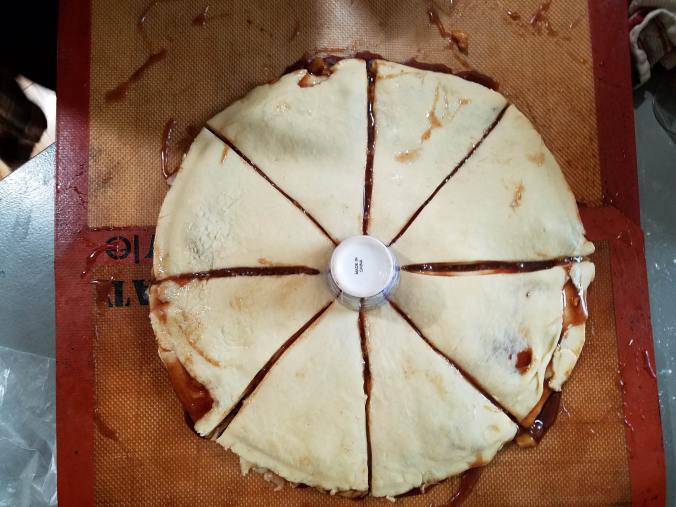
Then sixteen. That’s when she took the cup away.
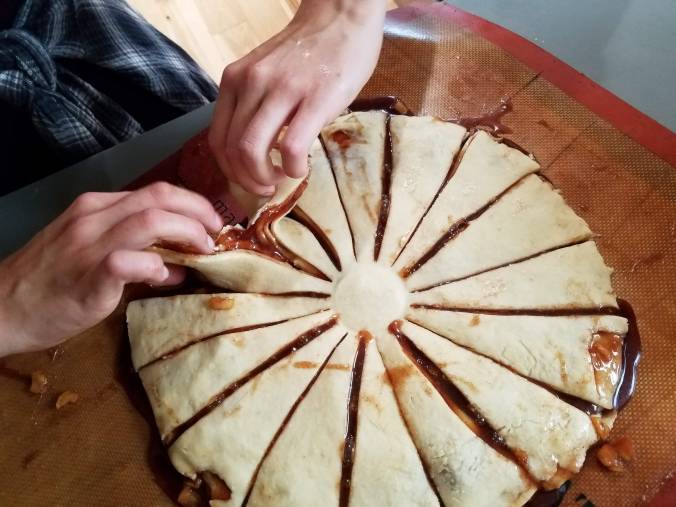
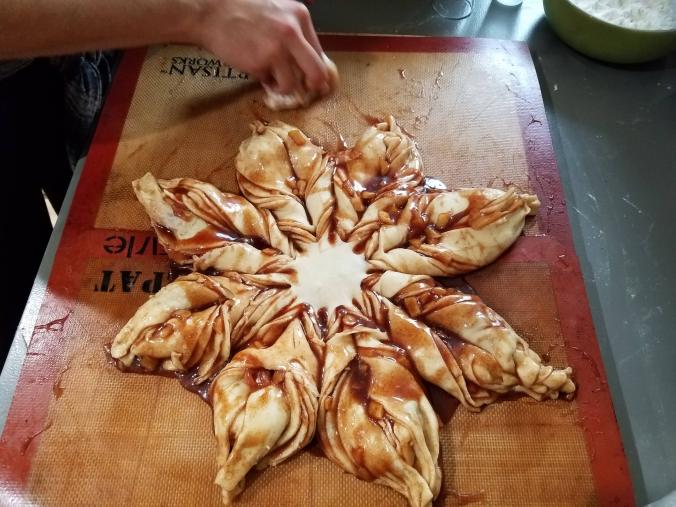
Now for the funnest part! Take two pieces that are side by side, lift them, twist once,
And again. You make two full twists.
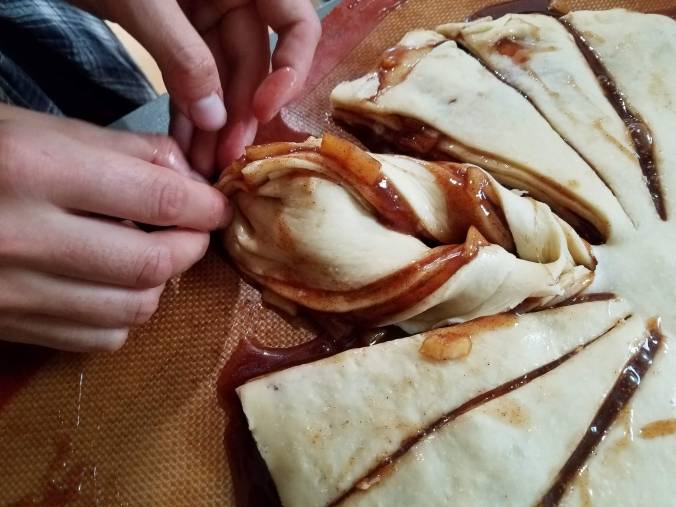
And then pinch the ends together.
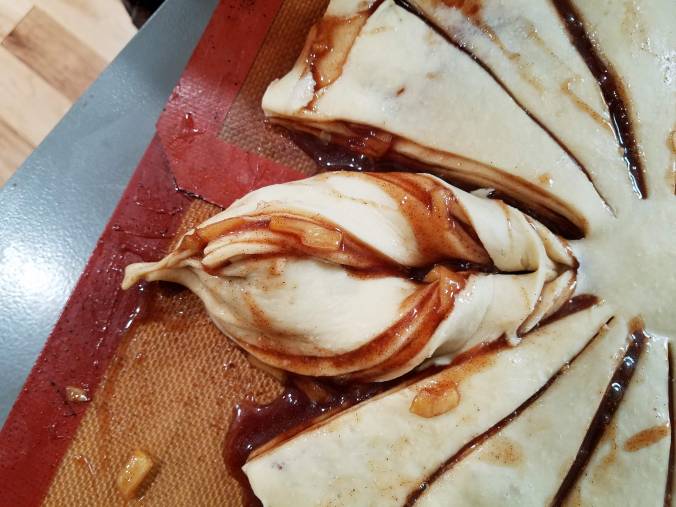
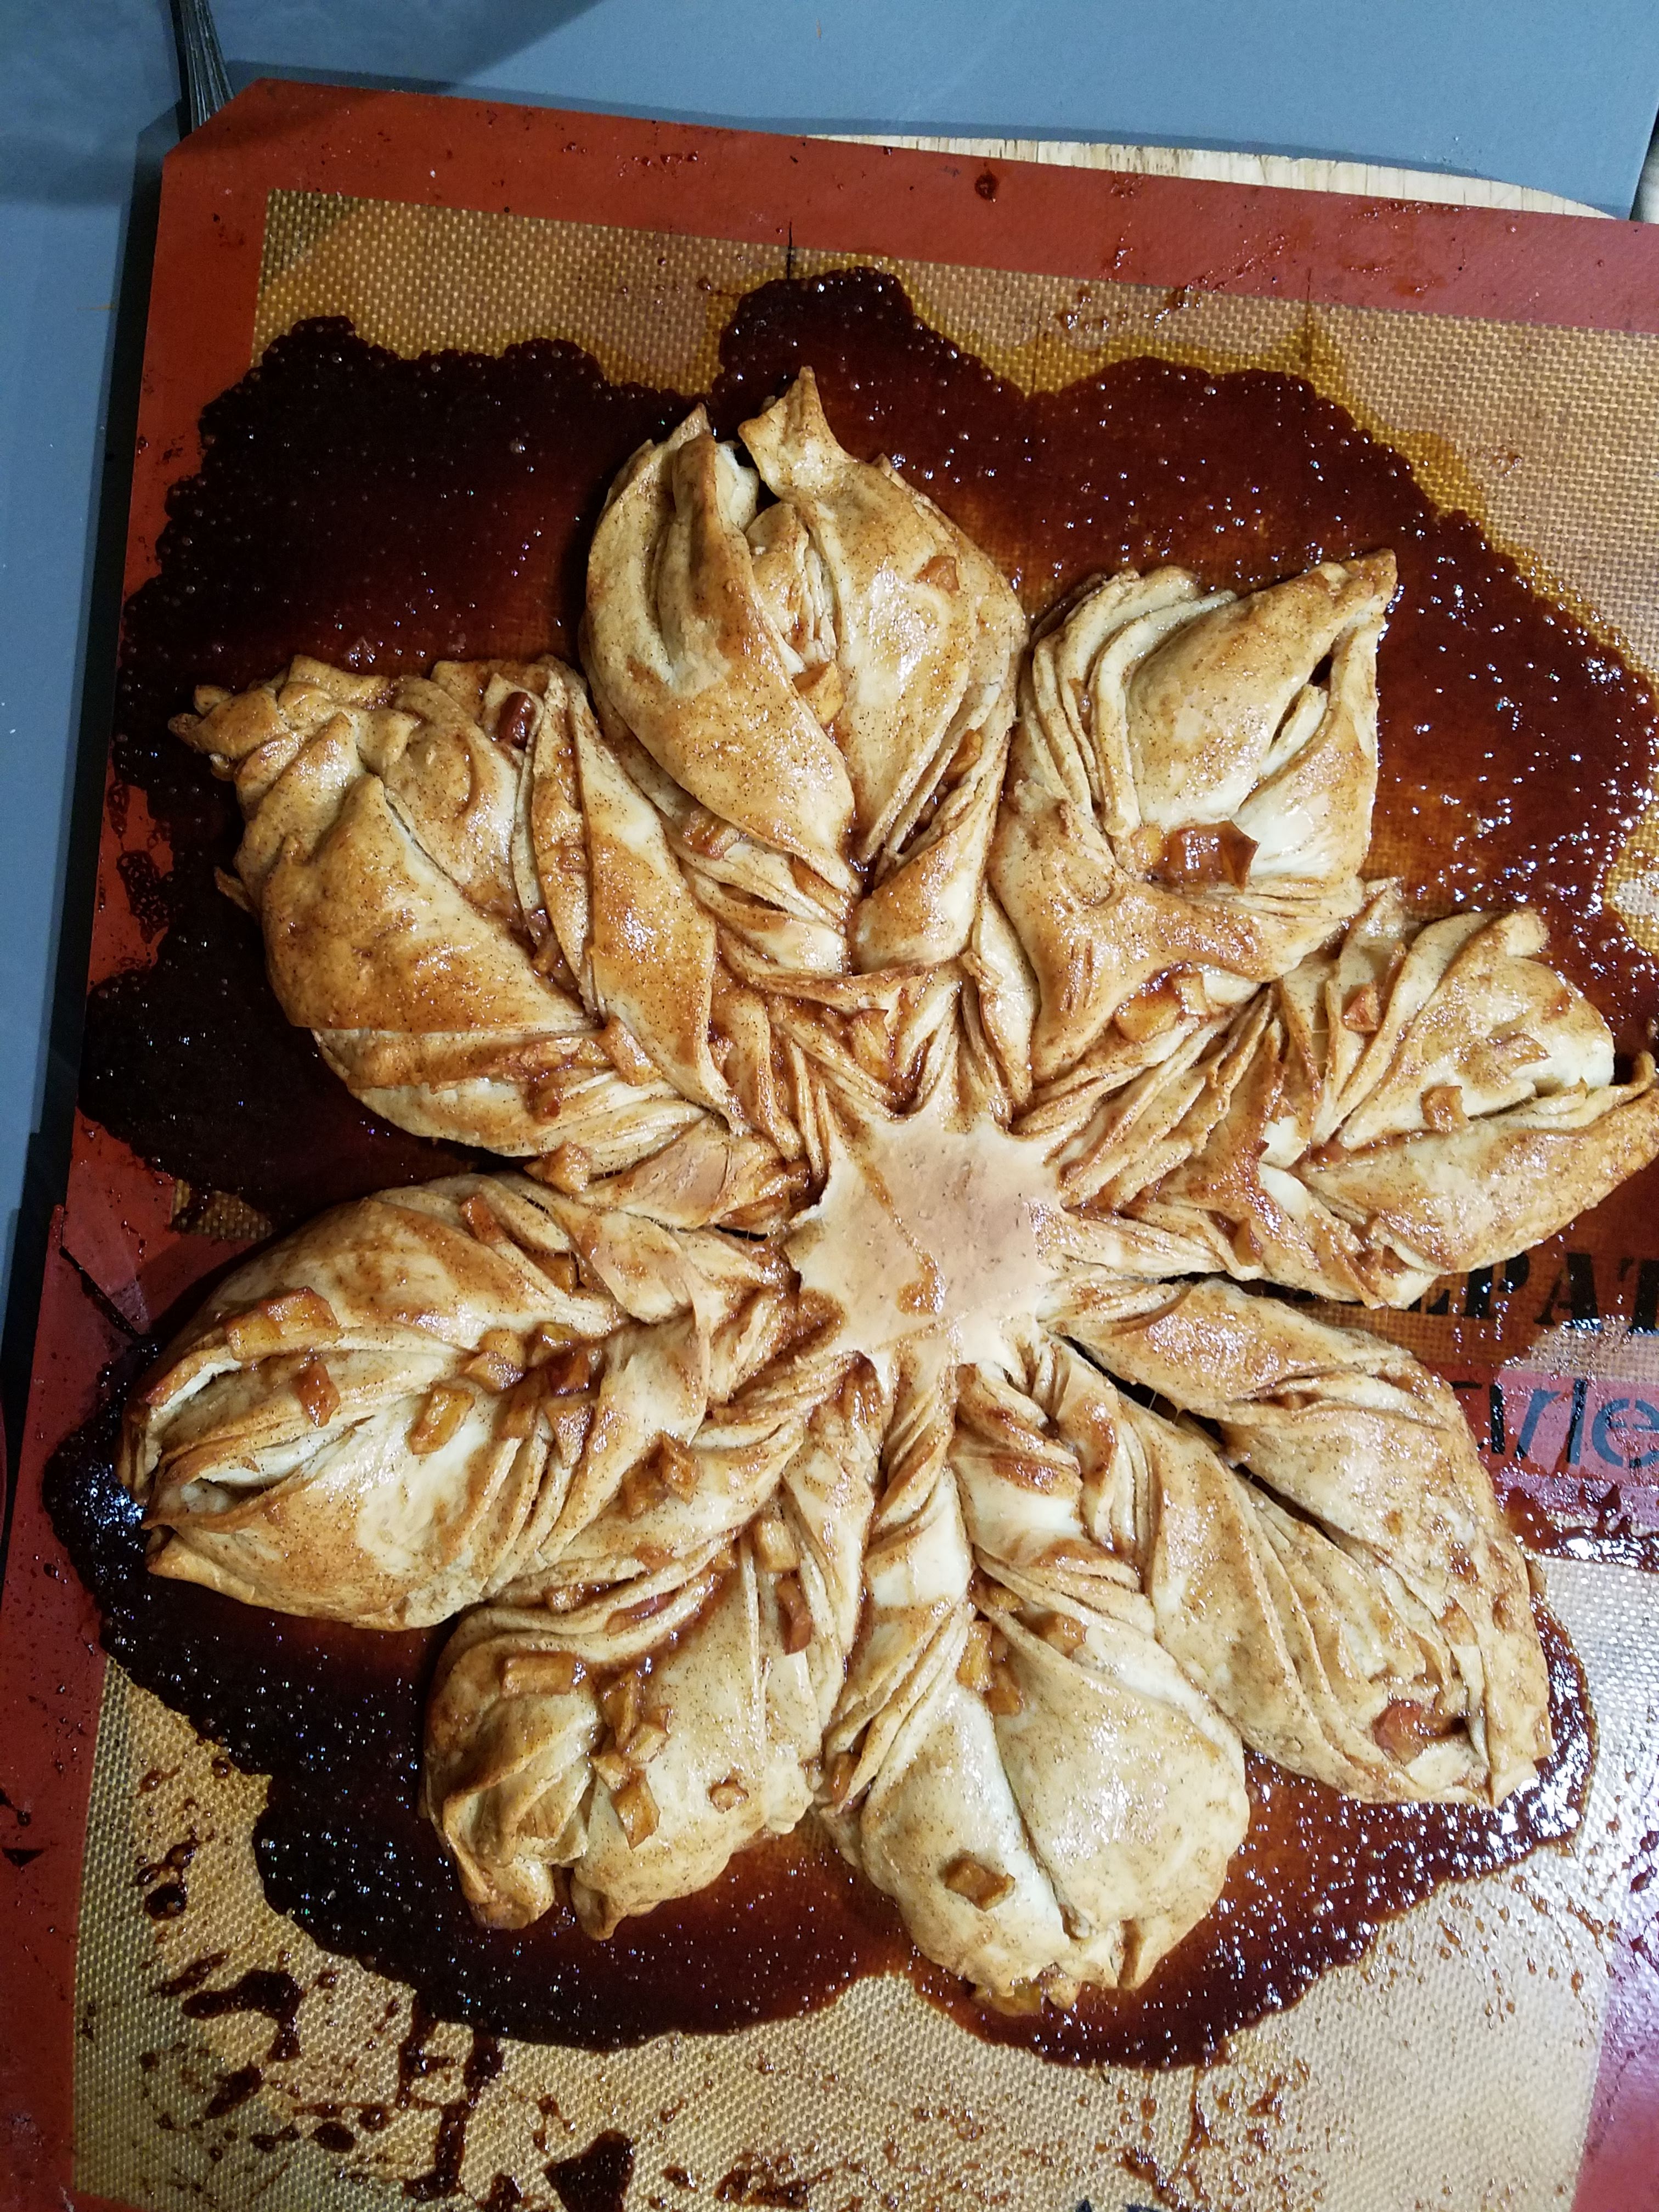
Do this all around until it looks kind of like this.
How beautiful is that!! Ela cleaned up as much of the excess sugary syrup as she could with a paper towel, but when it bakes, some of the sugary syrup is going to leak out anyway. Do the best you can. Let the star rise/rest (not in bed this time!) about an hour, longer if you need to time it so it comes out right as you finish dinner. This is best warm out of the oven. The syrup that leaked out forms thin candy which looks almost burned, but isn’t quite.
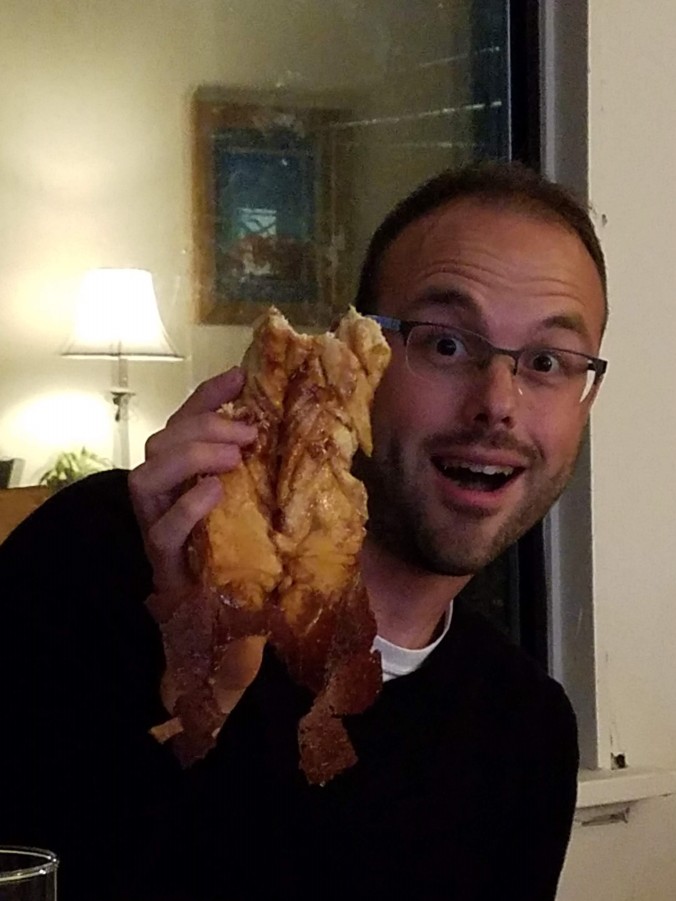
Well, maybe part of it is. If you pull a piece of the star off the pan carefully, it looks kind of like a lobster with claws. Zach had the best lobster. We all enjoyed this star bread very much! Thank you, Ela!

I think I recognize the fork on the right! and I look forward to trying this bread!
LikeLike
Oh you cant believe how amazing this tastes fresh out of the oven! But I forgot to say what oven temp and how long — 350 degrees and about 20 minutes. How long it bakes depends on how crispy you want it. We took it out when it was barely done so that it was super gooey. Your call 🙂
LikeLike